- Joined
- Aug 14, 2014
- Messages
- 81
I have been working on my shop for a little over a year now, I think. The last few years have run together as my Wife and I have built our new home 90% by ourselves. It has been one heck of an journey and I will be most pleased when the work ends and the fun begins.
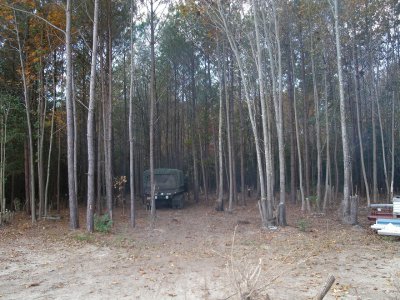
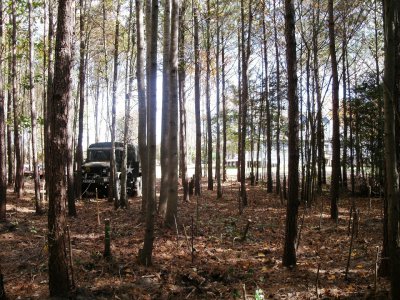
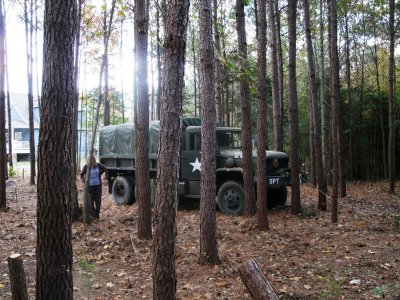
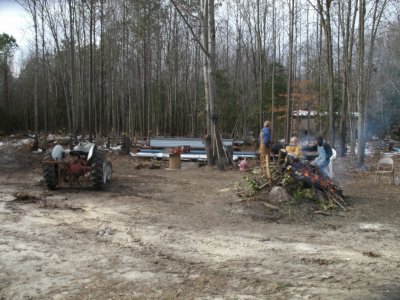
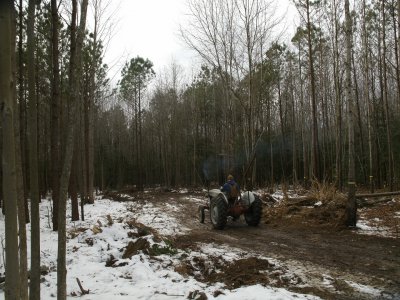
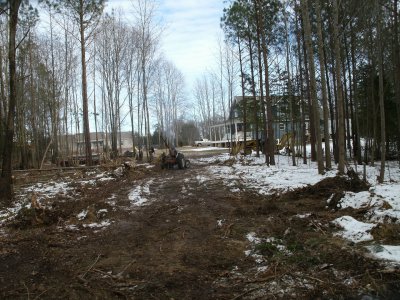
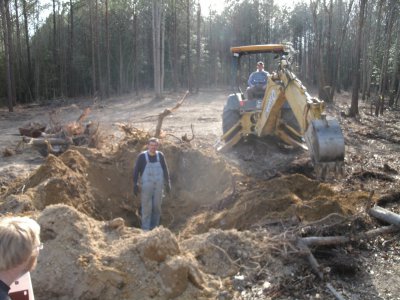
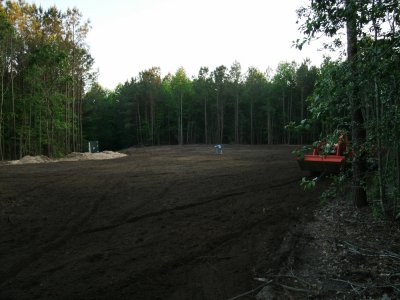
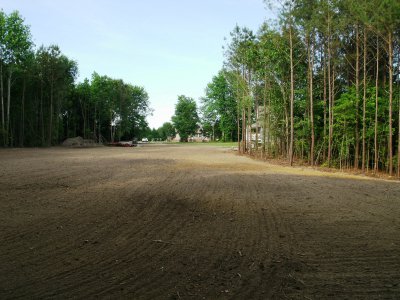
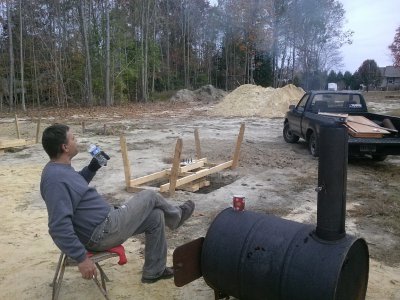
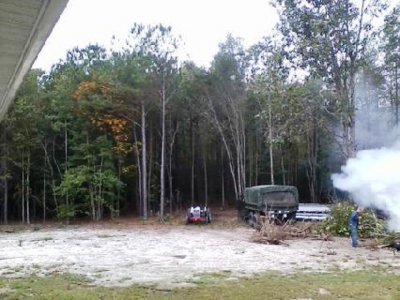
I have done every step of the way with help from my Wife, Son, Dad, Nephew and best friend. In the very beginning of clearing, Dad would not let me use his backhoe. It was a chainsaw, Ford tractor and a '67 Deuce with winch that got the ball rolling.
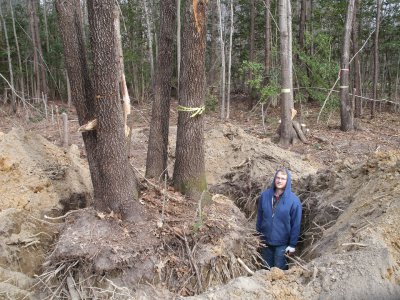
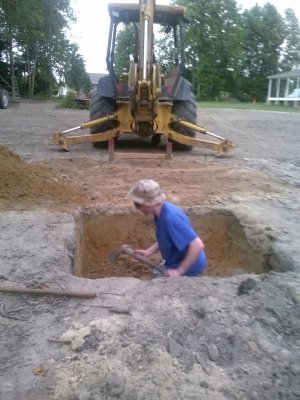
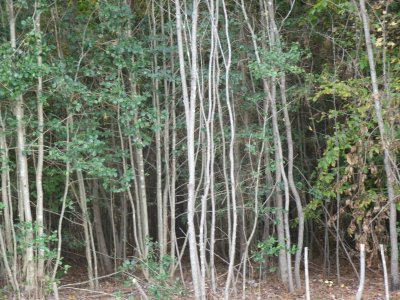
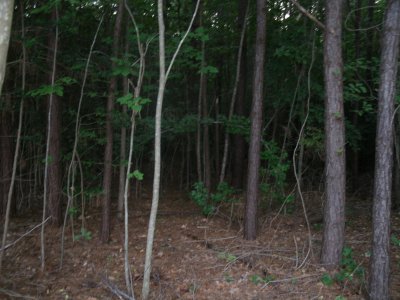
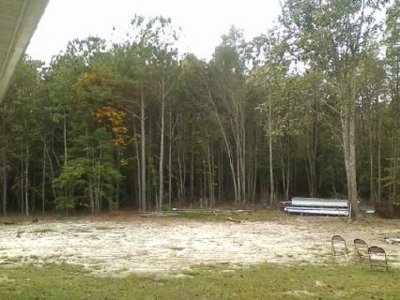
All of this land had been timbered about twenty years ago. It was nasty, most of the hardwood was clusters of an old stump. you will see one Red Oak cluster in the photos. Long story short on the backhoe, Dad was over helping me pull stumps with the Deuce. After a couple hours of slinging chains and cable Dad said lets just get my backhoe over here.
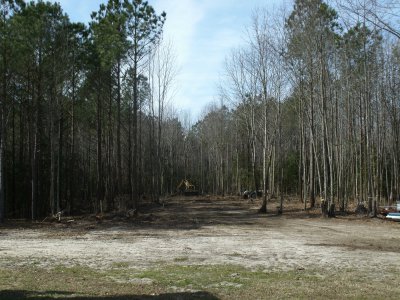
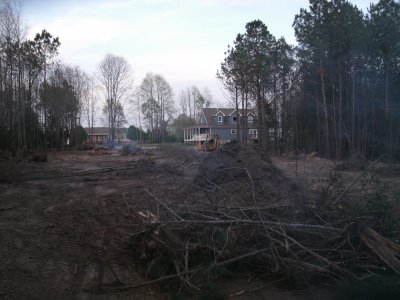
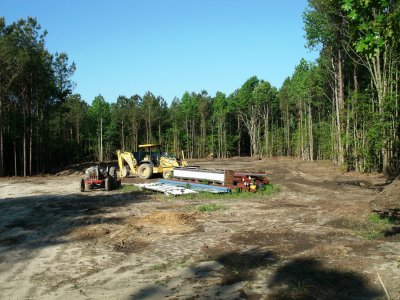
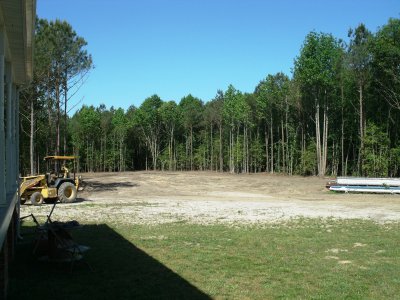
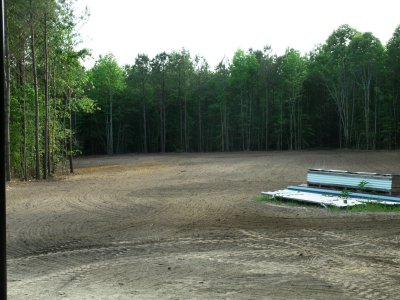
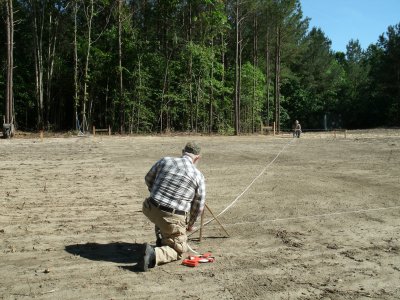
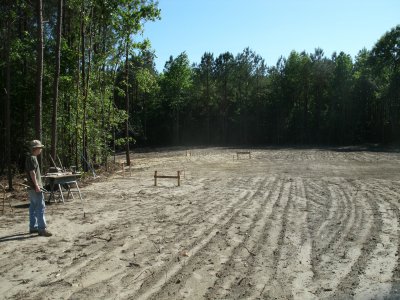
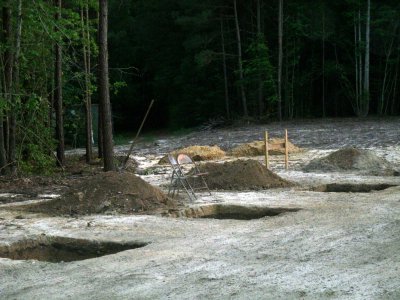
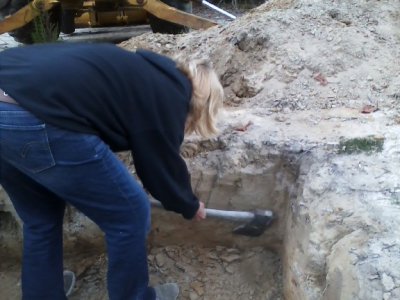
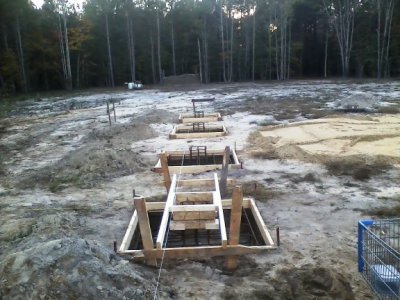
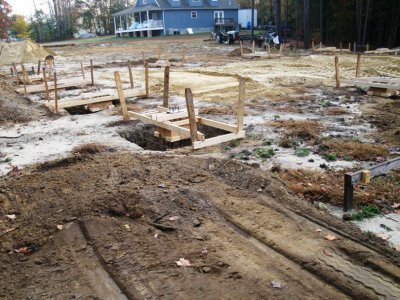
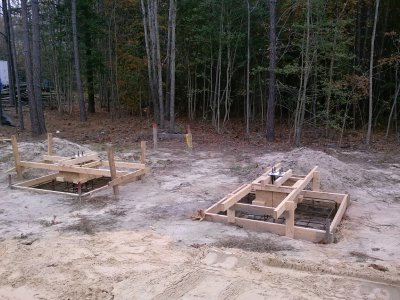
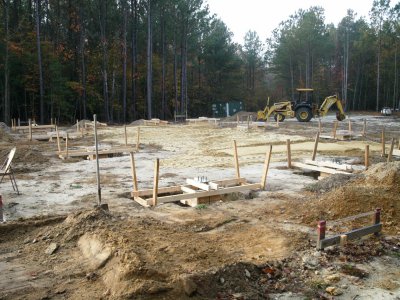
I'll just start posting photos from the start without a lot of description as most will speak for themselves until I get up to date. Feel free to ask any questions.
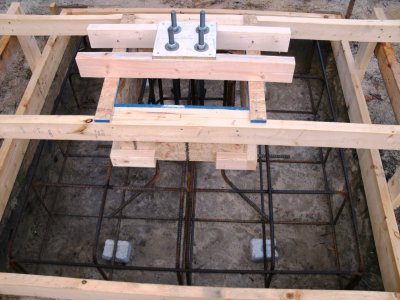
My building is an Arco 40x60x14 clear span metal building.
Note that in the photos, the pile ole building has never moved from photo three to now. That will give you some reference as we clear.


