

-
Welcome back Guest! Did you know you can mentor other members here at H-M? If not, please check out our Relaunch of Hobby Machinist Mentoring Program!
You are using an out of date browser. It may not display this or other websites correctly.
You should upgrade or use an alternative browser.
You should upgrade or use an alternative browser.
Logan 1935-2 lathe
- Thread starter Oldseabee
- Start date


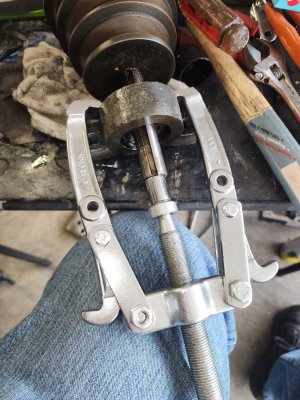
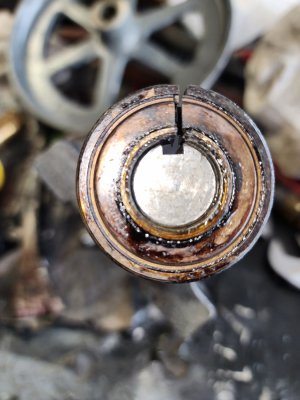
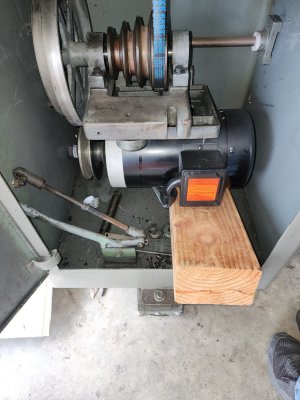
I did finish the bottom power drive arbor shaft that is driven from the motor. Now both shafts are rebuilt with Timkin p5 bearings in the pillow blocks. I had one bearing that refused to move on the shaft, I got it out about 3 inches. Then I used my angle grinder and abrasive disk, while cutting I lined up with the square keyway an cut it all the way through and did no damage to the shaft. Bearing almost fell off. Then I cleaned the shaft and used 1,000 grit wet and dry paper to polish up the shaft. New bearing still had to be pressed on but not with to much effort. Tomorrow I will install both shafts into the cabinet and install the belts.
Attachments
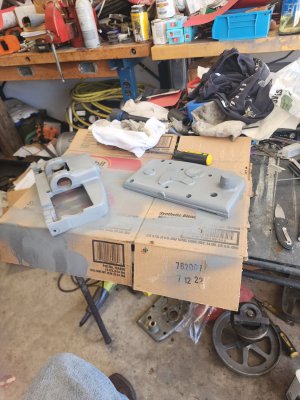
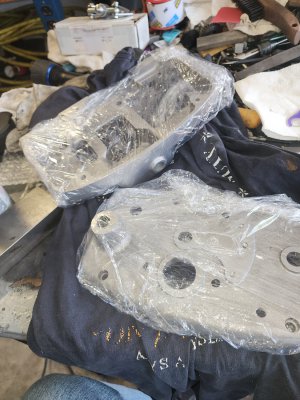
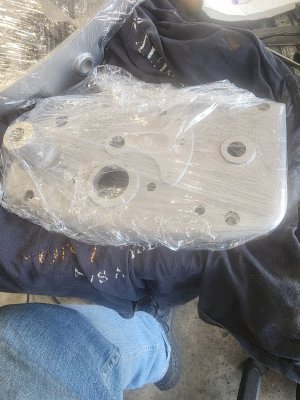
Going a bit slower for now. My right pointer finger has 3 nice stitches from our cat. Not cats fault. He had just been seriously mauled by a coyote and he had to be put down. So today I had a neighbors 17 year old son install the upper jackshaft for me. It took us about 45 minutes. If I ever have to do it again I'll pull that whole upper arm out. Build it on a workbench then install it. Lower arm should be ok for me, if not I'll have the young man come back and help. Also got my 2 apron half back from being hot tanked and blasted with walnut media. Painted both sections and baked in oven.
Attachments

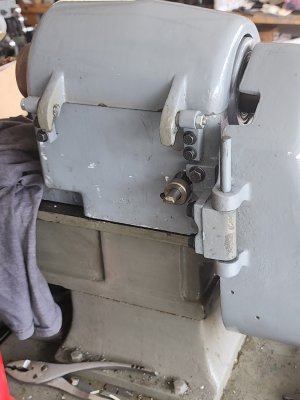
Now that both the upper jackshaft and the main drives shaft are installed I have an issue. The last owner probably replaced the square headed bolt with a section of all thread to allow more adjustments on worn belts.so with new belts I need to replace that bolt. I'll call Logan and see about a replacement or demensions.
When this is complete then the Apron is next, the new bushings for the gearbox. Then it will be finished.
When this is complete then the Apron is next, the new bushings for the gearbox. Then it will be finished.
Attachments
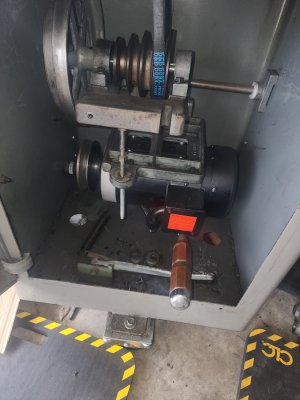
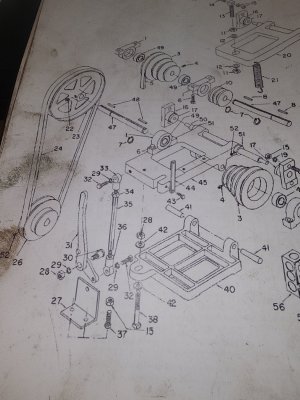

I used my angle grinder and removed the all thread. The all thread was bent up and that made it impossible to get the sections aligned. Once I get the correct shorter bolt that should be fixed. The previous owners really had No idea on what they were doing.
Attachments
Last edited:
- Joined
- Sep 10, 2022
- Messages
- 928
Called Logan, that bolt is a 3/8 x16x 3.5 long off the shelf at most any hardware store.
That is the easiest fix to date with n this project.

Cutting oil is my blood.
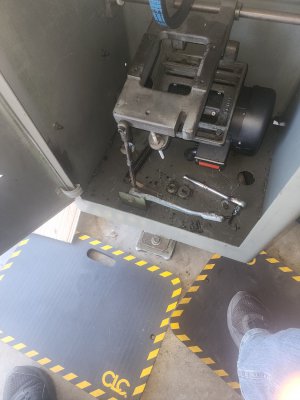
Well it should be easy. But I still need a good picture of the inside of the cabinet that shows the tension mechanism and shows that bolt. My new belts are supper stiff. So it will take a couple of hours of un time to got tem to stretch. So if anyone has a picture please post it. I did find on on this forum but cannot find it again.
Mike
Mike
I have finally came to the conclusion that my 2 spindel V belts are at least 2 inches short. I was shipped 2 A48 belts. Now I have 2 A50 on order that should arrive this Friday. If I'm correct this should make the belt tension mechanism work perfectly as it was designed. I just hate pulling the spindel back out, at least only out far enough to pull and replace these 2 belts.