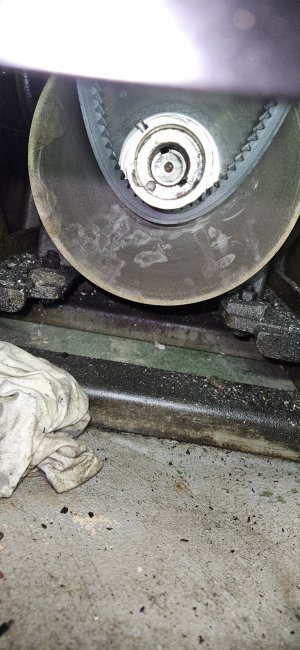
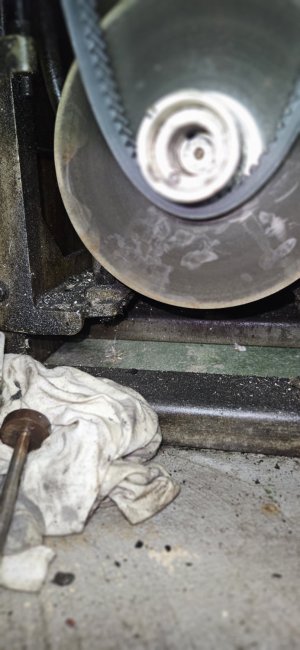
New To Me 1966 Clausing 5914

I design and 3D print on the side so....
Wow, so you're going to sign up for a commercial account to be able to sell something here that Clausing sells for $8.58 new? That's ambitious! :eagerness:
 
Wow, so you're going to sign up for a commercial account to be able to sell something here that Clausing sells for $8.58 new? That's ambitious! :eagerness:
Wow, you are assuming a lot. You know what they say about assumptions!
All that for side stepping a request to give away something I spent my time and money on.
 
Last edited:
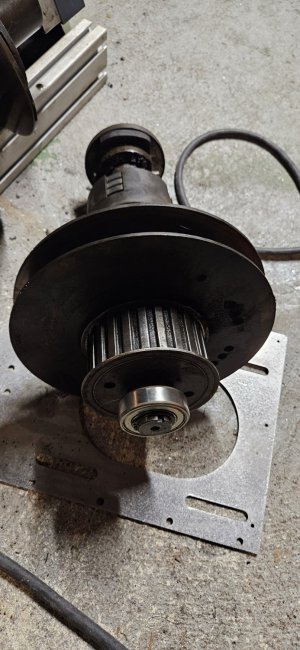
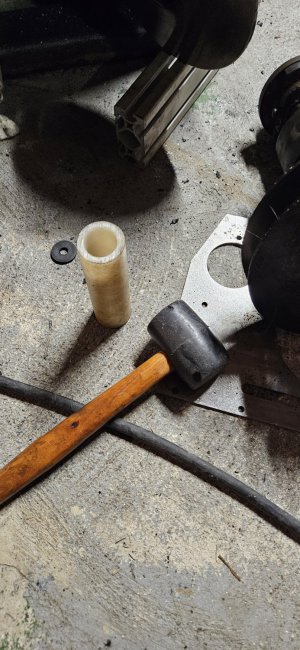
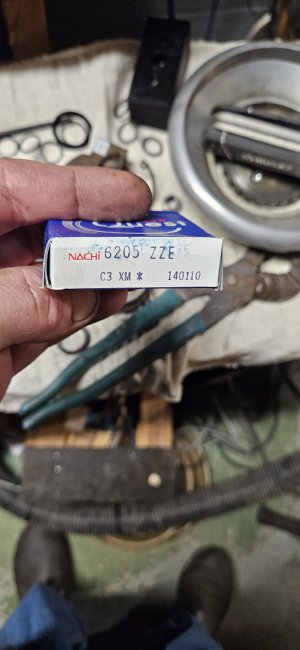
i received the bearings and pulled the clutch/bracke assembly. I used 3 jaw pullers to remove the outboard bearings and a piece uhmw tube and rubber mallet to put the new bearings on. Worked really well. Luckily the inboard bearings felt good and smooth without any perceivable play.
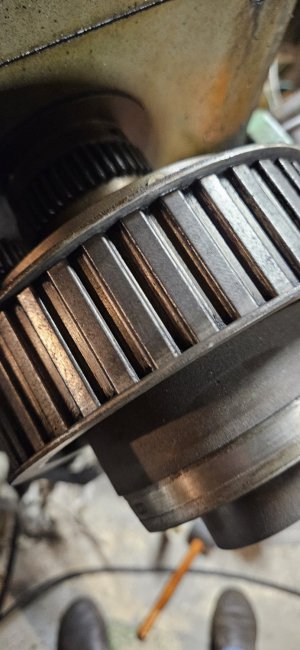
I'm cleaning the timing pullys of any grease and debris before installing the new belts and placing the assembly back together.20240305_180003.jpg20240305_180720.jpg20240305_175950.jpg20240305_180020.jpg20240305_181818.jpg
 
After firing it up and still experiencing a fair amount noise and vibration, this is what i found. Would love to throttle the person that worked on this before i bought it.
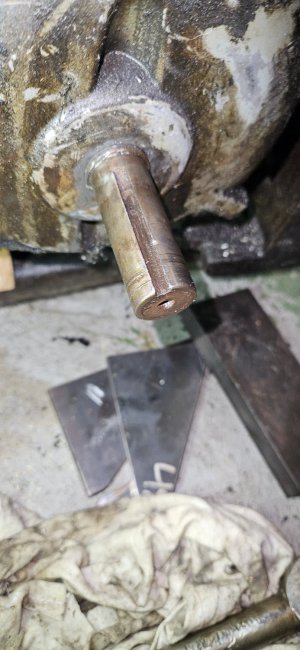
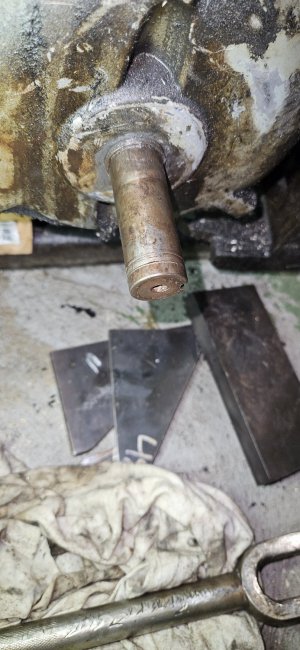
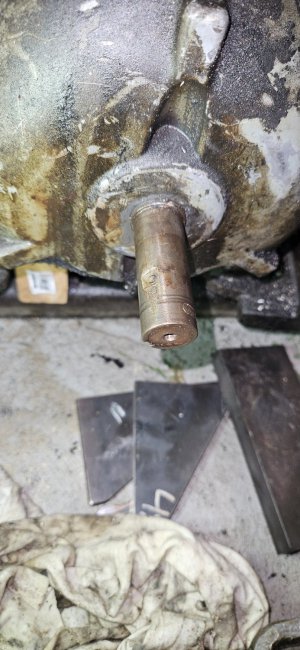
I pulled the lower slave cylinder, outer pulley, and connecting bolt to find the shaft key loose in the space between. This after finding play in the pulley/motor shaft and noticing the belt was not correctly alinged between upper and lower pulleys. Unfortunately the rear pulley seems almost seized to the motor shaft. Rubber deadblow does not move the rear sheave in the least. Going a peach to remove. Notice the chip in front from the joker trying to beat it on withhout the key and keyways being aligned. Probably with a steel hammer head.
Needless to say the front motor bearing is shot. Sheeesh!
20240307_182754.jpg20240307_182736.jpg
 
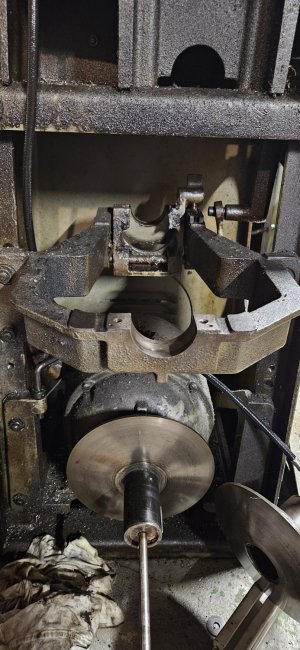
After dropping motor bracket and pulling the motor forward. I used a balljoint fork, 1/4" , and 1/2" shim plates to remove rear motor pulley. You can see why with all the burrs from being spun on the motor shaft.
I have no idea why someone would even mess with removing or trying to remove for any other than a motor swap or replacing pulley assembly.
Oviously some prior thought they should and didnt reassemble properly, which biffed the bearings and drive system.
It appears that it was mounted almost an inch from where it originally resided on the shaft.
So now we are starting to get a little costly. I have a replacement used pulley assembly in the works and thinking its probably a good idea to buy a new invertor duty div.1 class 2 motor. The vertical adjustment on the motor mount will help with a 145T frame swap and adapter plate to save a little bread. I previously was looking at and purchased a similar motor for my Enco 110-2034. One difference is that I'll stick with cast iron over aluminum and opt for WEG or similar. I've previously bought and liked Techtop for lighter applications. With a reeves drive, i'd rather go a bit heavier. I've used WEG for a lot of hydraulic applications and they stand up well.
We will see. Regardless, I still plan on cleaning up shaft, refurbing, and replacing bearings in the original.
Also tossing the idea around of just replacing the plastic bushing, removing the coating, and going with a bronze bushing. The question is SAE 841 or SAE 660? That would be around $40 instead of $350 for a used pulley assembly replacement.
And then there is modifying the drive and just using the motor, vfd, and timing pulleys.
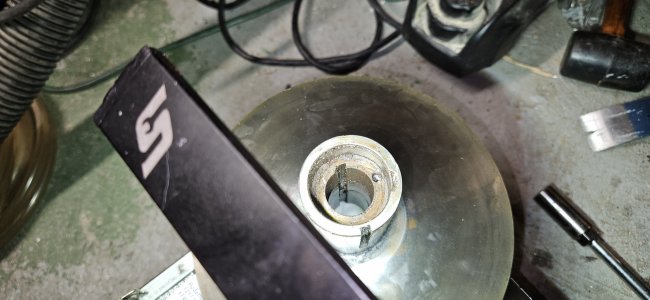
20240309_111423.jpg20240309_111400.jpg20240309_111350.jpg20240309_111337.jpg
 
Last edited:
I have been watching your build. Your doing great work fixing up someone else's screw up. Did you get it finished?
Mike
 
I have been watching your build. Your doing great work fixing up someone else's screw up. Did you get it finished?
Mike
Thanks. Appreciate it. I have the new motor installed with an adapter plate.
Been busy working on a milling project and hope to get back on the Clausing here soon.
It would be ideal to make a new bearing for the lower sheave assembly. I have the material. But , i want see how it runs with the motor and connection being fixed. The plastic bushing and key is in good shape. The coating has a few cracks on the end and a wear groove where it would sit fully actuated.
I have a lot I want to do with refreshing the lathe, but would like to prioritize.
 
Back
Top