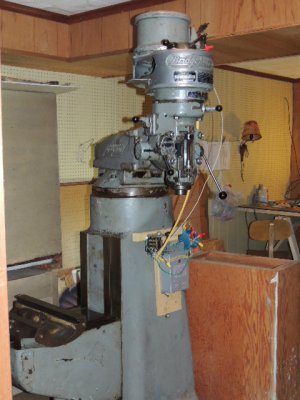
Show us your Milling Machine modifications.

RandyM

Mr. Deliberate
H-M Supporter Gold Member
Joined
Apr 12, 2011
Messages
3,472
Thought I'd start a milling machine modification thread. I have made a couple of mods to my machine that really makes using it so much nicer. And here they are.

1) Tapped the base for custom feet.
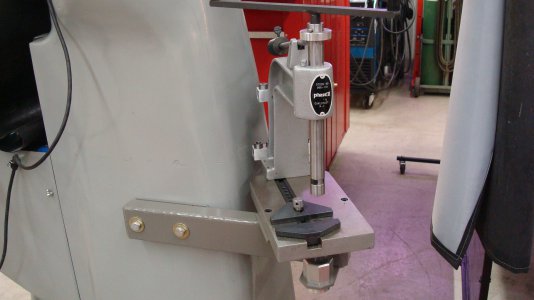
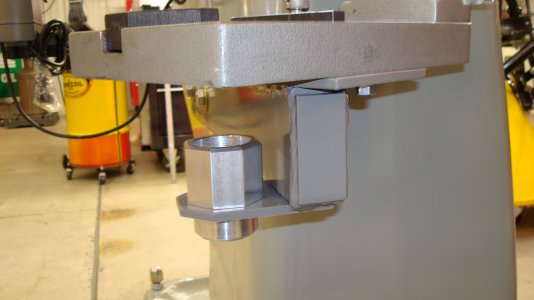
2) Added a hand tapper to the base.
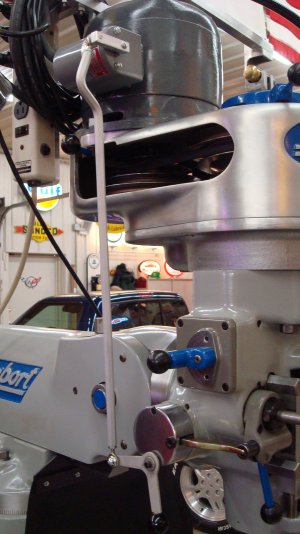
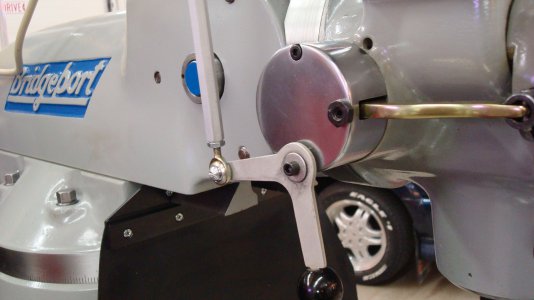
3) Added the remote switch handle.
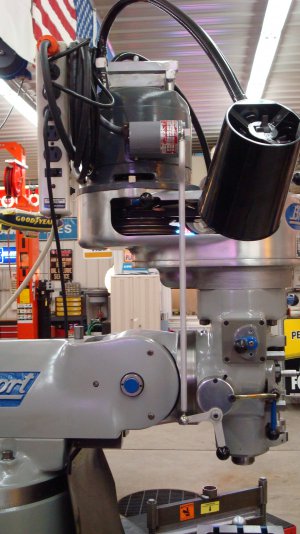
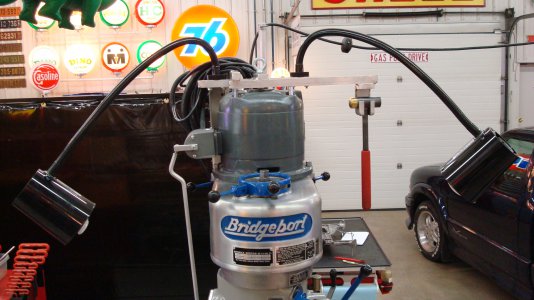
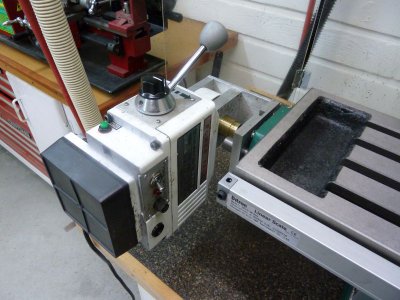
4) Added the all-in-one motor bracket (cord management, spindle wrench holder, motor lifting bracket, and light mounting).

Now, what have you done?
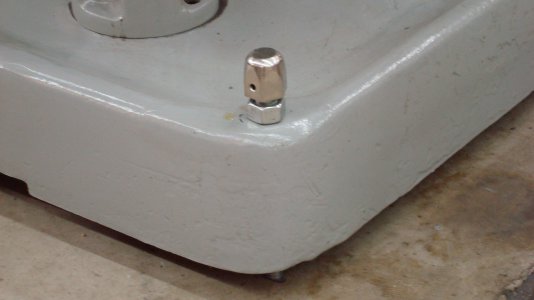
Feet.JPG Tapper 1.JPG Tapper_Cup.JPG Remote Switch 1.JPG Remote Switch 2.JPG Cord Management.JPG Light Bracket 1.JPG
 
To start this thread with a highly polished Bridgeport is a bit intimidating for us poor import folks. Since most of the import machine are really a partially finished kit like most others I have made a few changes and upgrades along the way.

P1010222.jpg


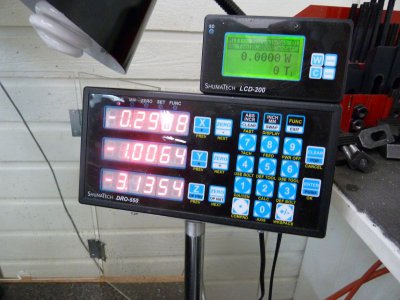
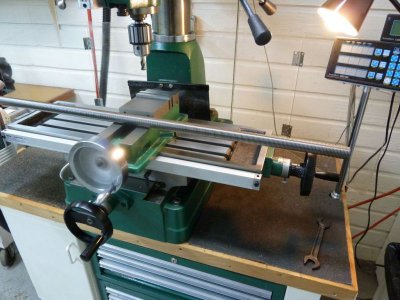
At my age counting how many turns you did is a problem so a DRO was the first change. This is a Shumatech 550 with Ditron glass scales. Working with measurements to the tenths that are rock solid is a real joy. My first iteration had capacitive scales with all of the expected jitter. The price of glass scales has dropped significantly in the last few years.

P1010223.jpg


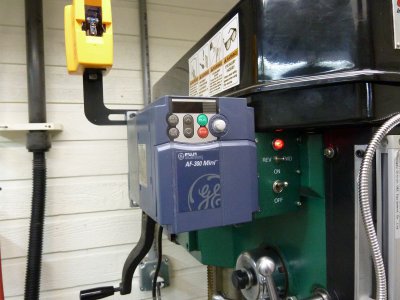
Right after the DRO's came a variable speed motor. I cannot imagine not have variable speed, this becomes habit forming very quickly. It works well for power tapping as well as the more routine functions. Good torque on the low end.

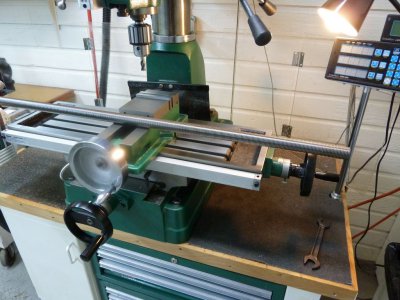
P1010224.jpg


Of course a mill without a table feed is a laborious item to have. This is just an inexpensive general purpose unit that I adapted to the Grizzly.

1 The new lead screw.jpg


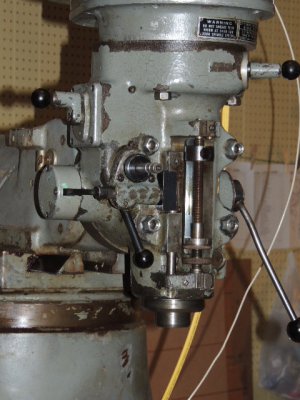
I do a fair amount of work on the mill and one of the first points to show wear was the lead screw and lead screw nut. I have made several nuts of acetal in the past and been very happy with the near zero back lash and long life. I wrote an earlier post on replacing the lead screw and nut on this machine you can see the details here:

http://www.hobby-machinist.com/show...nd-nut-on-a-mill?highlight=lead+screw+replace

I always keep my mill well lubed, take moderate cuts and keep soft music playing in the background hoping that it will some day turn into a Bridgeport.

Jim

P1010222.jpg P1010223.jpg P1010224.jpg 1 The new lead screw.jpg 1 The new lead screw.jpg
 
Last edited:
I made a simple power drawbar for mine. It saves a tremendous amount of wrench time.

Tom

[video=youtube_share;stxUtoRe1AA]http://youtu.be/stxUtoRe1AA[/video]
 
Jim,

I hope Randy isn't offended that you called his Bridgeport a Clausing. :whistle:

You've sure sweetened up your Grizz. Nice work!

Steve
 
Lets see that mill Steve. I'll get mine up asap.
 
LEEQ,

I'm still in the rebuilding stage. Just started painting last week. Making some progress but still have a ways to go. I'll get some pic's up when it's done - and dance in the street.......naked.......NOT!!!!

Steve
 
I'm far from painting. I have few mods. Replacing a couple burrs with smooth and shiny. Made a box of stuff and an unknown motor power up mill. I also added a large box of missing pieces to the quill housing. Nothing noticable yet. But FrankenMill lives. Maybe by the end of the year she'll be paintworthy. Randy that mechanical remote for your drum switch is way cool! Blends in well with the machine too.DSCN0601.JPGDSCN0600.JPG

DSCN0601.JPG DSCN0600.JPG
 
Randy that mechanical remote for your drum switch is way cool! Blends in well with the machine too.

Thanks Lee. That is actually an option that the previous owner gave me. It was not installed because the rod was not the correct length. I made my own rod from a piece of 3/8 hex aluminum. I then machined the lever at the switch because the supplied lever just wasn't right either. It is a mod I highly recommend, the reach for the spindle is bad enough.
 
I made a simple power drawbar for mine. It saves a tremendous amount of wrench time.

Tom

Now that is very slick Tom. I like it. It maybe something I will have to strongly consider. Thanks for the post.
 
For Randy, I started on this, this week, but I am no good without pics (dead battery) like yours my two
base bolts are longer channel iron over the top with cast wheels, then crank on the two 1inch nuts
at the same time and all 3000lbs comes off the floor not much but enough to roll. My big problem is the
rear, a big coolant pump sticking out. Thats step 2. Today work suspended, my son bought a one inch
capable plasma cutter suppose to arrive today. Cant wait ta get my paws on that. sam
 
Back
Top