

-
Welcome back Guest! Did you know you can mentor other members here at H-M? If not, please check out our Relaunch of Hobby Machinist Mentoring Program!
- Forums
- THE PROJECTS AREA
- PROJECT OF THE DAY --- WHAT DID YOU DO IN YOUR SHOP TODAY?
- Project of the Day Mega-Thread Archives
You are using an out of date browser. It may not display this or other websites correctly.
You should upgrade or use an alternative browser.
You should upgrade or use an alternative browser.
2021 POTD Thread Archive
- Thread starter Gaffer
- Start date
- Joined
- Oct 28, 2020
- Messages
- 528
I got a chance to continue on with my batch of tail shafts. The last operation is to drill the two 21/32" holes thru, 90 degrees apart.
Here is my setup. The two "saddle" jigs are keyed for a tight fit in the tee slot. I just tried the airline under the strap clamp hack and it works awesome. Now instead of dealing with all separate pieces, when the clamp in loosened off, the air line keeps enough pressure that the whole clamp setup can be rotated in and out of position as one unit. Just some garbage airline I grabbed at work, best free third hand ever.

The first hole is drilled

Once the first hole is drilled the sadle jig and its pin is used to index the shaft for the second hole

Four down four to go

Thanks for looking!
Here is my setup. The two "saddle" jigs are keyed for a tight fit in the tee slot. I just tried the airline under the strap clamp hack and it works awesome. Now instead of dealing with all separate pieces, when the clamp in loosened off, the air line keeps enough pressure that the whole clamp setup can be rotated in and out of position as one unit. Just some garbage airline I grabbed at work, best free third hand ever.
The first hole is drilled
Once the first hole is drilled the sadle jig and its pin is used to index the shaft for the second hole
Four down four to go
Thanks for looking!
I first started Friday afternoon out with putting a second coat on me Famco press. 
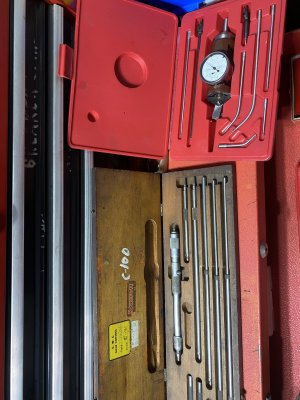
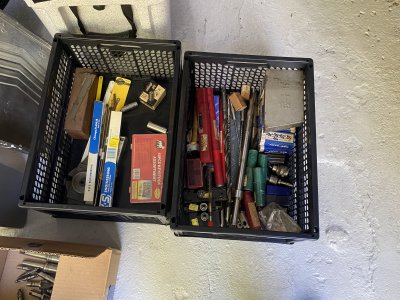
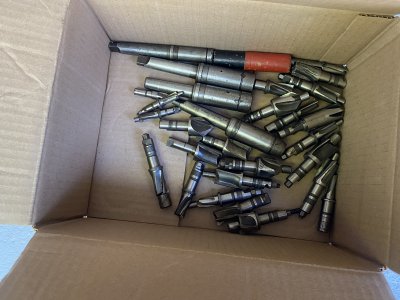
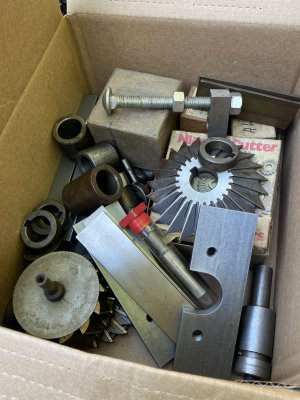
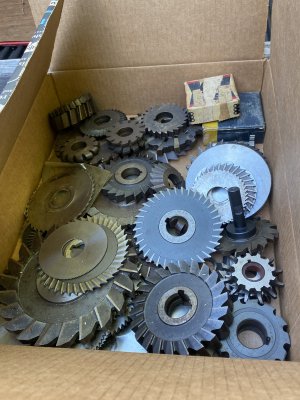
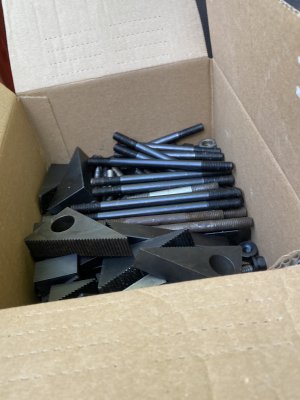
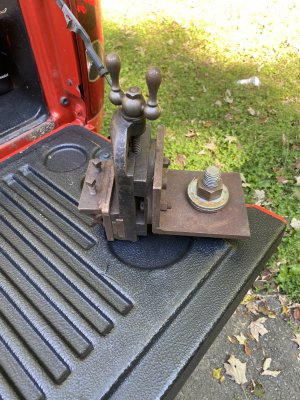
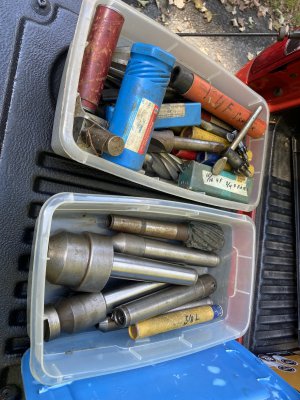
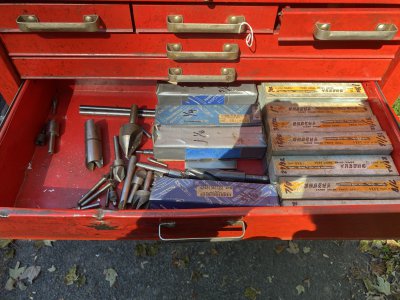
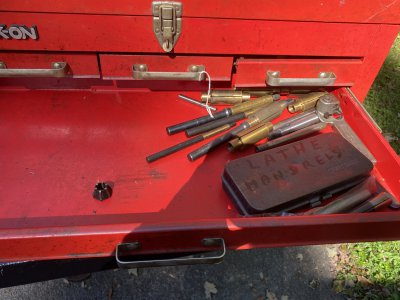
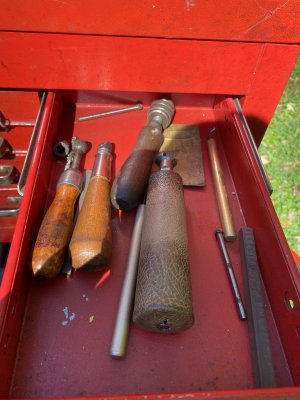
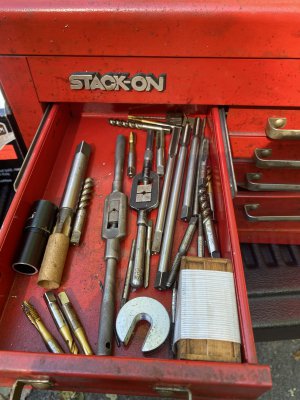
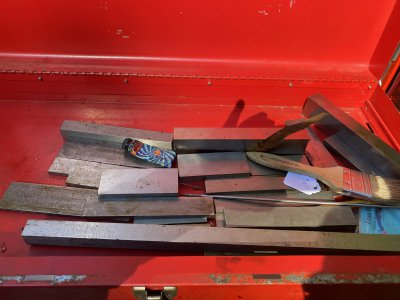
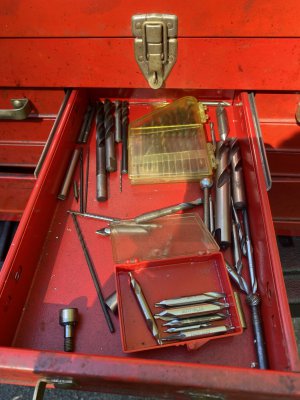
After that i went to my honey hole bc the lady said anything you want? Take it no charge i felt like i couldnt take enough she wanted me to take more. I already have some stuff that she said to take i will never use like horizontal cutters. I went back today to pick up a stack-on tool box full of stuff and the pictures below are everything i got. Some stuff will be for sale because i just cant use it but she insisted on taking so please watch out for the for sale posts. I can tell you right now there are arbor adaptors in one of the boxes for a Horizontal going up for sale as well as most of the big Cutters.
After that i went to my honey hole bc the lady said anything you want? Take it no charge i felt like i couldnt take enough she wanted me to take more. I already have some stuff that she said to take i will never use like horizontal cutters. I went back today to pick up a stack-on tool box full of stuff and the pictures below are everything i got. Some stuff will be for sale because i just cant use it but she insisted on taking so please watch out for the for sale posts. I can tell you right now there are arbor adaptors in one of the boxes for a Horizontal going up for sale as well as most of the big Cutters.
Attachments
-
 42846EFA-1068-43CF-A297-AC49335A1754.jpeg2.1 MB · Views: 23
 -
 D65B285B-FB56-420A-8382-17E6699A8D8F.jpeg3.7 MB · Views: 22
 -
 B9B09730-6864-4DCE-B88F-DA53850BF5C8.jpeg2.8 MB · Views: 22
 -
 BB72C4CF-A0E1-4ED4-8139-63596CB41EC0.jpeg1.8 MB · Views: 22
 -
 AC86397A-B215-4CAE-B709-86A169FC2D00.jpeg1.7 MB · Views: 23
 -
 E422E376-6B90-4ED4-94EE-882FCB5118D8.jpeg1.1 MB · Views: 24
 -
 461B234F-C25A-485F-BADD-5275B45E05E8.jpeg2.2 MB · Views: 26
 -
 3C1C0C3E-F47B-4D91-AC10-033AFF2DC19F.jpeg2 MB · Views: 24
 -
 371FF083-67C3-4432-879F-3C5F80A7CAC1.jpeg4.4 MB · Views: 24
 -
 593C457B-792F-4B2C-B66A-5FCC8BF39760.jpeg2.8 MB · Views: 24
 -
 A859EC56-96B8-43FA-8948-3C5A58758F57.jpeg1.4 MB · Views: 22
 -
 207A3CA5-595C-4BFC-8C8A-4B04EC72D79A.jpeg1.6 MB · Views: 22
 -
 40B53151-C9AF-4A2F-BEF0-D6CA9F1473AF.jpeg3 MB · Views: 22
 -
 F6B71BC7-D3E2-4A3B-98E4-79752978A482.jpeg1.4 MB · Views: 21
- Joined
- Sep 2, 2013
- Messages
- 5,108
Got this Hustler zero turn off FMP for free. It had been sitting for a few years, and needed a little TLC. The carb bowl was full of watern and every orifice, and passage was pluged, and one end of a carb mounting stud was striped. Cleaned up the carb, cut the head off a 6mm bolt, cut the bad section off the stud and welded the section of bolt to it. Added a fuel shutoff and a filter, put in some gas and it started on the second pull. had to make some govenor adjustments, but now starts on the first pull, no smoke, runs good. Had one flat rear tire. The only leaks I could find were around the rim. Pulled it off the rim, and cleaned up all the rust, striaghtened it out, and painted it along with a few coats of bead sealer. Mounted the tire and it was still leaking around the rim. Over inflated it, and beat the hell out of it with a big rubber hammer untill it stopped leaking. have to say I have really leared to hate small pneumatic tires. Would rather change 10 car tires than one of these damn things. Turned up a new bushing for one of the front wheels, replaced the rope on the recoil starter , and fixed a few other minor things. Took it out for a spin yesterday, and this thing is a beast. It cuts anything that gets in front of it, without slowing down, and is built like a tank. I think it is going to be my go to mower, and may just sell my Craftsman zero turn rider. After a little reaearch I was able to ascertain that this machine was NOT designed by Larry Flint, the publisher of Hustler magazine. Cheers, Mike


.jpg")
.jpg")


Last edited:
- Joined
- Dec 18, 2019
- Messages
- 6,464
Made a QCTP nut/closer for my mini-lathe. To tighten it, formerly had to use a box wrench on the top. The nut was slowly rounding off the corners. So made a cylindrical nut with a 15 degree conical top, approximately the same angle as the lever to clamp the tool holders. To drill it at the angle, I put the piece in a 24mm 5C collet in a collet block and used a 15 degree spacer. Need to clock the lever to the right position. The thread is M10x1.5. I need to rotate the nut clockwise by under a quarter turn. So I need to reduce the length by about 0.3mm. I'll do that tomorrow. The rod is 3/8" in diameter and 7.5" long, single point threaded to 3/8-16. If the rod is too long in practice, I can always shorten it. Nut and rod are 1144.
First picture: old nut on QCTP. Second picture: nearly complete nut, save for clocking


Happy to get rid of the need for a box wrench!
First picture: old nut on QCTP. Second picture: nearly complete nut, save for clocking
Happy to get rid of the need for a box wrench!
- Joined
- Dec 18, 2019
- Messages
- 6,464
I suspect so. The lower half of the nut I left longer, in case I messed up multiple times! Have room to remove up to 4 threads. I'll only remove a little at a time. May have to resort to a bit of polishing to get the last bit.Nice! I enjoy working with "stress proof".
Clocking the nut will test your metrology skills. Great practice piece!
- Joined
- Sep 20, 2019
- Messages
- 1,338
My oldest was installing an Eibach lift kit on his Ranger. He had the front end pretty well disassembled when the grinder with a cutting wheel grabbed and ripped it out of his hands. It kicked back at him and cut him up pretty good staples in one leg and stitches in his forearm. It exposed muscle and tendons but didn’t sever them. After spending 16 hours in the ER with him, I took a nap and picked up where he left off. It took a day and a half but I got’er done. It has 34” BF Goodrich KO’s on Method wheels. I had to fab a tool to clock the struts because he forgot to mark them when he had the new springs installed it was basically a really big spanner wrench it was overkill but I wasn’t sure how hard it was going to be to spin them 
- Joined
- Nov 24, 2014
- Messages
- 3,181
@Gaffer
Too bad about your son. Best wishes for a full recovery. The truck looks good.
Tell us more about the grinder. I'm guessing electric with a "stay on" switch (not a paddle).
I have a similar story from my childhood. I'll leave it for another time, except to say that I wasn't really injured but a good part of my T shirt was wound into a very tight spiral by a wire wheel.