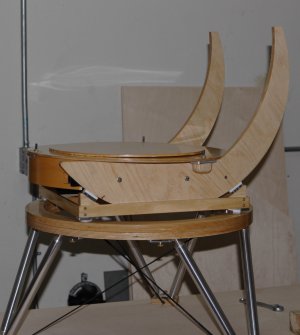
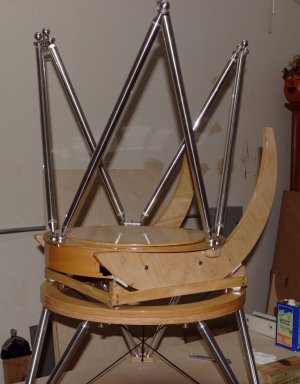
13" F/3 telescope build

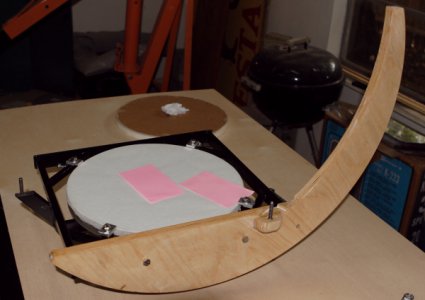
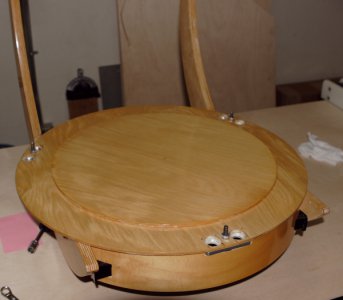
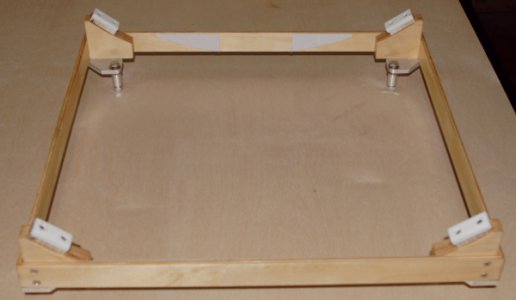
Next, we flip the mirror over and attach the mirror "clips". These clipt prevent the mirror from falling forward out the frame when the frame is at any angle (including pointing down.)
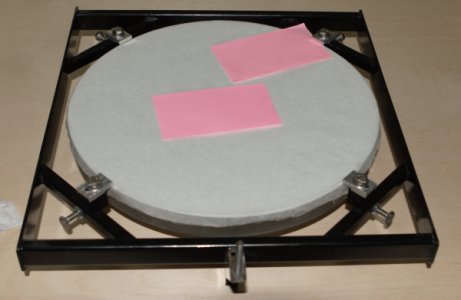
assembly02.JPG

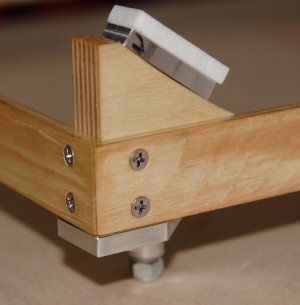
The clips were "adjusted" until a sheet of paper could clear from the top and rotate over the edge of the mirror, simply from the stiffness of the paper itself. The paper measures 0.004,5" thick. THe overhang is very tiny compared to mirror cells that allow the mirror to move to a greater degree.

By the way:: 0.004" was chosen as the clearance of the mirror at the BTs because the differential expansion/contraction of the mild steel frame and the sperMax glass is 0.003" from 100º F to 0º F. I, personally, will not be observing at less than 0º F !
 
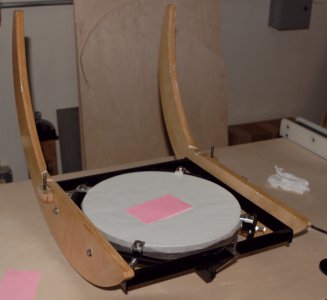
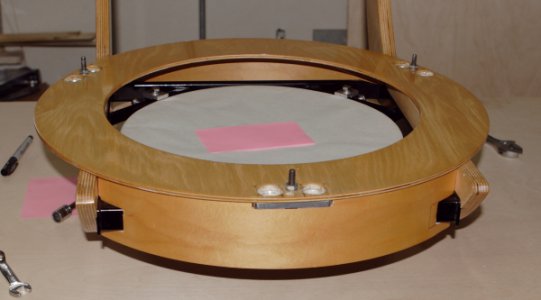
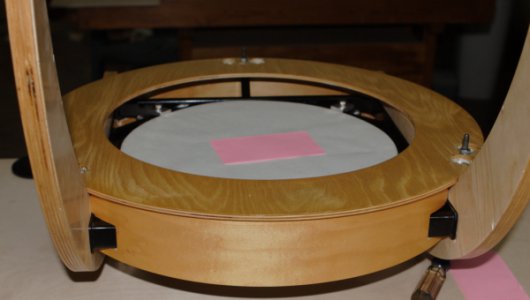
Next up is the attachment of the altitude bearings::

assembly04.JPG

Those of you who have build Dobsonians are going to be scratching your heads thinking "where is the mirror box" ? We will get to that a bit later !

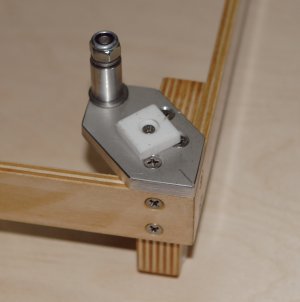
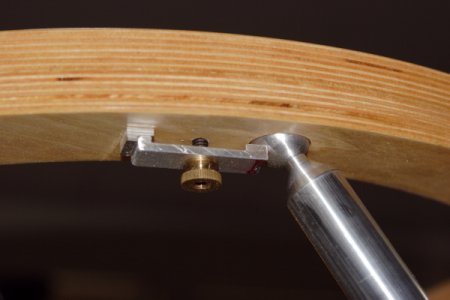
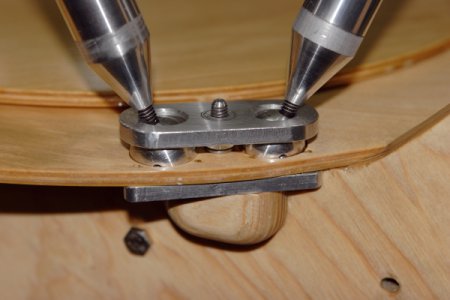
You can see a bit of the inletting I did in order to fit the truss pole end supports. The end support points attach 2 truss pole ends (1" aluminum ball) between two 1" machined races and held together with a thumb screw. THe thumb screw screws onto the stud coming out of the <now> attached altitude bearing.
 
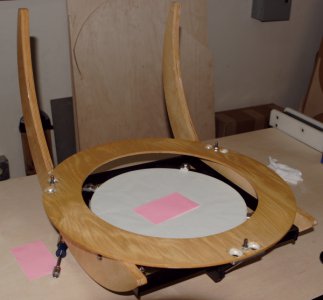
Now, finally it is time to take a look at the "mirror box" :angel:

assembly06.JPG

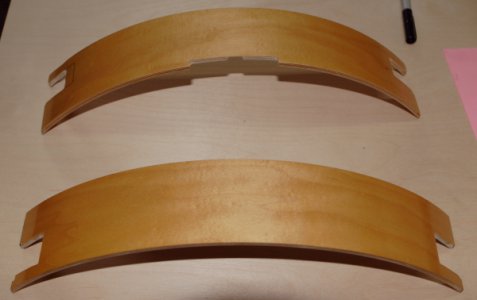
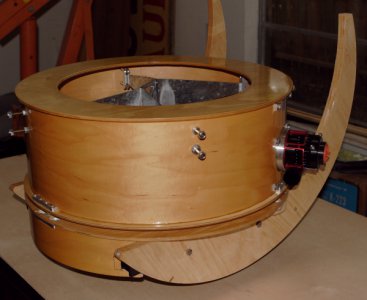
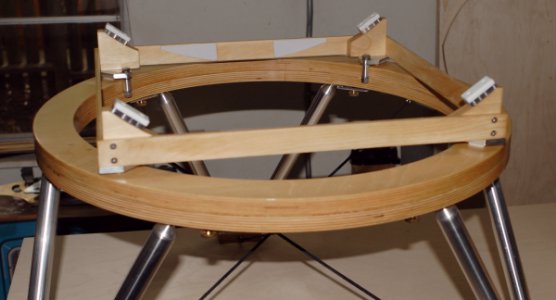
Yes, two pieces of cylindrical wood cut and inletted to fit the appropriate gaps in the mirror frame are pushed into place and held with pure spring tension !
assembly09.JPG
and
assembly10.JPG
 
At this point the lower assembly is completely assembled, in storage and in transit, the upper assembly rides on top for a compact unit:

assembly11.JPG

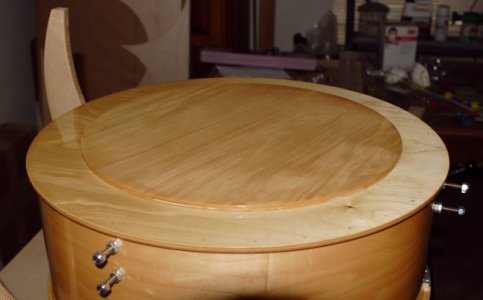
There is a single top that can be used to cover and protect the "in transit" assemblage:

assembly13.JPG

Or it can be used in the field to protect the mirror when the scope is not in use:

assembly14.JPG

knob to be added later
 
In order to point a telescope one must have <at least> two bearings that allow the scope to move in altitude and azimuth (or declination and right ascension).

Classical Dobsonians use another large box shape to carry the altitude bearing.

This design used the innovative "flex rocker":

assembly15.JPG

Focused on the far side we see 2 strips of teflon contact cemented to the light wooden frame.

assembly16.JPG

At the top of the post in the flex rocker is a strip (each) of teflon screwed into a retaining block of 6061. Par of this was that I bobbed the riser too far when I cut it from rectangular to having the shape of the altitude bearing.

assembly17.JPG

There is a finger reaching out from the riser to position the flex rocker onto its "ground board". The finger itself is just 6061 aluminum with a 1/4-20 bolt tightened securely.

Since I am using 1/4-20 stainless bolts; and the threaded diameter is 0.246, AND I just happen to have a 0.246 drill. I drilled some 6061 stock and found out about all I never wanted to know about drills walking. Eventually, I figured out that if I drilled the hole first, and them turned the outside on centers, I could get the rollers to run true. At this point is was simply an issue of figuring out the correct diameter for the rollers (and we will come back to this point)
 
The flex rocker needs a "Ground Board" in order for the rollers to define a circle and operate as if it were a set of bearings:

assembly18.JPG

The ground board was created with a router then attached to my rotary table and milled to 0.003" tolerance. THen about a billion coats of tung oil was applied and allowed to cure for months.

As one can see, the ground board is not anywhere close to the ground--this is to provide a comfortable viewing sitting height when the scope points at the horizon, and a comfortable viewing standing height when the scope is pointing at zenith.

assembly19.JPG

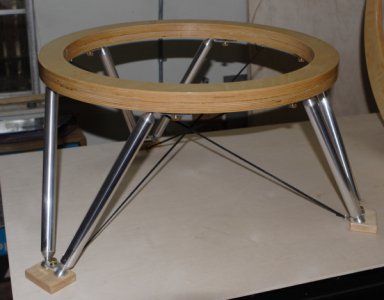
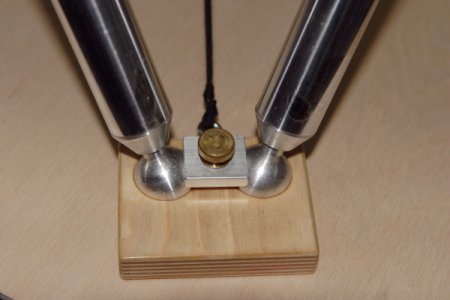
I made a mechanism to hold the ball ends of the poles in the sockets I machined spo the poles can be removed for transport and storage.

assembly20.JPG

There are 3 feet which capture the 6 pole ends and are clamped with another machined part.

The legs are angled such that the planes they define coincide at the CoG of the fully assembled telescope.

Currently I am using high tensile twine to hold the legs at proper angles--these will be changed to "bow string" after the telescope trip in 2 weeks.
 
The truss poles are installed onto the studs and will hold their position while being tightened:

assembly23.JPGassembly24.JPG

This is one of the reasons I chose the lower ball race to be under the wooden positioning ring.
 
Back
Top