-
Welcome back Guest! Did you know you can mentor other members here at H-M? If not, please check out our Relaunch of Hobby Machinist Mentoring Program!
- Forums
- THE PROJECTS AREA
- PROJECT OF THE DAY --- WHAT DID YOU DO IN YOUR SHOP TODAY?
- Project of the Day Mega-Thread Archives
You are using an out of date browser. It may not display this or other websites correctly.
You should upgrade or use an alternative browser.
You should upgrade or use an alternative browser.
2016 POTD Thread Archive
- Thread starter sanddan
- Start date
- Joined
- May 24, 2012
- Messages
- 395
This is just a crazy idea for a keychain. Small aluminium 5mm cheet from my scrap bin and beside holes, a bit filling and emery paper. Ended beeing a funny afternoon project.Brass knuckles for a GI Joe doll?
I need some context.
-brino
- Joined
- Nov 23, 2014
- Messages
- 2,609
Not a lot to show for the POTD, but hopefully will pay dividends later in time saved. I've been focusing on getting stuff cleaned up and organized in my shop. In other words, couldn't get motivated to start a new project, but wanted to be out in the shop . . .
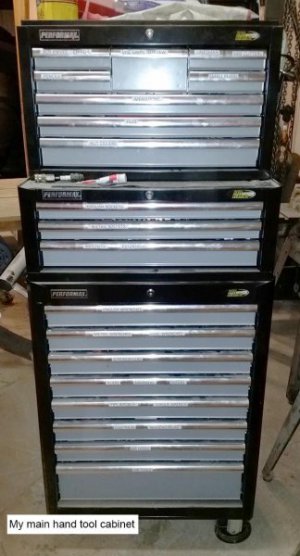
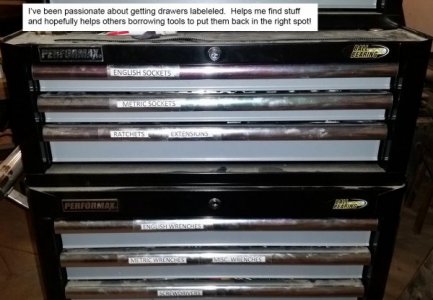
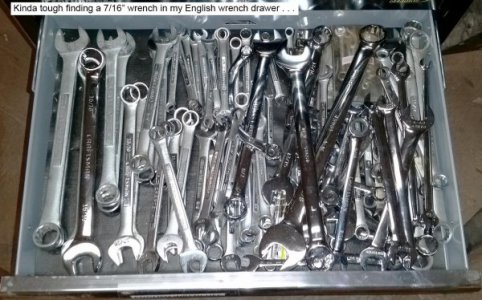
Most of my hand tools are in one roll-away tool box from Menard's. I'd at least gotten it somewhat organized and labeled; at least knew which drawer English sockets and wrenches were in. However, as the attached photo shows, good luck finding a particular wrench . . . I won't bore you all with the inventory of Craftsman combo wrenches in the drawer, but the fewest I have are just 2 15/16" combo wrenches. Most was (14) 1/2" combo wrenches! Joked to my wife that something must be going on in that drawer between a couple of the wrenches; I don't recall ever buying that many 7/16" (10 of them), 1/2" (14 of them) and 9/16" (8 of them) wrenches.
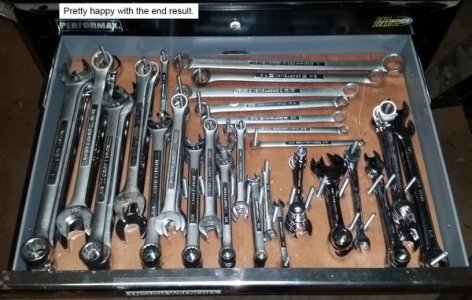
At one time the drawer was organized with a Sears wrench organizer. It's a pair of plastic bars that have "V" notches for the wrenches to set in. That organizer is really designed to hold one wrench, but you can crowd two or more of the smaller wrenches in one space. I've seen guys hang wrenches on a pegboard, kind of did the same thing in my box. Figured on stacking wrenches as deeply as the drawer allows and put the left overs in other tool boxes.
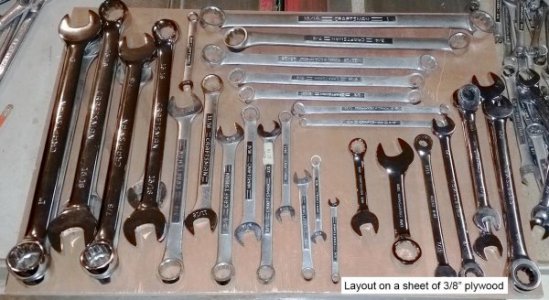
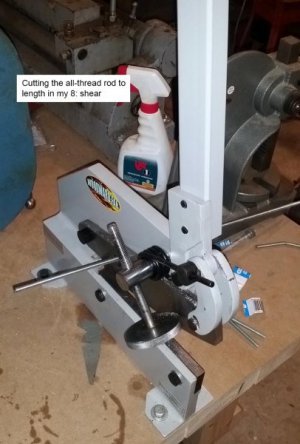
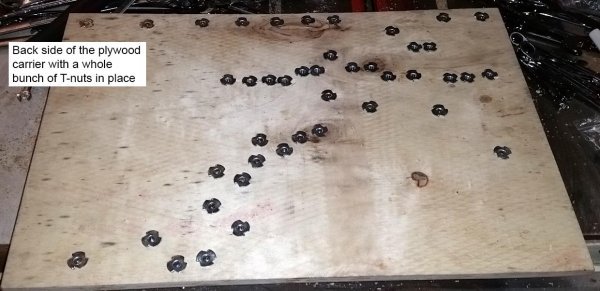
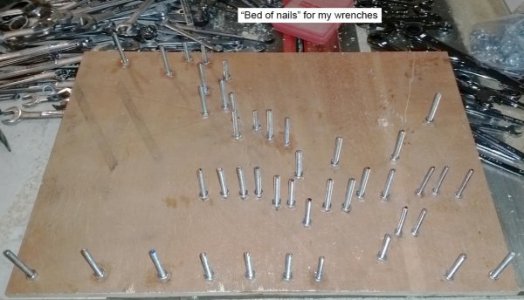
Started with a piece of 3/8" plywood salvaged from the box my Woodward Fab 6" sheet metal notcher came in. Cut it to size and laid the regular combo, stubbies, box end and ratcheting combos in place. Marked the box end on the board and drilled holes for 1/4"-20 and 10-24 T-nuts. The rods are all-thread which was cut to length using my Woodward Fab 8" shear. Cleaned the cut threads up with a belt sander.
T-nuts were pounded into place on the back side, threaded rod (with some loctite) and nut on top for the hangers and spacers (rods between wrenches). Pretty happy how it all came out, might give it a paint job this summer.
Next drawer will be the Metric wrench drawer which now also holds my English flare nut wrenches, English tappet wrenches, spanners, etc. on top of the metrics.
Bruce


- Joined
- Feb 17, 2013
- Messages
- 336
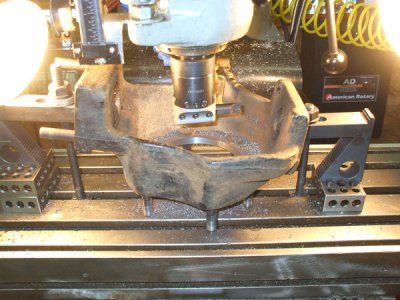
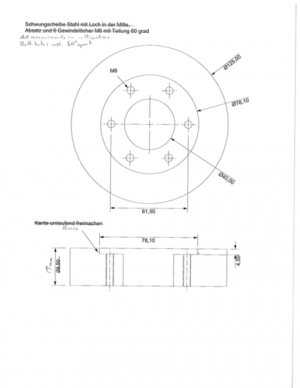
I was asked to make a flywheel weight for a KTM LC4 super-moto bike. He got the plans off another member of a forum he frequents and supplied a 1" thick slice of 5" round 1018 cold rolled steel. The dimensions for the weight are 125mm OD and 17mm thick. It has six m6 threaded holes to fasten it to the flywheel and a centering hub that it fits over also on the flywheel. The plans show a bolt hole circle diameter of 61.5mm.
Being a skeptic I double checked the dimensions on the flywheel he sent me with the material.
I mounted the flywheel in my super spacer and used a coaxial indicator to find the center of it. I had to indicate off the OD of the hub as there is a keyway on the id of the hole. Short video of that process.

I moved the mill x axis over and used a center finder to locate the hole position.
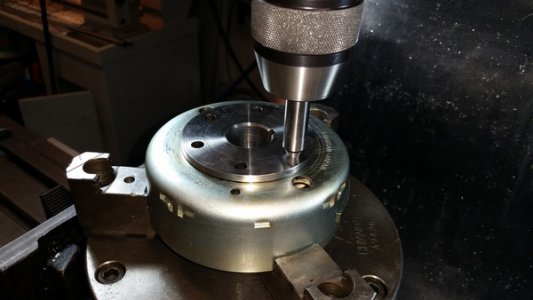
I measured the radius as 30.66 mm not 30.75 as the plans stated so I went with that in my build.
This is the outside of the flywheel, the starter sprag is mounted on the inside and will be removed and replaced with this weight along with all the other electric start parts.
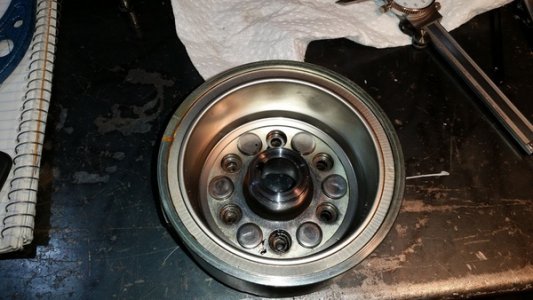
This is the sprag hub.
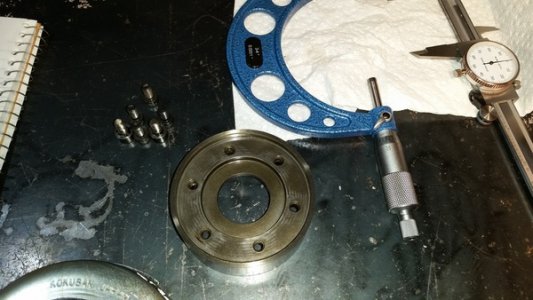
I faced off the slice of steel in my 4 jaw chuck so I could dial it in perfectly centered, my 3 jaw has about .002" runout.
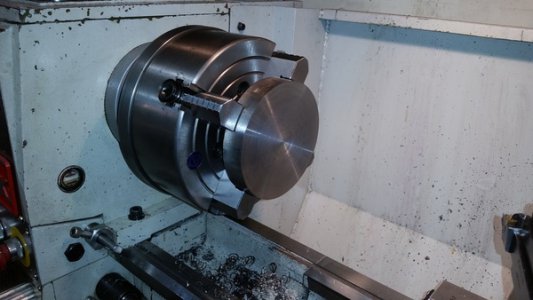
Plans call for a 1.240 center hole so I drilled it to 1.125 and used a boring bar to finish the hole.
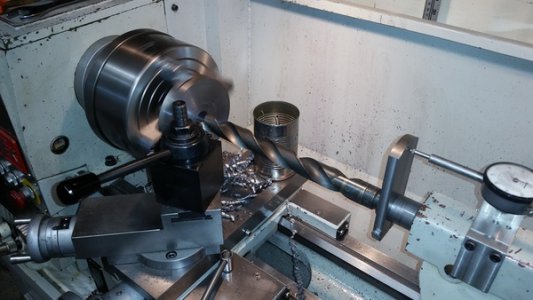
I used a boring bar to machine the recess that fits over the center hub to .175 depth and 3.069" which is what I measured the OD of the hub on the flywheel at. I wound up with a nice snug fit.
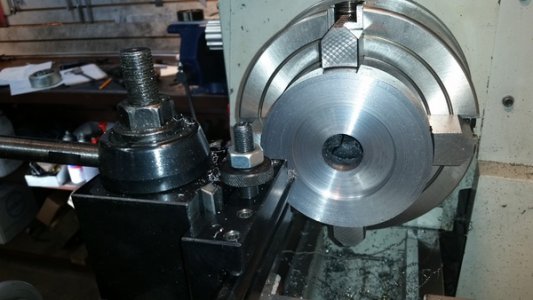
I mounted it in the super spacer and drilled and tapped the six bolt holes.
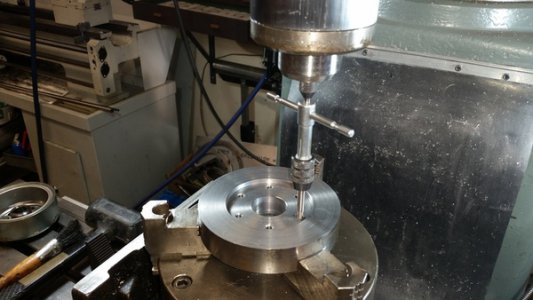
It fits perfectly and the bolt holes line up exactly, that was a relief.
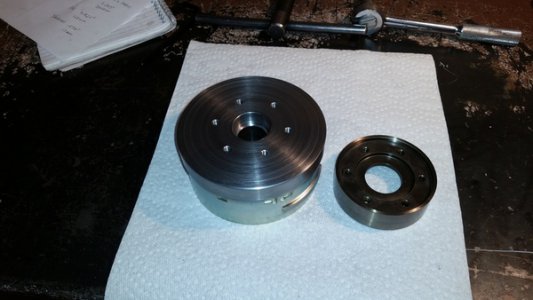
I bolted the weight to the flywheel and mounted the flywheel in the 4 jaw and centered it indicating off the center hole in the weight I bored earlier. I turned down the OD to 4.921" and the thickness to .670" as per the plans. Here's the finished product next to the old starter sprag hub. The sprag hub weighs 645 grams and the finished flywheel weight weighs 1382 grams. This should make the engine much smoother a low rpm and help to control wheel spin.
A fun project! This is the 8mm of steel I machined off the 1" slice to get it to 17mm thickness.

Being a skeptic I double checked the dimensions on the flywheel he sent me with the material.
I mounted the flywheel in my super spacer and used a coaxial indicator to find the center of it. I had to indicate off the OD of the hub as there is a keyway on the id of the hole. Short video of that process.

I moved the mill x axis over and used a center finder to locate the hole position.

I measured the radius as 30.66 mm not 30.75 as the plans stated so I went with that in my build.
This is the outside of the flywheel, the starter sprag is mounted on the inside and will be removed and replaced with this weight along with all the other electric start parts.

This is the sprag hub.

I faced off the slice of steel in my 4 jaw chuck so I could dial it in perfectly centered, my 3 jaw has about .002" runout.

Plans call for a 1.240 center hole so I drilled it to 1.125 and used a boring bar to finish the hole.

I used a boring bar to machine the recess that fits over the center hub to .175 depth and 3.069" which is what I measured the OD of the hub on the flywheel at. I wound up with a nice snug fit.

I mounted it in the super spacer and drilled and tapped the six bolt holes.

It fits perfectly and the bolt holes line up exactly, that was a relief.
I bolted the weight to the flywheel and mounted the flywheel in the 4 jaw and centered it indicating off the center hole in the weight I bored earlier. I turned down the OD to 4.921" and the thickness to .670" as per the plans. Here's the finished product next to the old starter sprag hub. The sprag hub weighs 645 grams and the finished flywheel weight weighs 1382 grams. This should make the engine much smoother a low rpm and help to control wheel spin.

A fun project! This is the 8mm of steel I machined off the 1" slice to get it to 17mm thickness.

- Joined
- Aug 19, 2013
- Messages
- 764
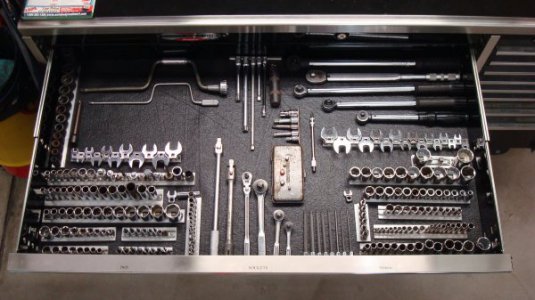
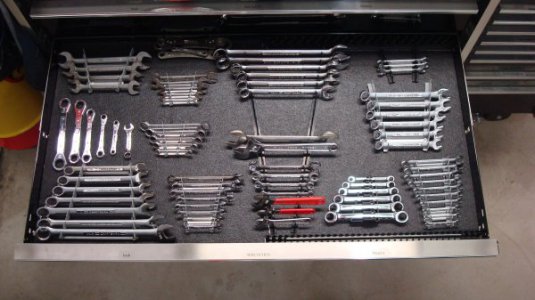
Beautiful !Here is my wrench organization. Pretty similar, I like the labels also. I tens to like the combination wrench racks.
View attachment 142459 View attachment 142460
- Joined
- Sep 30, 2012
- Messages
- 521
Here is my wrench organization. Pretty similar, I like the labels also. I tens to like the combination wrench racks.
View attachment 142459 View attachment 142460
Randy, I can get mine looking almost that good, problem is it doesn't stay that way very long.
F
Firestopper
Forum Guest
Register Today
When I served in the USAF, all our tool boxes had black foam (shadow box) with a under layer of blue foam exposing a missing tool. I considered this for myself, but this takes too much space for the amount of tools vs drawer space.
Last edited by a moderator:
- Joined
- Nov 23, 2014
- Messages
- 2,609
Hi Randy,Here is my wrench organization. Pretty similar, I like the labels also. I tens to like the combination wrench racks.
View attachment 142459 View attachment 142460
Just beautiful! Wish I had the space for a roll-away as large as yours. I'm sure the other drawers are organized just as well. I recall seeing some Vidmar cabinets in one of your posts with the same type of attention to details. It takes some time to get it in that shape to start with, but sure is nice in the long run being able to find stuff!
Bruce


