2018 POTD Thread Archive

Here is my project from Saturday morning.

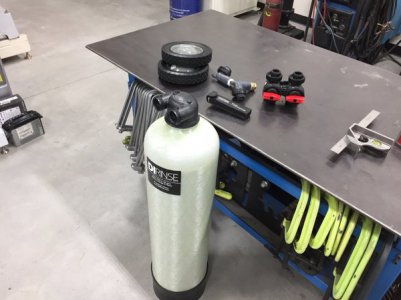
Started on a cart or dolly for my deionized filtration system. I’ve been researching and waffling on a system for a few years now as it generally takes me around 2-1/2 hours to wash and chamois my coach. I hope to be able to more than cut that in half. I finally pulled the trigger on the Pro 100 tank/system from DI Rinse.
e0f3e29433be9f2be9acfd63c8f866df.jpg

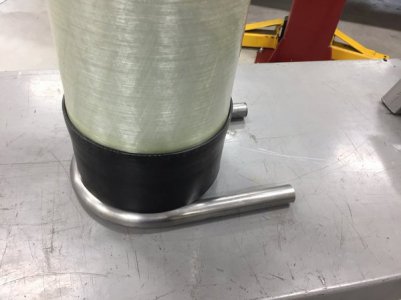
The tank measures 9” in diameter. I had some 1-1/4” x .095” DOM tubing left over from a previous project and my 1-1/4” die is a 4-1/2” centerline radius so that should be perfect.
44321379e01fad9ef7d1e0d13a3eb221.jpg

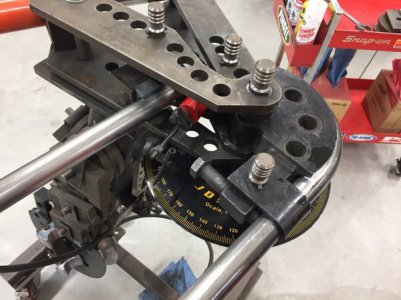
Next I decided to bend up another 180-degree hoop in which will go up and back down to the bottom hoop. Thus will allow the tank to actually nestle back into it and merely need a strap to secure it.
74e3c8d4fdb37eac46e6d53cecaabf50.jpg

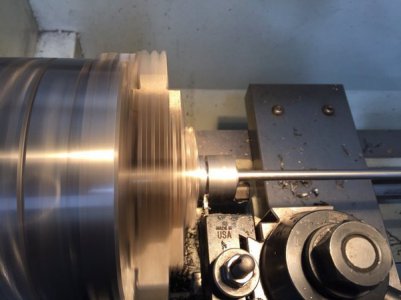
Next to the lathe in which to start on the axle assembly.
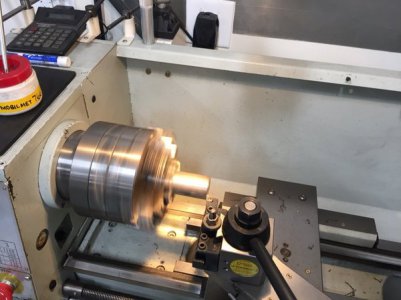
048d2e8730a98c4e2664a2b121cd898f.jpg

Im making a couple of tube adapters in which will be welded into another piece of 1-1/4” tube that will be botched and welded to the back of the bottom hoop where the tank will rest.
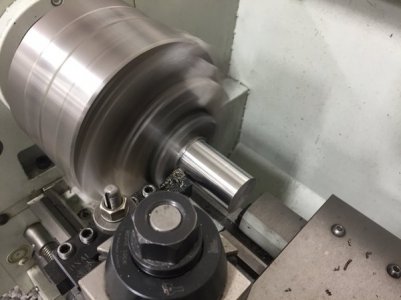
031ee508d00824ec24011b6584a0536d.jpg

Parting the tube adapter off.
f634d427e786e673df311624b72baacd.jpg

Chamfering to allow void or channel for weld after pressing into tube.
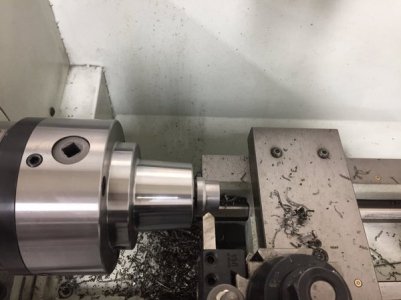
58b6eff26fca5b84fe1db4f276f85808.jpg

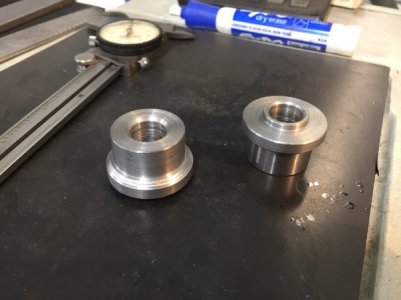
Tube adapters complete.
310a0b287097cacc6fd8175ef46d029c.jpg
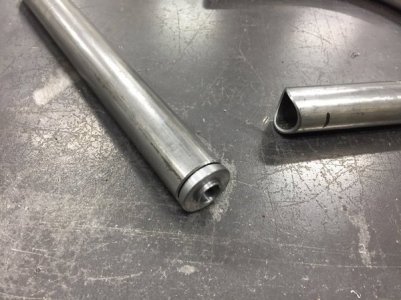
Test fit into tube.
02decdbe8c9e102f2fd3c2380d43460f.jpg

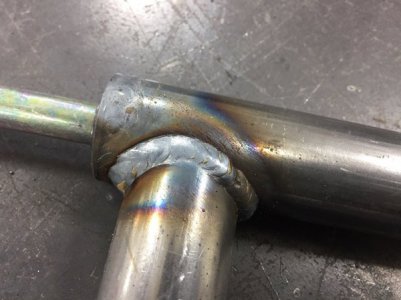
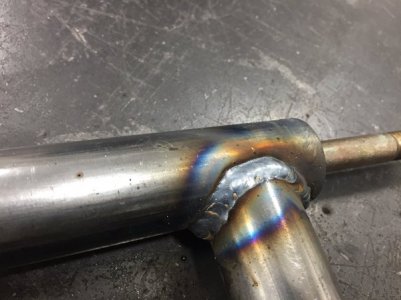
I then used a couple of 1/2”-13 x 3” bolts through the tube adapters and the heads welded on the inside on the adapters and welded the adapters into the tube using my MK Products weld positioner and TIG arm rest.
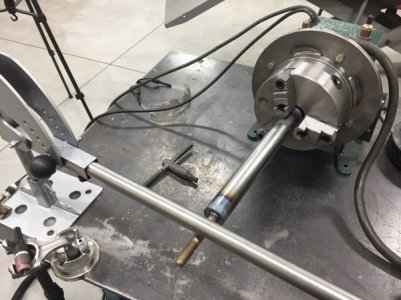
113e737eef149b4e3bf91ef553aab77b.jpg

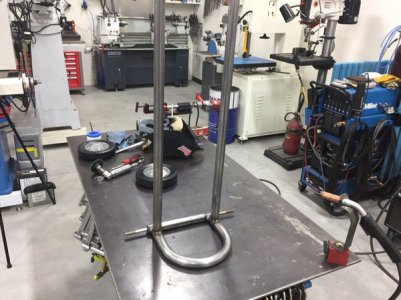
Axle then clamped and welded to the lower hoop.
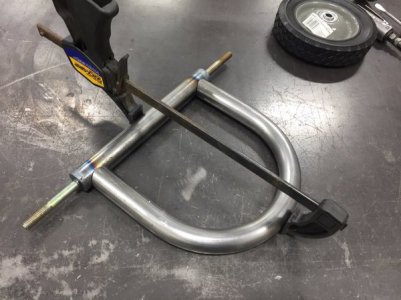
9e365bafcfef22f758fdc5a010f44795.jpg

760f4291f5fdce573f73624632ca176f.jpg

36e085971a4e19b20d91980ba8ed3028.jpg

So far this is where it is at.
012e15fe0a1aa6db8c34baf8469702da.jpg

Here is the video of my Deionized Filtration Cart Part 1.

Part 2/completion coming soon.

Mike
 
"It was a neat engineering exercise and working through the different approaches, their pluses and minuses, as well as all the math (like working out pulley ratios) was really neat."

Projects don't always have to reach the expected or desired outcome to be successful. You learn more working your way through trials and tribulations than along a straight and easy path

absolutely, I think that she learned more from that than anything else. Working through the various alternative solutions after our first failure was a good exercise too.

Spending time building things with your kid makes it a success in my book.

yes indeed! I don't get as much time to do that as I would like during the semester, but I managed to make a gerbil habitat out of a large tote with my other daughter the day before, which was also fun. Admittedly that meant that I didn't get to do some maintenance on my bike but i can do that over spring break coming up. My eldest (nearly 12) is very keen on helping me in the garage, so I have a long list of simple projects that I can do with her - making a rack for my files is top of the list, having those lying around is bugging the nuts out of me!
 
STANDARDS ?
Went to cut an internal 1" fine thread. Look at the wall chart UNF 12TPI, good, set the lathe, chip the cutter.DAH. Thought about grinding back a smaller tap to make a full form cutter. 9/16 course is 12TPI, FINE. Look and only have a starting and bottoming tap, so no. Check my 1" fine thread taps as the drawer is open, have a 12 TPI and a 13 TPI, HUM. Check the wall chart again, 13 TPI is NF. OK. Find a beat up 1 inch grade 8 bolt, its not 12 or 13, its 14 TPI. HUH. Check the chart again, thats NS.
Remember running into this before on something.

Greg


That's the nice thing about standards. There are so many to choose from!! :)
 
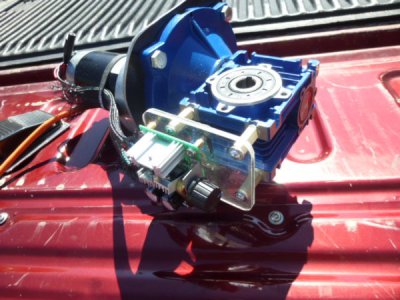
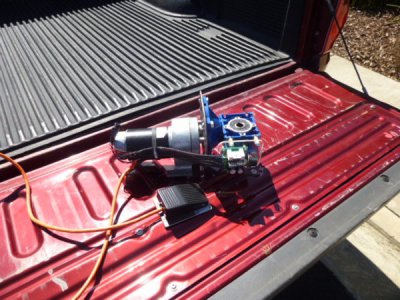
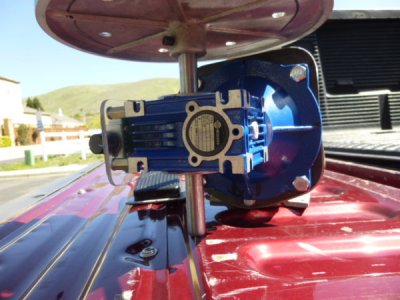
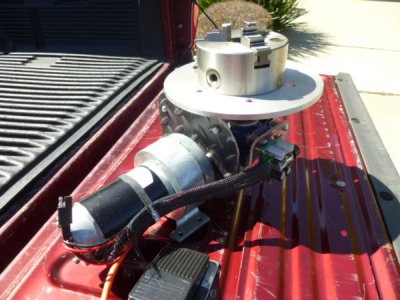
12 volt gear motor, 1/8 adapter plate, 25:1 blue gear box.

shaft size is 5/8..... have several arbors for this...

adjustable from/about, close to zero rpm, to 15 rpm

weight 14 pounds, free standing

use for, spring winding, welding round shafts

easy, breezy

P1020289.JPG


P1020292.JPG


P1020296.JPG

P1020298.JPG


Charl
 
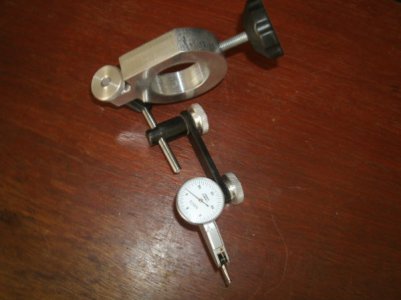
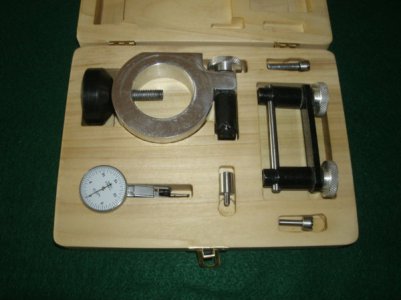
Made a tool post indicator holder. This is modeled after Tublcains holder. Mine is made out of derlin. Also I made it flat so the indicators bolt to the side without machining out reliefs for the dials on the indicators 2ff52f7f3a56dccd393437cb2f864d2a.jpg


Sent from my iPhone using Tapatalk
 
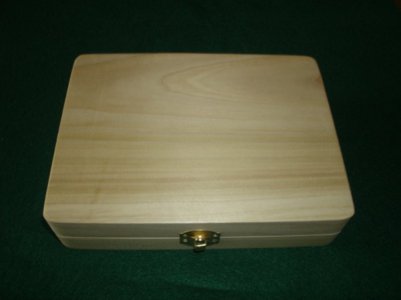
Very nice Dean. Looks solid, I bought a Chinese one that wiggles and jiggles like a Hola dancer. The fitted box is a really nice touch.

Greg
 
I've been busy dealing with snow and trying to find a better system than the one I've been using for the last 9 years. That has occupied a lot of my time over the last few weeks and there's hasn't been much, if any, machining going on at my place.

A while ago I posted a some pics of the snow plow mount I made and that took care of stage 1 of the new system. Then I moved on to stage 2 which is to convert my rear mount tractor snow blower to a hydraulic unit that could be used on the skidsteer. My first attempt was to mount a hydraulic motor directly to the input shaft on the blower but that didn't work well. I took a digital tach reading on the input shaft and the highest RPM's I could get was 520. I thought that was a little low and may be the problem. So I decided to try using sprockets to up the speed. Got that finished this morning and gave it a go on the 4" of heavy snow that fell overnight and this morning. That was the cure and the new setup worked very well. I should have done this at the beginning of snow season not the end. Now I can drive forward when blowing snow instead of looking over my shoulder for 1 1/2 hrs when using the blower on the back of the tractor.

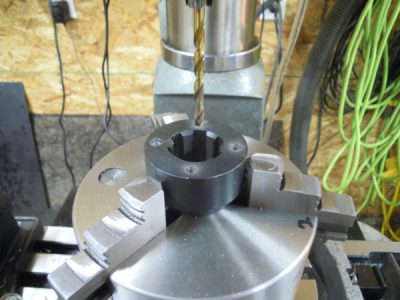
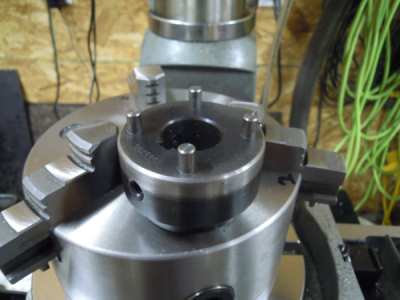
Here's some pics of the first attempt and there was a small amount of machining involved to join the 2 motor couplers. I used the RT to drill some alignment holes, then some drill rod cut to length for pins and used those to align everything before welding.
1520555465851.png

1520555521100.png
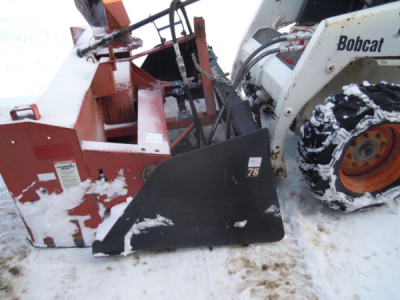
Here it is all set up for a trial run. The blower is just sitting in the snow bucket for a trial run. I figured there was no point in making a permanent mount for the SS unless this worked.
1520555717728.png

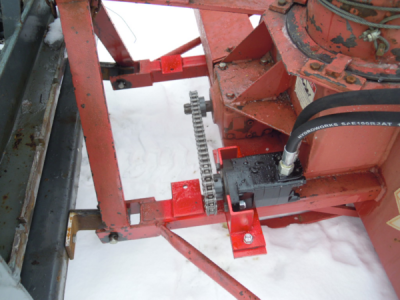
And here is the sprocket and chain version, which was just completed this morning. With this setup I can still pull the hydraulic motor and mount the blower on the tractor, if I need the extra horsepower.
1520555838046.png

1520555923689.png
 
Back
Top