A new project

Phil,

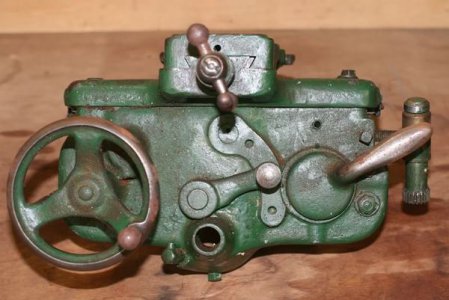
Mine has the BS stamp in the same place. The 153 may mean the yours is put together from several lathes. It may be that earlier tailstocks were stamped on the underside. Mine is on the end, right above the alignment index marks.

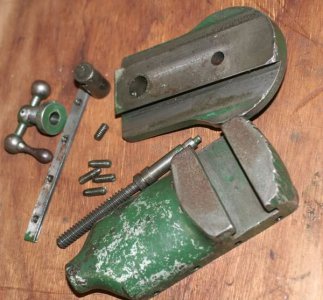
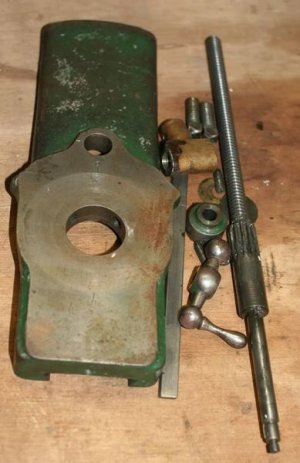
I can't tell how the end nut comes off, as it's painted after installation. I would assume right-hand thread, since the heaviest load it will see is with the handwheel being turned clockwise.

I think the only S.N. on the headstock is on the brass plate on the QCGB. They probably marked the tailstock because it is easily and routinely removed. Two or three tailstocks on the shelf in a large shop could lead to mixing them up. Then everyone's work would be tapered. If your lathe was originally an A model, that would explain why there is no plate on the headstock.
 
BTW, Phil. If you haven't already seen it, there is an excellent site on restoring a Hercus AR at:

http://steammachine.com/hercus/index.html

This was my main source of information after I saw the ad for my lathe and before I headed south to buy it. I didn't see a name on the site, but he did a great job of documenting his adventures.
 
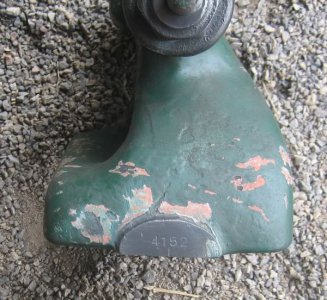
Well, I got the nut out of back of the tailstock. It was just veeery tight. After cleaning some paint from the outboard end of the tailstock I did find the serial number, which was a different one again, #4152.

IMG_5099.jpg

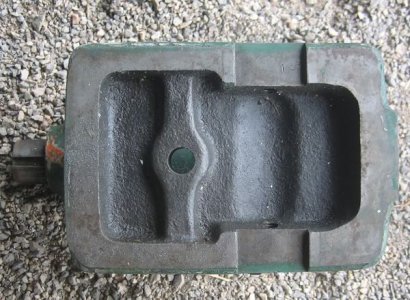
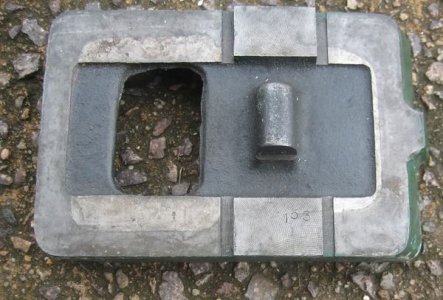
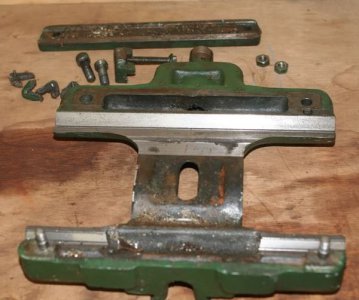
There is still the question of the #153 on the ground base of the tailstock. It also has the same number in the corresponding place on the plate that goes between the tailsock and the bed. Presumably this is what is ground to "tweek" the tailstock to the lathe?
IMG_5097.jpg IMG_5101.jpg

Mike I had found the link to that somewhere earlier, it is also linked off the Hercus page on lathes.co.uk, that was a good read and although I felt sorry for the guy in his dealings, at least he injected some humour into the saga.

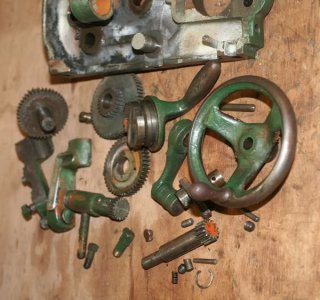
So far in cleaning, although not all that far progressed yet, the paint work seems to indicate 1 bed, saddle/crossfeed/compound, tailstock, and headstock, which is badly scored in the large spindle bearing. And a replacement, later model headstock fitted at some stage. But the serial numbers found thus far are pointing to at least 3 different machines now.
I guess we will see if I need to fit a taper turning attachment just so I can cut parallel!
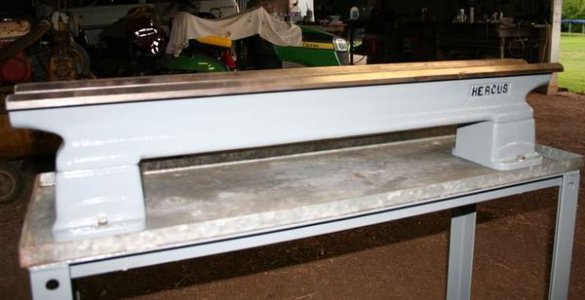
Anyway, bed cleaned and primed and ready for its first coat, going with grey enamel, like everything else I have in my shed.
IMG_5085.jpg


Cheers Phil

IMG_5099.jpg

IMG_5099.jpg

IMG_5097.jpg

IMG_5097.jpg

IMG_5101.jpg

IMG_5101.jpg

IMG_5085.jpg

IMG_5085.jpg
 
Last edited:
Yup. Looks like you have at least two lathes there. You'll just need to be careful setting up your tailstock to get the height the same as the spindle.
 
Had to put the rebuild on hold for a few days, as I had nowhere to put the lathe as it was getting reassembled.

So I turned some of this..
IMG_9648.jpg

into this...
IMG_9649.jpg

and put this here...
IMG_9651.jpg

Now to get back into the swing of things.

Cheers Phil

IMG_9648.jpg

IMG_9648.jpg

IMG_9649.jpg

IMG_9649.jpg

IMG_9651.jpg

IMG_9651.jpg
 
Last edited:
Seeing as how the tailstock serial # does’nt match the bed.
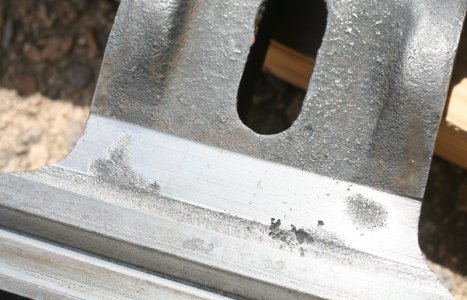
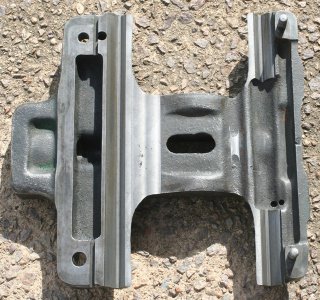
And as well as the wear indication on the adjusting plate, I took a punt that it probably wasn’t aligned to the ways, anyway.
IMG_9658.jpg

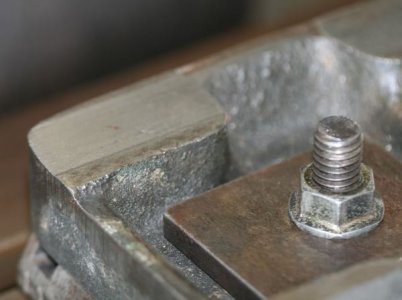
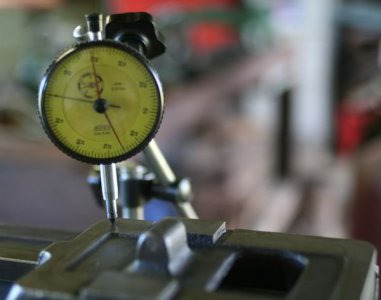
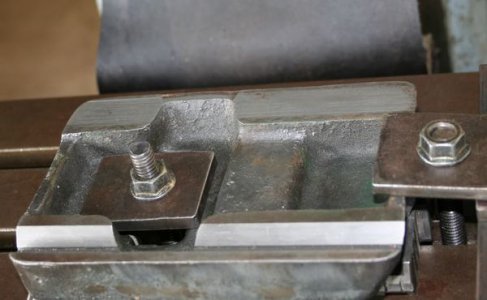
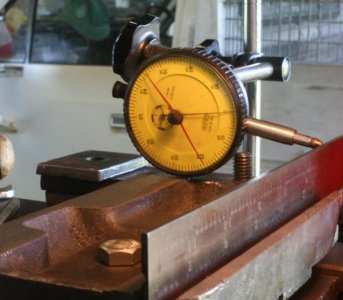
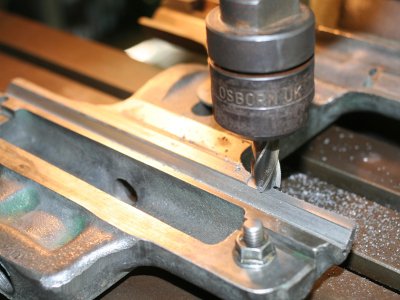
A quick check with the micrometer and dial indicator showed that the unworn parts of the plate were parallel and uniform in thickness, and the wear area came up as being 0.25 mm, (about 10 thou), slightly more wear on the leading edge of the tailstock, I mounted it direct to the mill table and took a light cut to get back to a good surface.
IMG_9656.jpg

(I think I need to investigate using one of those magnets in a bag) 
IMG_9666.jpg

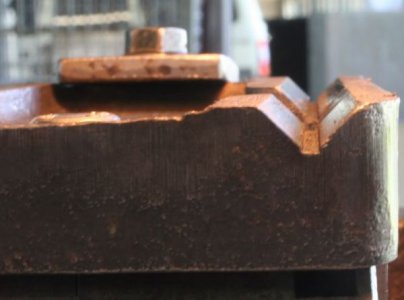
After getting it flat and parallel to within 0.01 mm, I had a think about the prism area and decided that probably it would need some work too.
IMG_9672.jpg

Needing to get the work piece lined up with the y axis and using a straight edge that conveniently was a neat fit in the groove in the apex of the prism, I set it up parallel with the dial indicator.
IMG_9669.jpg

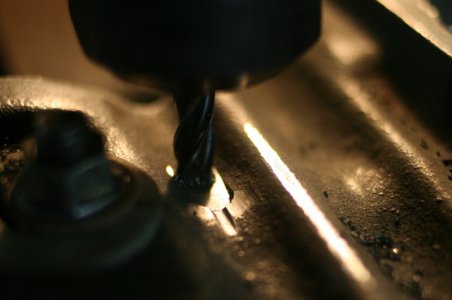
Cranked the quill over to 45° and with an end mill just touching on the worn leading edge of the tailstock I took a cut that got progressively heavier as I wound the table in.
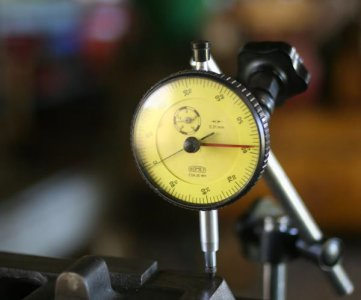
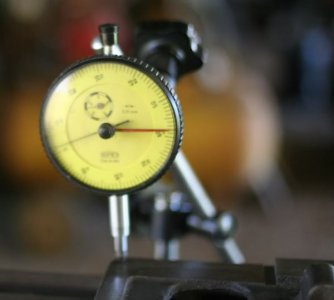
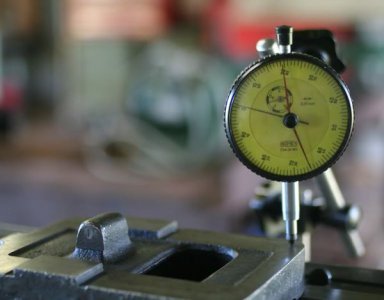
Set the adjusting plate on the unworn headstock end of the bed and with a dial indicator set up, I slipped the plate along the ways. From front to back on the flat side of the plate the error is 0.008mm, and on the prism side of the adjusting plate it is 0.026 mm. I would have preferred better there but I think I can live with that.
IMG_9678.jpg
IMG_9682.jpg
IMG_9676.jpg
IMG_9673.jpg

After I have reassembled the tailstock I will measure the centre height above the ways at the headstock end and after the headstock is reassembled and refitted I will measure the height there and add shims as necessary to the tailstock to get it the same.

Whilst I am waiting for some paint to dry I got started on the saddle/cross/topslide.
A quick snap so I know what it should look like on reassembly

IMG_9687.jpg

All green and gunky.
IMG_9697.jpg
IMG_9696.jpg
IMG_9698.jpg

And after a few minutes with the wire wheel.
IMG_9702.jpg
IMG_9700.jpg
IMG_9701.jpg

With all the nooks and crannies the apron is going in for an electrolysis bath.
IMG_9699.jpg

And that is the progress for the day.

Cheers Phil

IMG_9658.jpg

IMG_9658.jpg

IMG_9656.jpg

IMG_9656.jpg

IMG_9666.jpg

IMG_9666.jpg

IMG_9672.jpg

IMG_9672.jpg

IMG_9669.jpg

IMG_9669.jpg

IMG_9678.jpg

IMG_9678.jpg

IMG_9682.jpg

IMG_9682.jpg

IMG_9676.jpg

IMG_9676.jpg

IMG_9673.jpg

IMG_9673.jpg

IMG_9687.jpg

IMG_9687.jpg

IMG_9697.jpg

IMG_9697.jpg

IMG_9696.jpg

IMG_9696.jpg

IMG_9698.jpg

IMG_9698.jpg

IMG_9702.jpg

IMG_9702.jpg

IMG_9700.jpg

IMG_9700.jpg

IMG_9701.jpg

IMG_9701.jpg

IMG_9699.jpg

IMG_9699.jpg
 
Last edited:
Thanks Rick,
I had already indicated with bearing blue and the contact patch was surprisingly good. I did need to scrape a few spots but it came in very quickly so I was happy with that.
I am using the headstock end at the moment as it is still on the bench being painted and assembled. Should be back on soon.

Cheers Phil
 
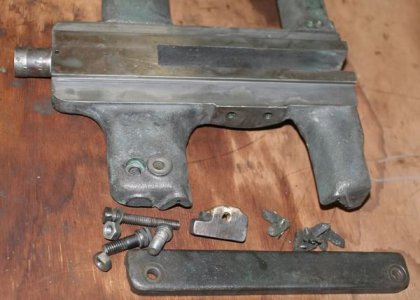
The saddle has 2 fasteners to fix the apron to its underside. The right hand screw, which is located just in front of the carriage lock is a cheese head slotted screw that has a decent recess and shoulder to pull down on...
IMG_9712.jpg

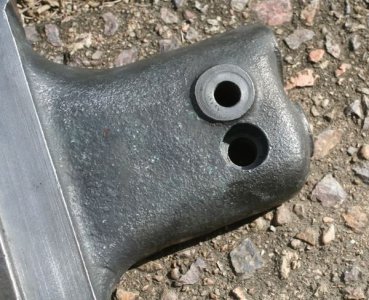
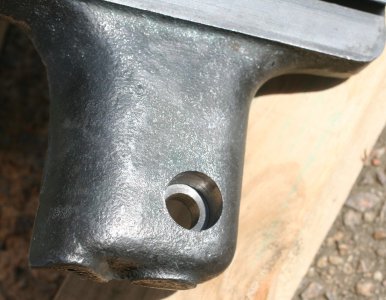
The left hand screw is a cap head allen key that also has a decent recess for it to seat into, but the diameter of the hole is almost the same all the way through. At the point where there should be a shoulder, there is the barest of reductions in diameter and the cap head screw just catches enough to snug it together.
IMG_9714.jpg

There seems to be the remnants of a thread cut in the saddle.
IMG_9718.jpg

Surely this is not how it should look?
I am considering milling a large recess in the apron on the L.H. side, (plenty of metal around) and fitting a large OD washer in there that will bring me back to the right size shoulder for a screw to seat on?
Opinions?

Cheers Phil

IMG_9712.jpg

IMG_9712.jpg

IMG_9714.jpg

IMG_9714.jpg

IMG_9718.jpg

IMG_9718.jpg
 
Been a while since I did any serious work on this. What with needing to rebuild my boat trailer to remove some cancerous sections, and just generally being tied up with other odd jobs.............

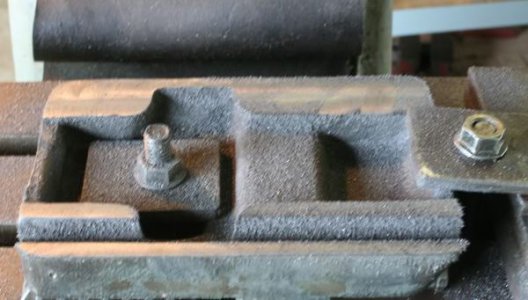
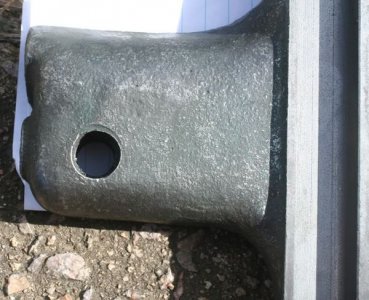
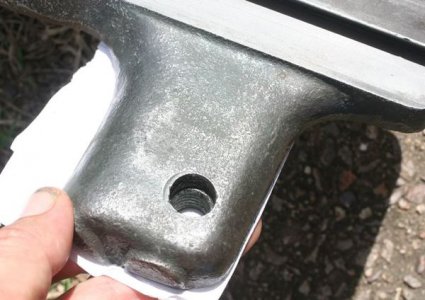
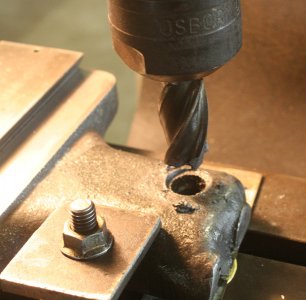
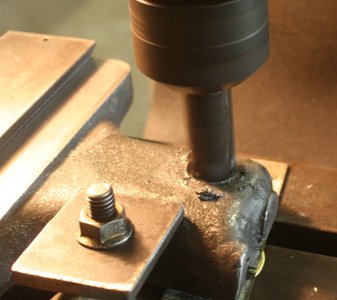
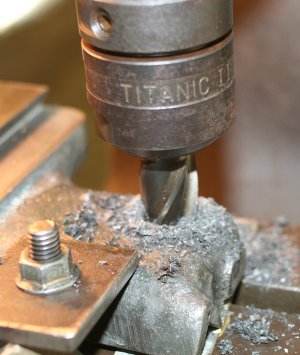
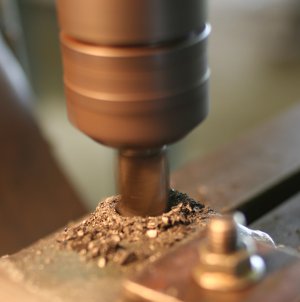
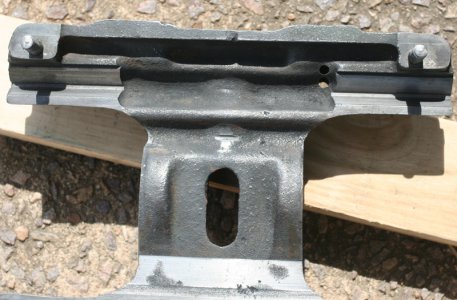
I milled a recess in the saddle mounting bolt hole, so once I have the lathe working again I can turn up a little button to fit in the hole and give a decent locating point for the bolt.

IMG_9719-1.jpg IMG_9720-1.jpg IMG_9724-1.jpg IMG_9726-1.jpg IMG_9730-1.jpg
 
Seeing as this is turning into a major restore and rebuild, whilst I had the saddle apart I figured I would clean up some areas where the bed was wearing on the underside.
Years of wear and tear and neglect gone in just minutes!

Cheers Phil

IMG_9732-1.jpg IMG_9734-1.jpg IMG_9740-1.jpg IMG_9742-1.jpg IMG_9745-1.jpg
 
Back
Top