

-
Welcome back Guest! Did you know you can mentor other members here at H-M? If not, please check out our Relaunch of Hobby Machinist Mentoring Program!
You are using an out of date browser. It may not display this or other websites correctly.
You should upgrade or use an alternative browser.
You should upgrade or use an alternative browser.
Adventures in 3D printing
- Thread starter koenbro
- Start date


- Joined
- Feb 23, 2016
- Messages
- 424
You shouldn't need supports for that fan cover. Most printers (if set up properly) should be able to print at angles up to 60 degrees without supports.
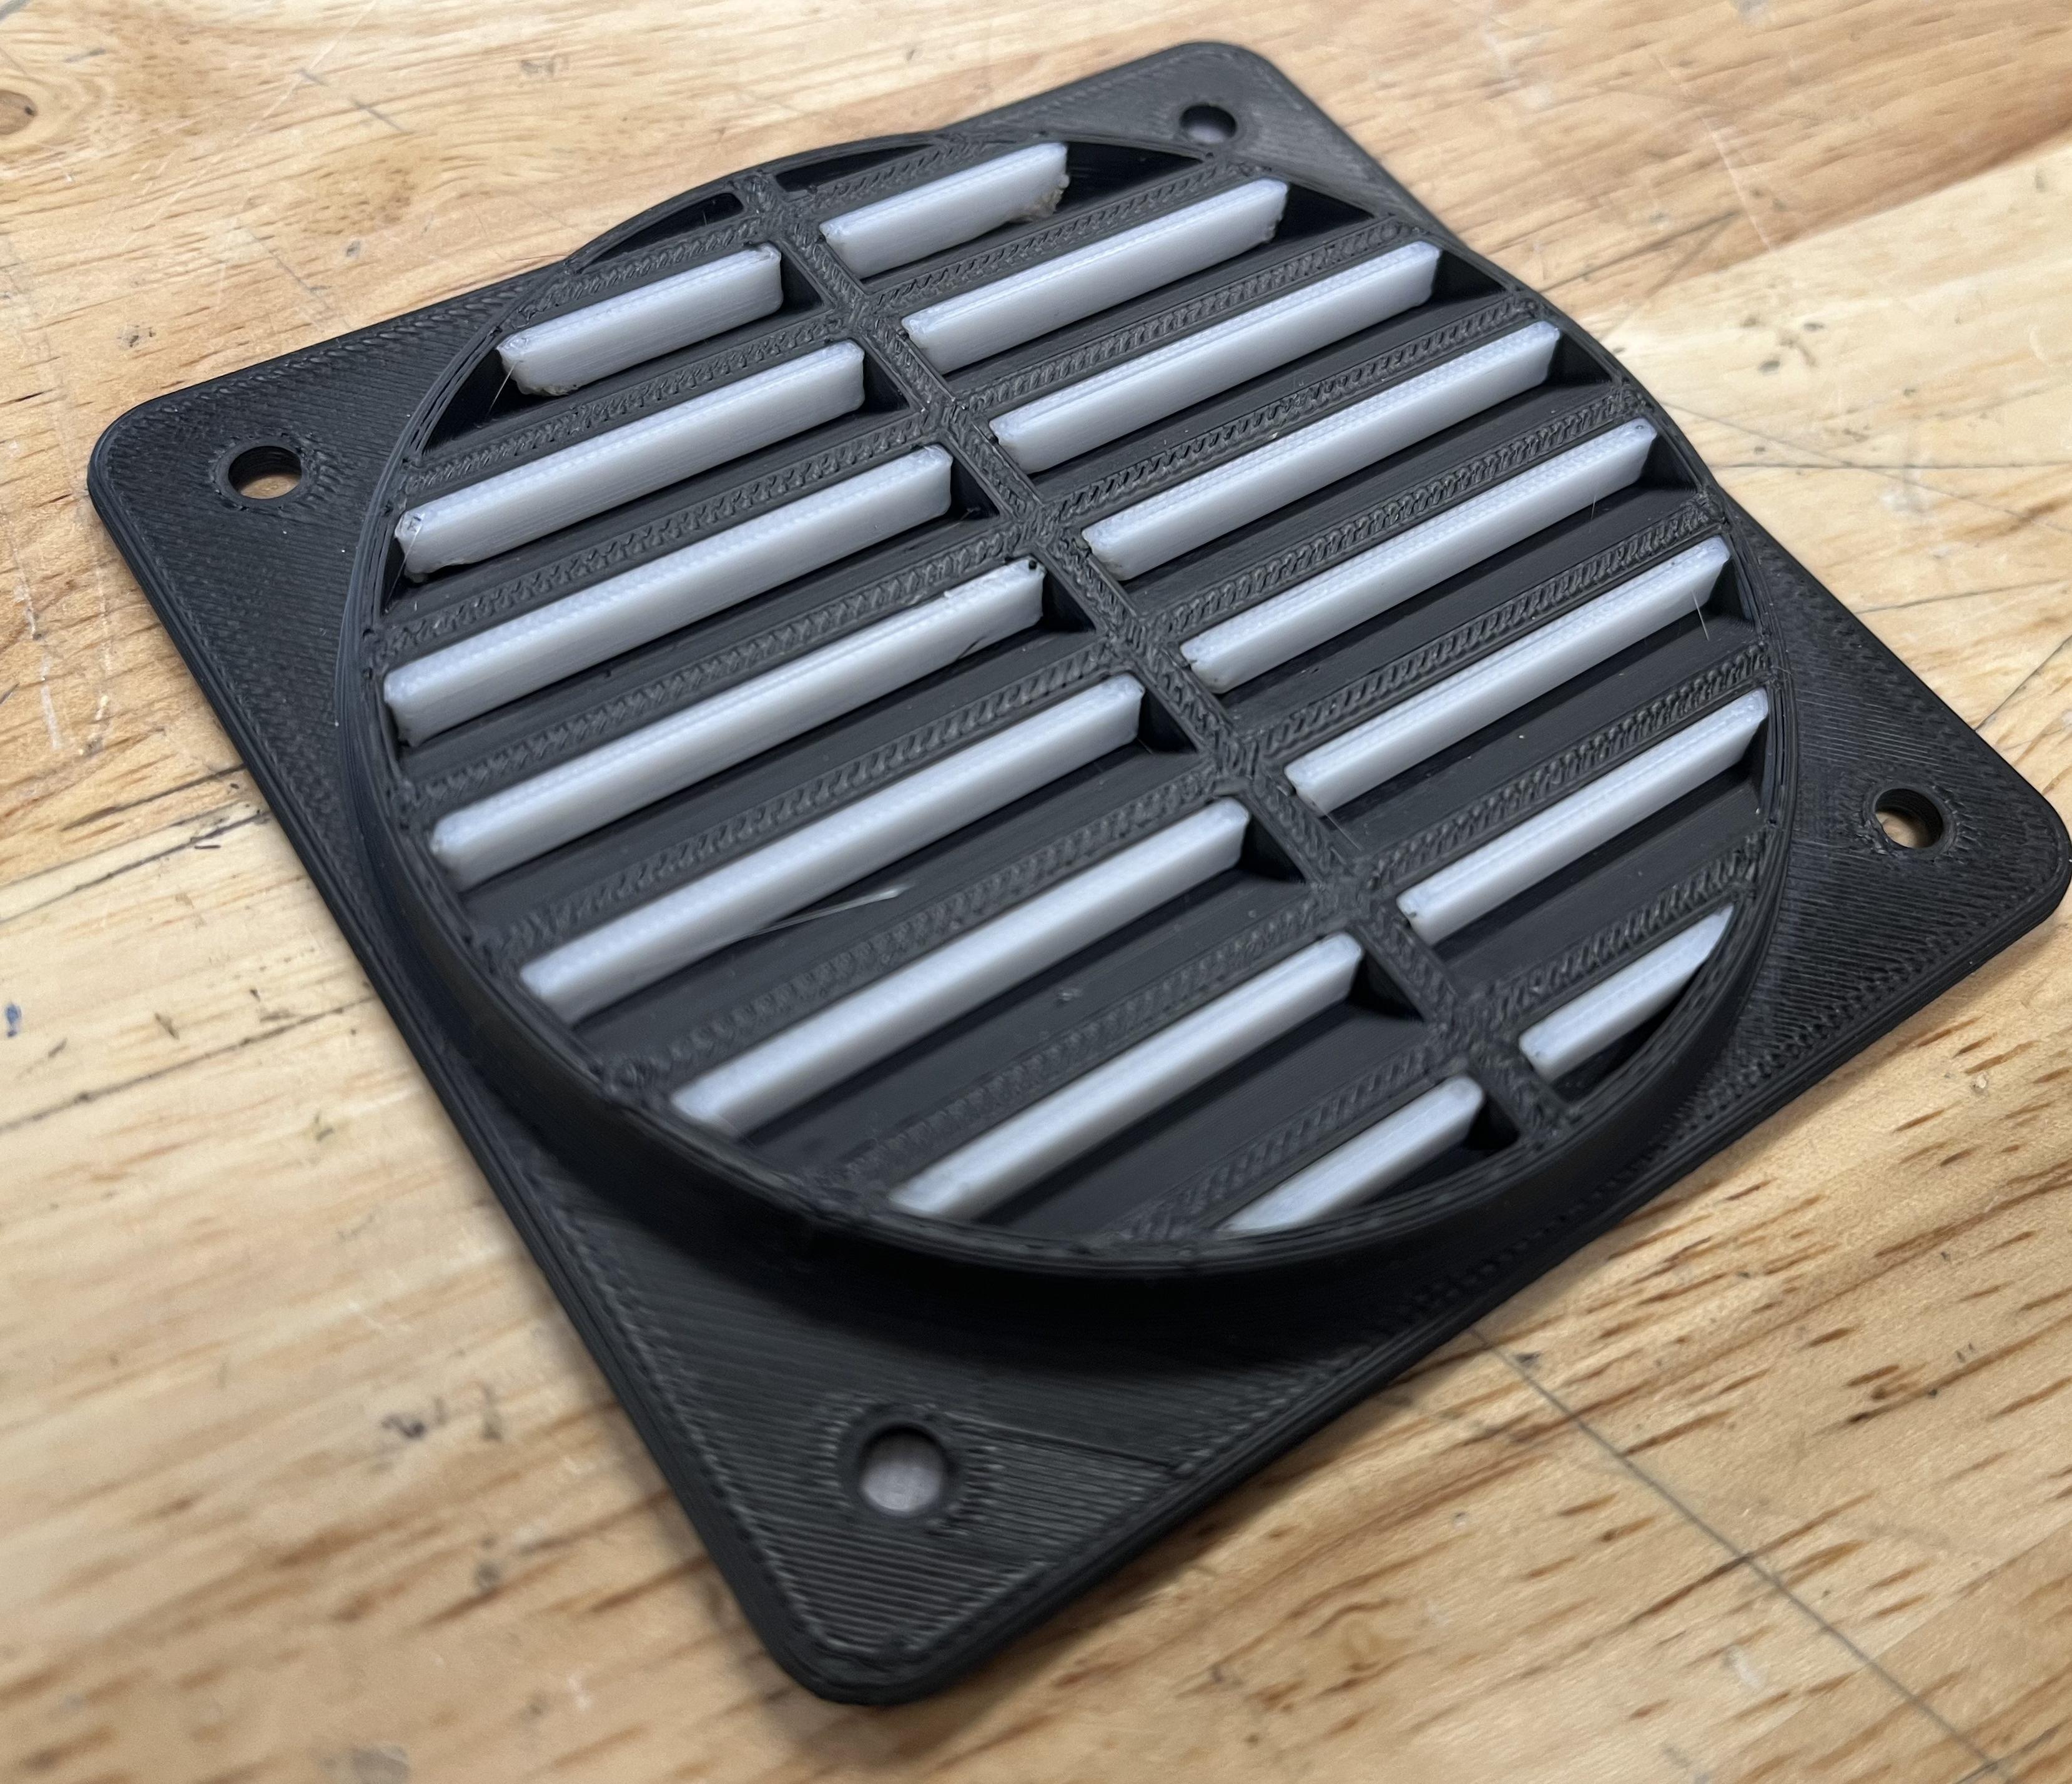
Agree that support takes time to print and dissolve and is more expensive. My printer also has the 60 degree feature, but I wanted to have the blades cover the opening and at 60 deg they have to be much longer, or print more of them. At 45 degrees a 7 mm protrusion will result in a 10mm blade.
Still learning.
Sent from my iPhone using Tapatalk Pro
Last edited:
I think you are thinking about the overhang incorrectly. People normally talk about overhang compared to the z axis, not the x/y axis (printer bed). You can get away with 60 degrees pretty easy and can go higher if you have enough fan cooling or are fine with it not turning out perfect.

- Joined
- Feb 23, 2016
- Messages
- 424
There is a good chance I’m misunderstanding something.
In your drawing, a vertical structure (Z axis) does not need support, but as you flatten it towards the bed (XY plane) at some point the material will not hold itself up, and that’s when you need the support.
I thought it is more likely that the angle is 30° from z axis or 60° from the XY plane.
Otherwise why would the slicing software recommend (and insert) support for a 45° structure while it doesn’t recommend support for a vertical structure?
Sent from my iPhone using Tapatalk Pro
I only looked at the second page and didn't realize you have the makerbot so anything I was going to say doesn't affect you. I cant tell if it has part cooling fans and if it does then they seem pretty anemic. You are probably also locked into their slicer and filament so they might not even let you change the support settings.
I'll say this anyway if someone else can use the info, 45 degrees is a reasonable point where it will work and look the same as if there were support. 20-45 degrees from x/y or 45-70 degrees from z will still work but will sag and not look pretty and probably be structurally weaker. This depends and has a lot of things that will change your results as you'd imagine. If you can cool the plastic as soon as it is placed then it wont have time to sag and ruin the part. You need part cooling fans on full blast for overhangs but some filaments don't like to be cooled quickly and will shrink and warp.
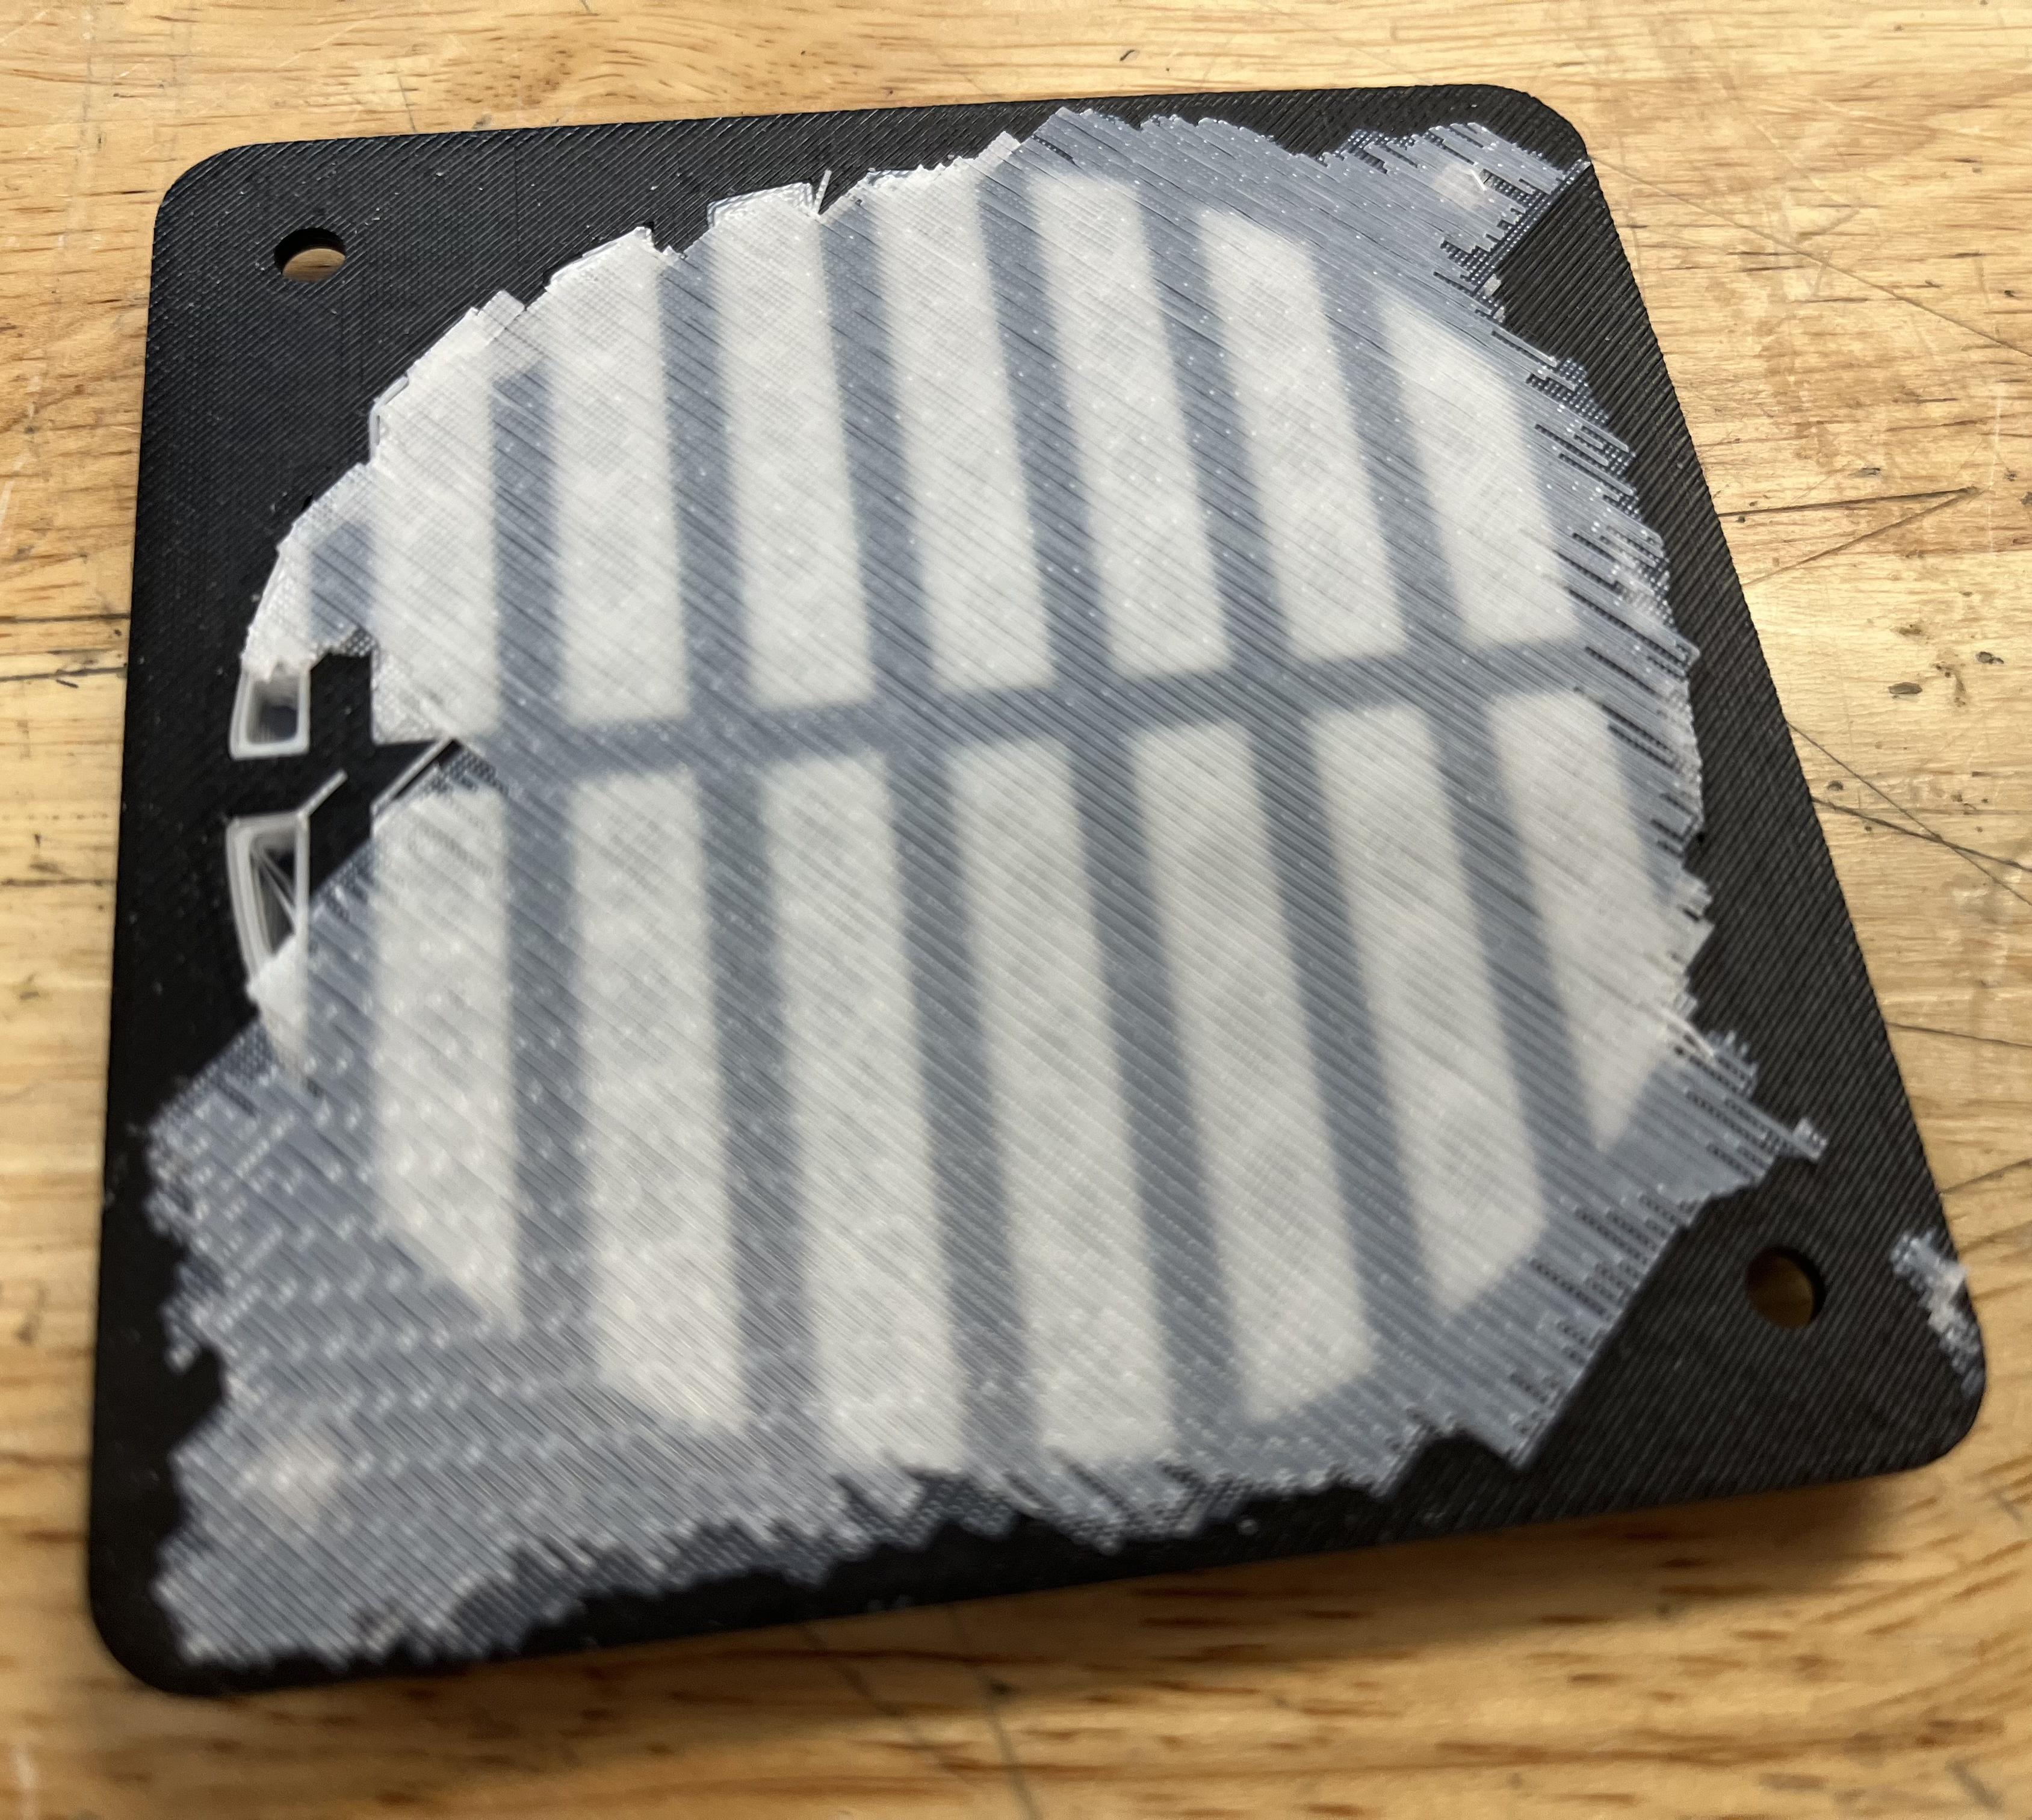
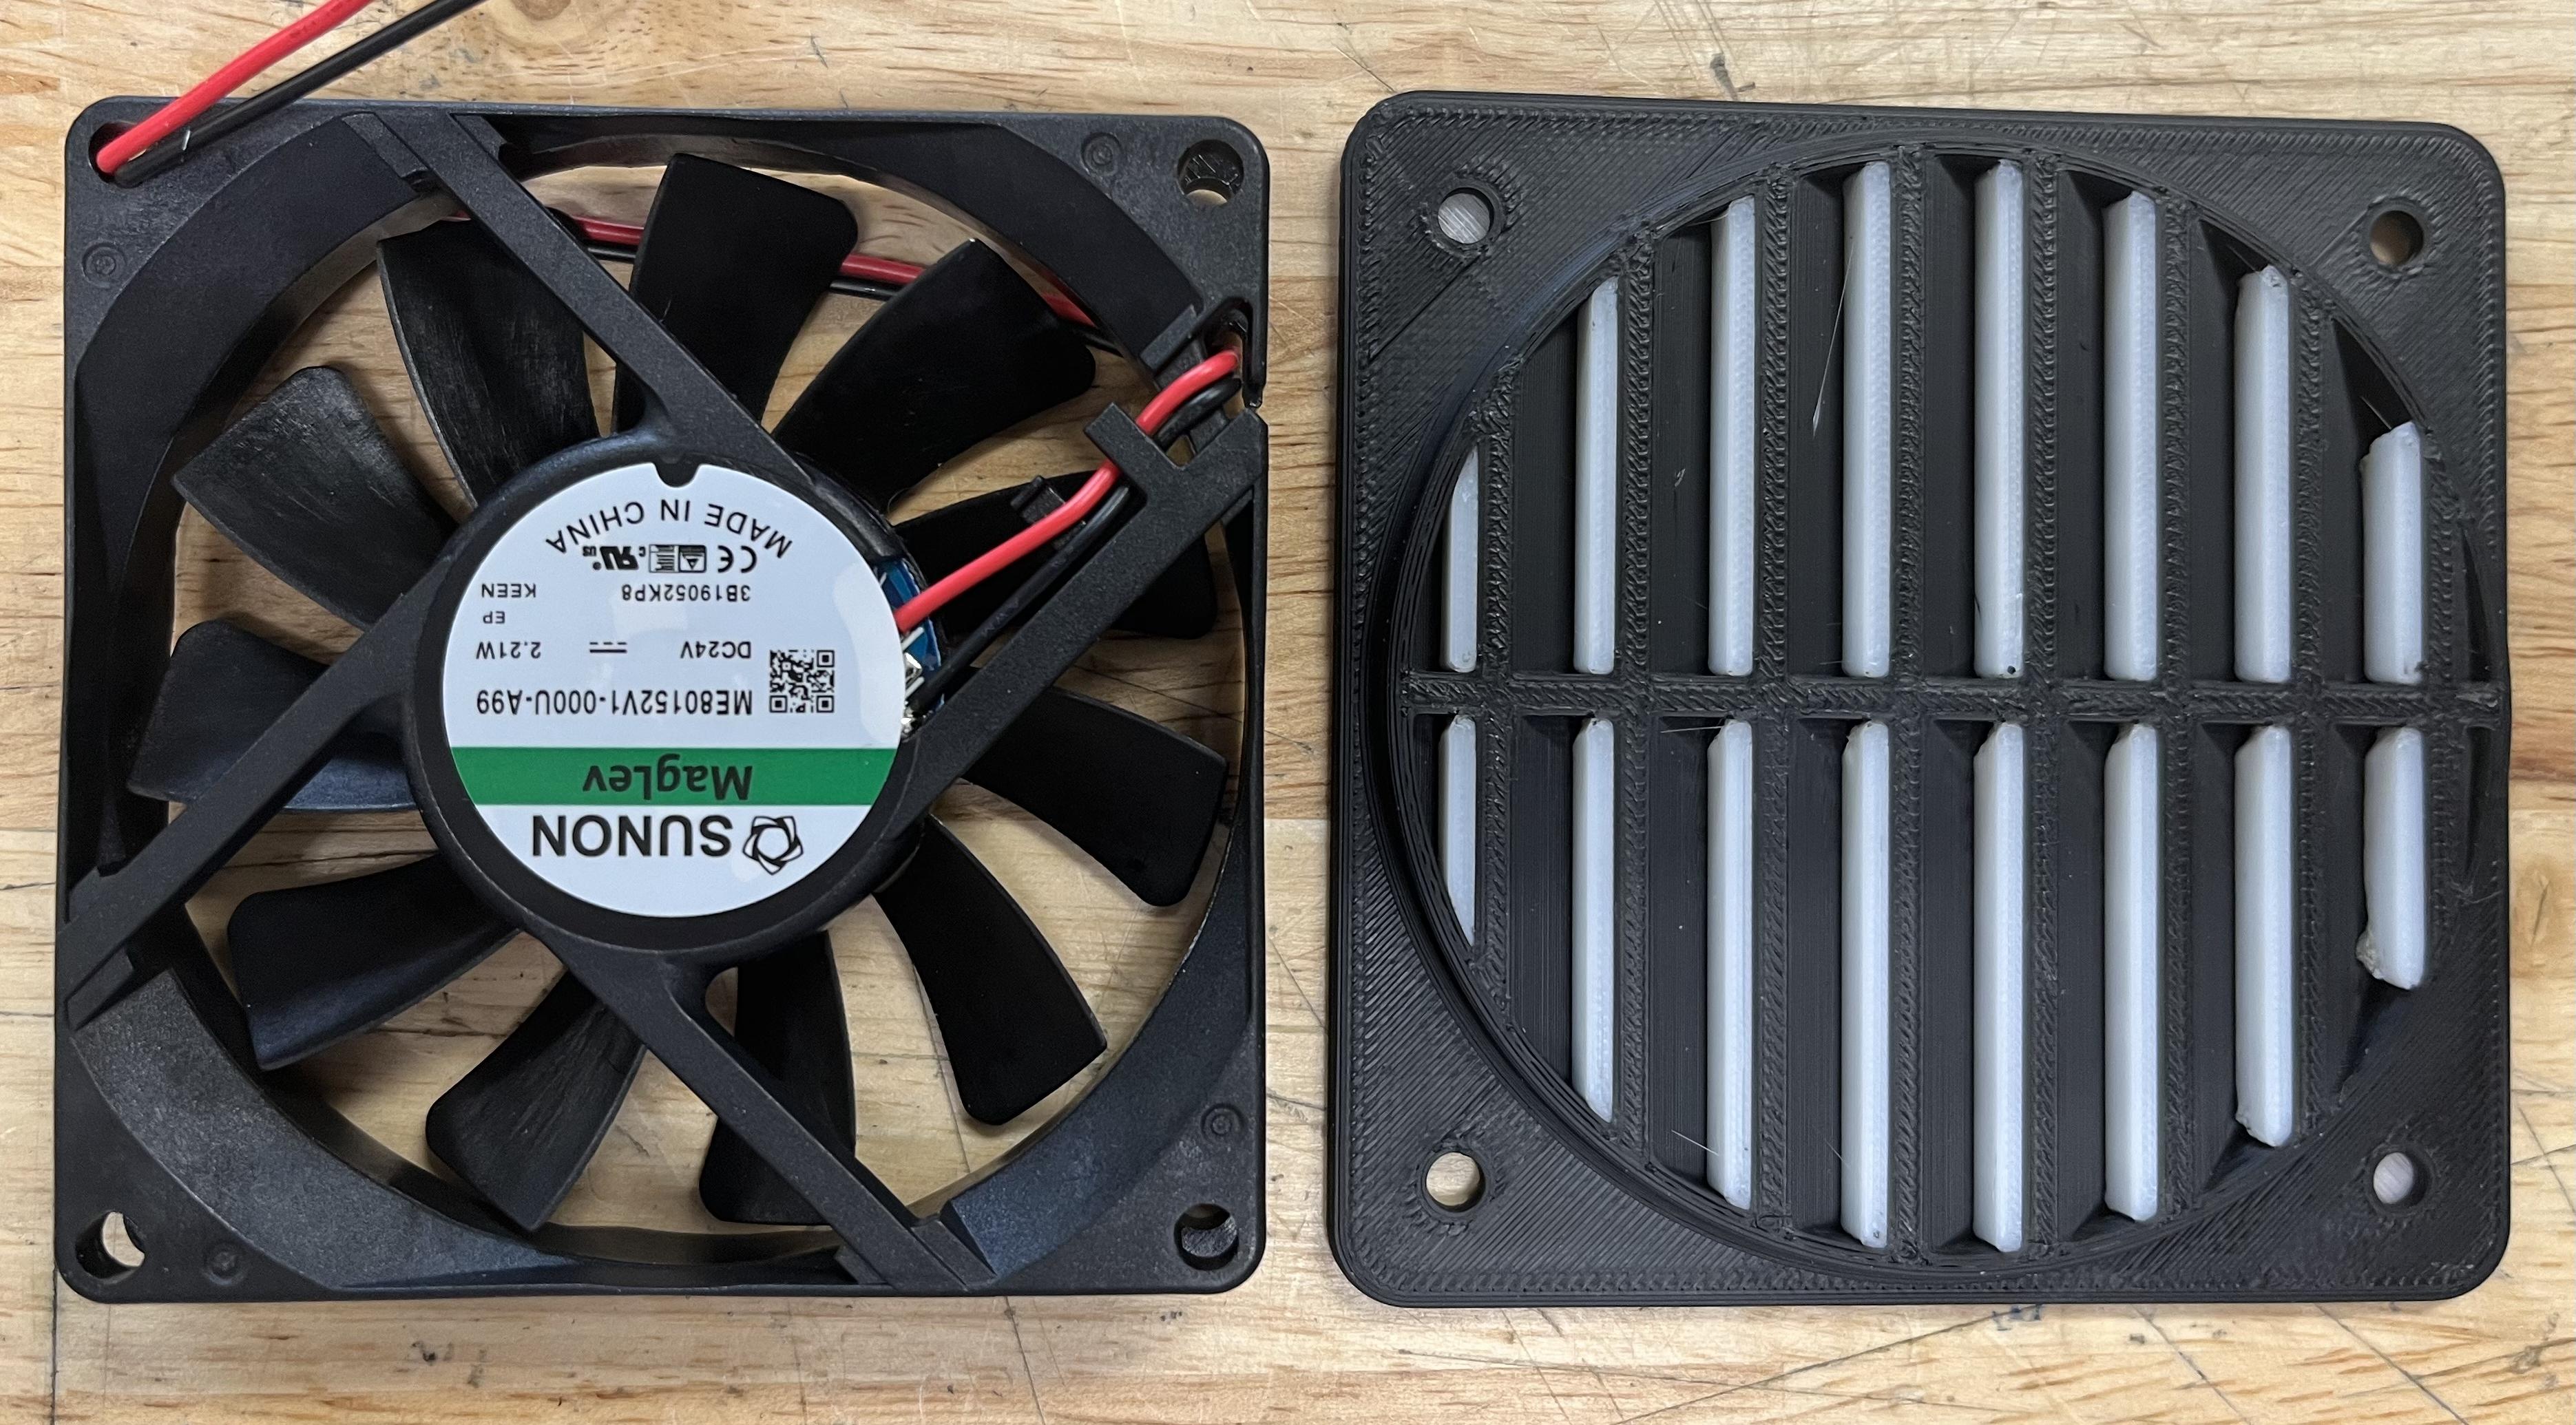
The fan cover would print well without support because it has a wide footprint and wont fall over its own weight, it doesn't need to be structurally strong so if the overhang is weaker it is ok and any surface defect will be hidden on the underside which you wont see when it is mounted.
I'll say this anyway if someone else can use the info, 45 degrees is a reasonable point where it will work and look the same as if there were support. 20-45 degrees from x/y or 45-70 degrees from z will still work but will sag and not look pretty and probably be structurally weaker. This depends and has a lot of things that will change your results as you'd imagine. If you can cool the plastic as soon as it is placed then it wont have time to sag and ruin the part. You need part cooling fans on full blast for overhangs but some filaments don't like to be cooled quickly and will shrink and warp.
The fan cover would print well without support because it has a wide footprint and wont fall over its own weight, it doesn't need to be structurally strong so if the overhang is weaker it is ok and any surface defect will be hidden on the underside which you wont see when it is mounted.
hudstr has it exactly correct. What I should have said in my first post was that that part should print without supports on a well tuned machine. Supports have their place but if you don't need them you save time, material and the post processing annoyance of removing them.
- Joined
- Feb 23, 2016
- Messages
- 424
I only looked at the second page and didn't realize you have the makerbot so anything I was going to say doesn't affect you. I cant tell if it has part cooling fans and if it does then they seem pretty anemic. You are probably also locked into their slicer and filament so they might not even let you change the support settings.
.
First, and to state the obvious, I am a novice at 3-D printing.
That out of the way, the Makerbot Method X is an EXCEPTIONAL printer. It does not have part cooling fans (whether anaemic or not), because the whole chamber is heated. So this is not a hot plate type of technology. The chamber can be heated and maintained at 80 or maybe even 100°C. Then, when the print is finished, the whole chamber gradually cools down to room temperature. Because of this the parts are very accurate and dimensionally stable.
Yes you likely are locked into their slicer, but I don’t have sufficient knowledge about this to say definitively. However, the software is very flexible and it allows for countless variables to be adjusted. I generally go with defaults and they do work well. One exception was when I had stringing on the support material on the last two projects and the troubleshooting guide on the website suggested increasing the support extruder’s Z offset by 0.1 mm, which I did, solving the problem. Again, I have never used any other slicer but theirs is full of adjustments much more so than one could need, and the factory settings which the printer matches to the material work great out of the box. I’m not sure why this yearning for another software.
It uses two extruders, one for the material, and the second for the support. There are several types of extruders; I have 5, including the so-called LABS extruder which allows for a variety of advanced filaments including carbon fibre and metal, and that is the extruder that I am using for this project. There is a pretty rapid calibration routine whenever swapping the extruder . The machine recognises automatically the presence of the LABS extruder and opens up additional menu settings.
It is completely inaccurate to state that you are locked into their materials. It is however true that their materials are excellent and the parameters work very well out of the box. Nonetheless I have used third-party materials that can be fed easily through an auxiliary side port, and the various parameters can be set according to the material manufacturers recommendations . The OEM Materials offer the additional advantage of having a microchip that is read wirelessly by the printer and thus the printer knows at all times how much is left on the spool (pretty accurate), And what exact material have you loaded in the first place so that it sets the parameters to what the company has tested out to be optimal.
Other interesting features are a built-in camera that allows to monitor the progress via the cloud; sealed chambers for OEM spools only, features to dry the material, or to anneal the cf/nylon (for example) after printing. I actually like how I can export from fusion and then load and start the print via the cloud all in one step.
Probably lots of all the features that I am forgetting.
I probably sound like a fanboy but I thought it’s important to set the record right regarding the capabilities of this printer. I am frankly surprised at some of the hate I see on Reddit and elsewhere on the Internet regarding Makerbot.
As for messing with the various experimental settings you’re suggesting : I am afraid that, on balance, it is not worth the time and effort, to get an unsightly, dimensionally distorted, and mechanically unsound output. Oh and by the way I realise now the printer can set the degrees threshold at which the material support is deployed - I always left it at default, And that’s why I never noticed.
Sent from my iPhone using Tapatalk Prou
Last edited: