- Joined
- Apr 14, 2014
- Messages
- 3,169
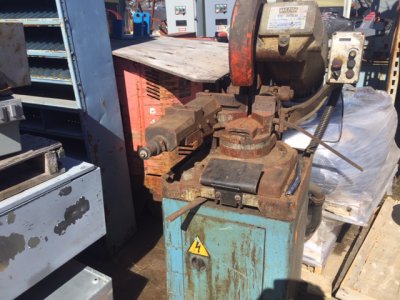
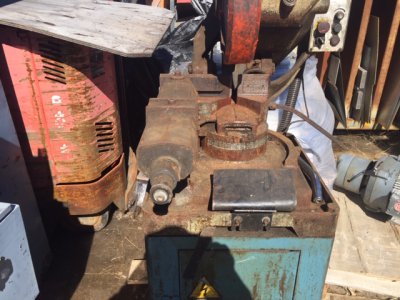
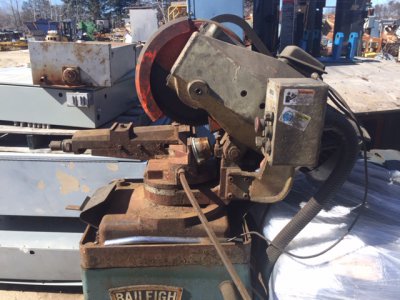
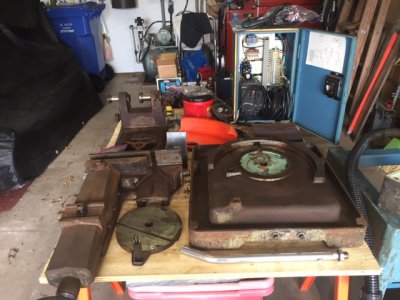
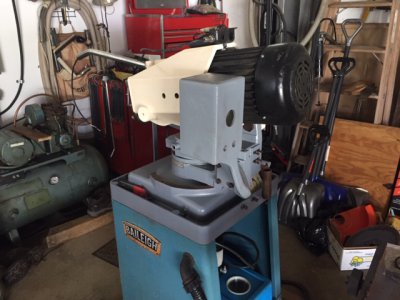
Well, almost 3 months later the saw is up and running. As mentioned in another thread I tore it down manageable size pieces for cleanup and repairs. It certainly was a nasty looking beast when it first arrived. It took a few days to chip enough crud off to find the bolts to disassemble things, then another few days to get things into pieces small enough to wrestle into the truck and off to the car wash. It seemed like every bolt was not only rusty but sealed in place with a generous coating of dried and half dried water-based coolant.
The car wash removed the major crud, then came a major application of dish soap, and healthy massaging with a brush to be able to find the original colors or lack thereof. When a sufficient amount of crud was removed it was obvious that the most prominent color was rust brown. It seems the coolant had eroded the paint on every surface it touched.
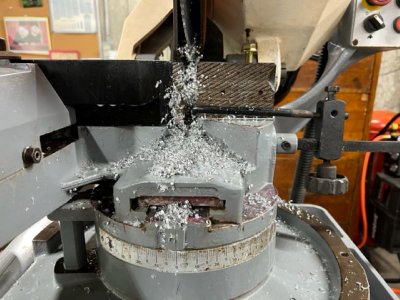
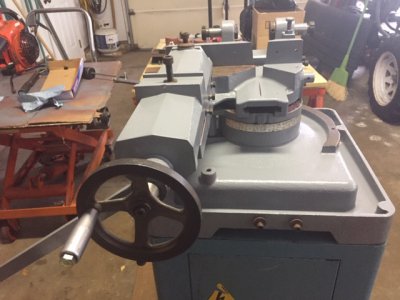
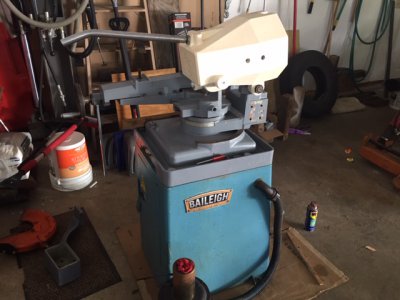
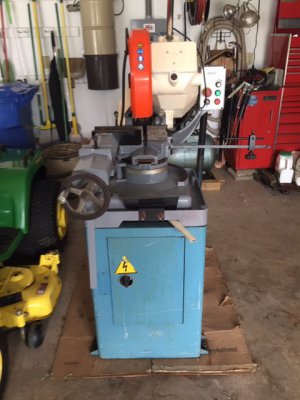
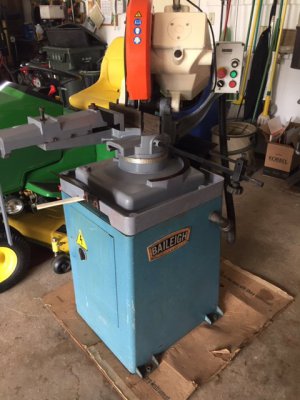
While I hate painting it seemed the only way to keep the machine from turning to a pile of dust and rust. I didn't follow the original color scheme, but rather used what I had on hand. The cabinet remained the original blue, the main saw castings other than the transmission are now a smoke grey, with the transmission and locking handle now cream colored, and the splash guards are once again semi-gloss black.
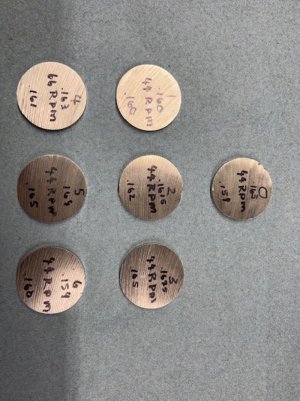
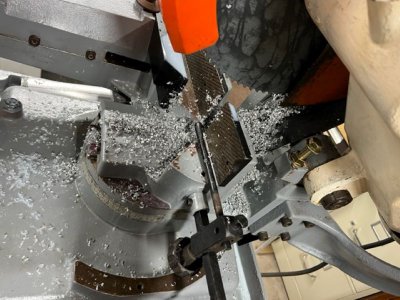
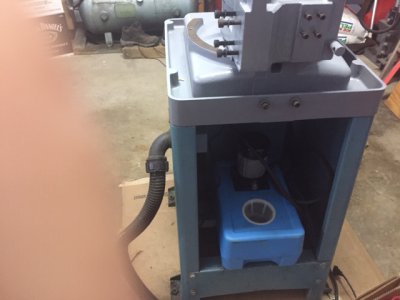
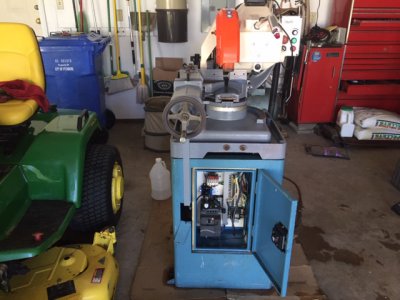
The reassembly process was considerably easier than the disassembly. Rather than having to wrestle all the castings by brute force I was able to use my end loader as a hoist to easily and accurately position them for installation of the bolts. I finished the major assembly yesterday and gave it a few functional tests. All the control console switches, the speed control, coolant pump run fine. The current blade on/off switch is a temporary momentary push button. The original switch was missing, and I didn't want to order one until I was sure the machine would be functional. The saw rotated through the 24-124 rpm range with no abnormal noises and stops instantly when the E stop is pushed.
The only remaining items to be completed before actually cutting material are to purchase and install the coolant pump output and return hoses, install the labeling on the transmission and in the electrical cabinet, and order the new blade on/off switch. Once these items have been addressed, I'll cut a few pieces to assess the alignment of the blade and adjust it as necessary. Attached are a few pictures of the machine when I purchased it, some as it progresses through the cleanup, and a few in its current state:
The car wash removed the major crud, then came a major application of dish soap, and healthy massaging with a brush to be able to find the original colors or lack thereof. When a sufficient amount of crud was removed it was obvious that the most prominent color was rust brown. It seems the coolant had eroded the paint on every surface it touched.
While I hate painting it seemed the only way to keep the machine from turning to a pile of dust and rust. I didn't follow the original color scheme, but rather used what I had on hand. The cabinet remained the original blue, the main saw castings other than the transmission are now a smoke grey, with the transmission and locking handle now cream colored, and the splash guards are once again semi-gloss black.
The reassembly process was considerably easier than the disassembly. Rather than having to wrestle all the castings by brute force I was able to use my end loader as a hoist to easily and accurately position them for installation of the bolts. I finished the major assembly yesterday and gave it a few functional tests. All the control console switches, the speed control, coolant pump run fine. The current blade on/off switch is a temporary momentary push button. The original switch was missing, and I didn't want to order one until I was sure the machine would be functional. The saw rotated through the 24-124 rpm range with no abnormal noises and stops instantly when the E stop is pushed.
The only remaining items to be completed before actually cutting material are to purchase and install the coolant pump output and return hoses, install the labeling on the transmission and in the electrical cabinet, and order the new blade on/off switch. Once these items have been addressed, I'll cut a few pieces to assess the alignment of the blade and adjust it as necessary. Attached are a few pictures of the machine when I purchased it, some as it progresses through the cleanup, and a few in its current state:
Attachments
-
 IMG_1277 - Copy.JPG141.1 KB · Views: 54
 -
 IMG_1278 - Copy.JPG144 KB · Views: 50
 -
 IMG_1280 - Copy.JPG137.3 KB · Views: 42
 -
 IMG_1318 - Copy.JPG118.9 KB · Views: 42
 -
 IMG_1320 - Copy.JPG124.4 KB · Views: 41
 -
 IMG_1354 - Copy.JPG105.3 KB · Views: 44
 -
 IMG_1366.JPG115.9 KB · Views: 43
 -
 IMG_1363.JPG104.4 KB · Views: 43
 -
 IMG_1356.JPG80.2 KB · Views: 45
 -
 IMG_1370.JPG114.7 KB · Views: 47
 -
 IMG_1373.JPG60.6 KB · Views: 46
 -
 IMG_1381.JPG63.4 KB · Views: 55
Last edited: