Anyone Know where to find a Steady Rest? Clausing Colchester 15 (1970)

A follow rest is for knurling, threading or facIng/contour to add rigidity away from the chuck for flex control?
It is for work that needs more support, mostly longer work. Like facing (or boring, turning, threading, or whatever) the end of a three foot long by three inch diameter bar or tube. It mostly comes into play when doing an operation that does not allow a tailstock center to be used to support the work.
 
I assumed they had to be geometrically spot on.
You have to dial in the work in the steady rest to keep the work in line with the spindle axis. If it is not perfectly in line, it will not machine to correct geometry and will also tend to walk out of the chuck jaws. A dial indicator on the side of the work at the end of the part will tell you nothing about that, the three guides on the center will follow the cylinder accurately even if the work is way out of line. If the workpiece is the same diameter along it's length from chuck to steady, the easiest way to get it in line is to move the steady to the chuck and fit the fingers to the work there, with the far end of the work supported close to where it will need to be. Then, you slide the steady down to the end of the work, and it will be in the correct position. If the work already has a bunch of features along it's length, it gets more interesting, but can be worked out.

Truth is, I have only used my steady rest 3 times(?) in the 7 years(?) that I have owned it. Having things like a bull nose center often saves the day. Steady and follow rests are not used very often by most of us, but when you need them, you need them.

There is no inherent accuracy in a steady rest, three fingers are individually adjusted and have no markings or other aids for centering the work to the spindle axis.
 
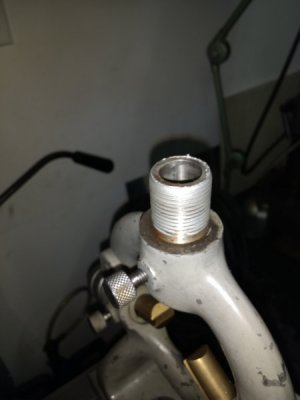
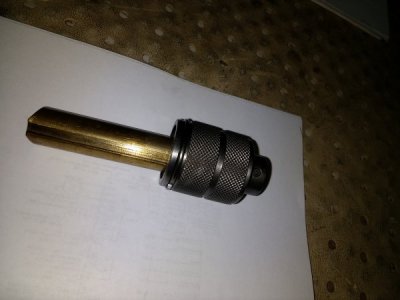
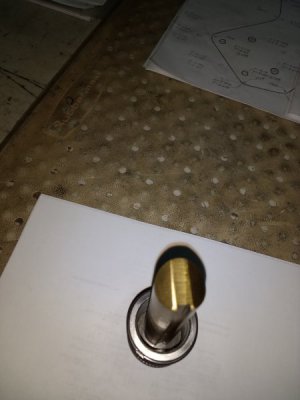
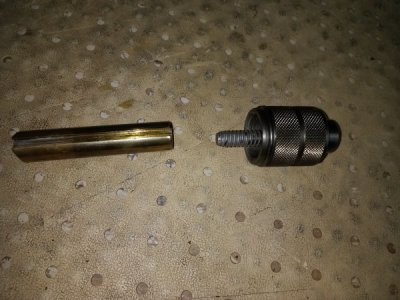
Here you go Jeff. I'll see if I can explain how this works. The threaded sleeve that goes into the casting is 1 1/8-12 with a .750 I.D. The small knurled thumb screw goes through the casting and the threaded sleeve and has a .187 dog point on the end that acts as a locating pin that rides in the keyway on the brass plunger. The brass plunger threads onto the 7/16-10 LH stud that is pinned at the top of the large knurled knob so that it doesn't rotate as you screw the knob in and out. This combination of the left hand thread on the stud and the right hand thread on the knurled knob basically advances and retracts the brass plunger at a near 2:1 ratio.
Ted

IMG_20190223_075445485.jpg

IMG_20190223_075537319.jpg

IMG_20190223_075634902.jpg

IMG_20190223_084425000.jpg
 
Here's another one I made similar to above but for my Springfield "Ideal" lathe.

It's probably easiest to build up the ring part and the base parts first. Then position the pieces together using a shaft between centers
and tack weld together carefully right on the lathe. It's best to protect the ways with some asbestos or non-combustable material.


I see this one uses brass to ride on the shaft instead of ball bearings which is just fine for a slow turning outfit. One could also add a hinge
affair in the round section if you feel the need but is isn't really necessary...
 
Here's another easy build using the same idea between centers, a follower rest.
View media item 91466
A follower rest is real handy for making long Acme threads on a lathe.
It looks like I am set up for a single point operation here...

View media item 91465
I used the existing mounting holes that were on the lathe so no drilling was required here to mount the follower rest.
 
Last edited:
I was always figuring I would do something like that when I made the fingers. Nice job i'd say.
 
Back
Top