- Joined
- Oct 11, 2013
- Messages
- 90
Success!
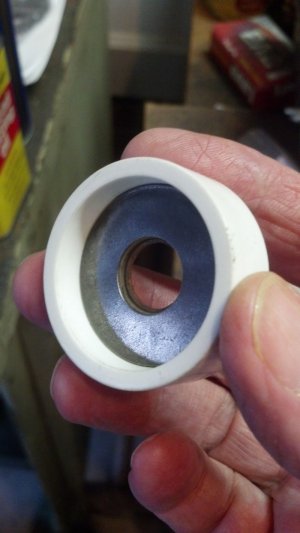
Well, I finally got a new bearing in the mail (two, in case the first one got destroyed) and commenced to finishing this job. I had to make a 'stop washer', and alignment collar to pull against, so I soft soldered a bronze washer to a larger washer, and pressed both into a modified PVC pipe adapter:
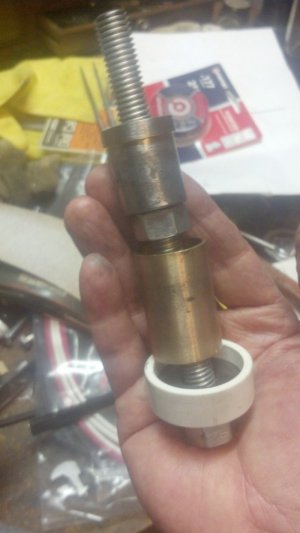
This goes on the opposite end of the hole in the casing. The assembled parts (less the casing) look like this:
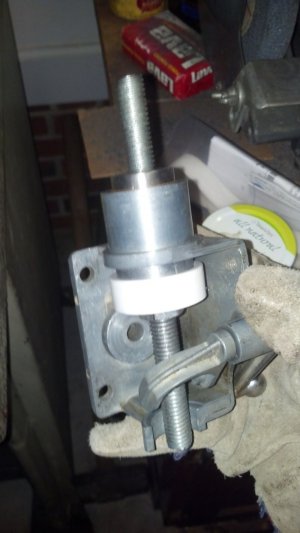
The gearbox casing and puller went back in Wifey's oven @ 175F, then came out and the puller inserted to do its job; the operation went smoothly and was facilitated with a 19mm box wrench. When the bearing got to the end of its travel, it stopped at the washer, and the 'pulling' was over!
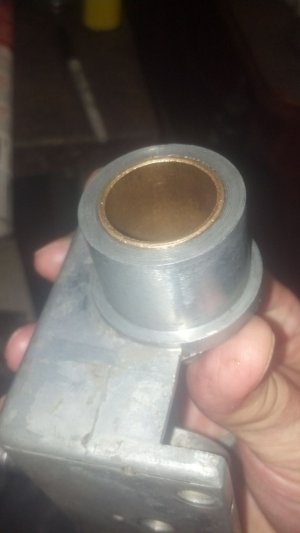
Disassembly yielded a properly installed sleeve bearing:
With the project done, I now have a spare bearing and the fixtures to extract and install it:
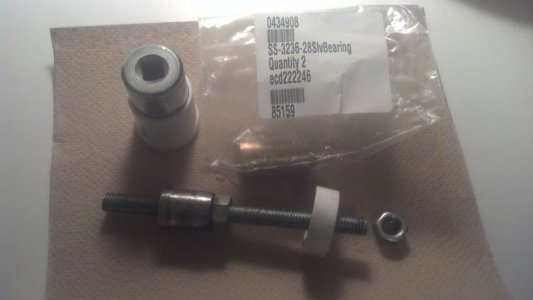
Should anyone want to perform this little operation, I will mail you the new bearing and fixtures for $20. If you only need the bearing, it can be had for $11. The bearing can be ordered from Fastenal. Contact me offline if you would like to make this repair, and thanks for watching!
Lou O.
Well, I finally got a new bearing in the mail (two, in case the first one got destroyed) and commenced to finishing this job. I had to make a 'stop washer', and alignment collar to pull against, so I soft soldered a bronze washer to a larger washer, and pressed both into a modified PVC pipe adapter:

This goes on the opposite end of the hole in the casing. The assembled parts (less the casing) look like this:

The gearbox casing and puller went back in Wifey's oven @ 175F, then came out and the puller inserted to do its job; the operation went smoothly and was facilitated with a 19mm box wrench. When the bearing got to the end of its travel, it stopped at the washer, and the 'pulling' was over!

Disassembly yielded a properly installed sleeve bearing:

With the project done, I now have a spare bearing and the fixtures to extract and install it:

Should anyone want to perform this little operation, I will mail you the new bearing and fixtures for $20. If you only need the bearing, it can be had for $11. The bearing can be ordered from Fastenal. Contact me offline if you would like to make this repair, and thanks for watching!
Lou O.


