Bench grinder 3400 RPM vs 1700 for lathe bits

Might want to give some thought to how it will be used the majority of the time. I use mine for many things from tool sharpening, to heavy metal shaping, and even fine finishing of soft materials.

For heavy metal shaping you'll want a coarse belt (say 36 grit ceramic), 5000+ft/min belt speed, and can use most all of your available 3HP. If you've never used one, you'll be amazed how much stock can be removed in a very short time.

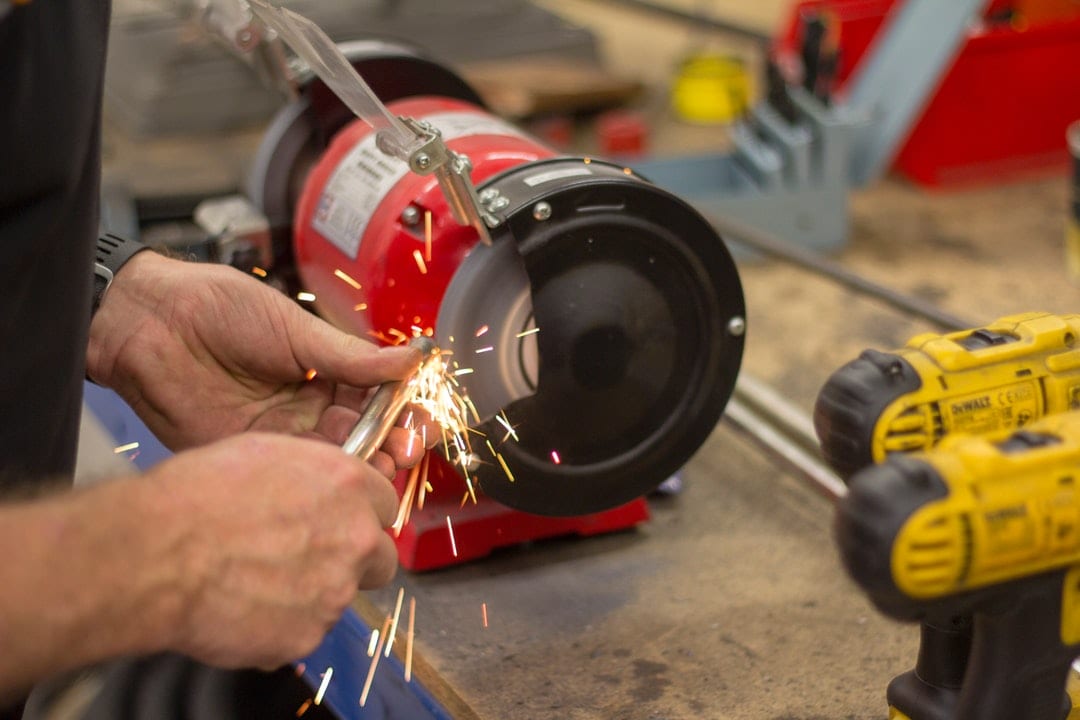
For cutting lathe tools power doesn't matter much because there is so little stock to be removed.

For soft materials, I use finer belts and slow speeds to avoid burning, and very slow speeds for fine control of stock removal....sometimes almost hand sanding speeds. In those instances, power loss isn't very impactful because it doesn't require much.

Best,
Kelly
 
Thanks for the info and link. Got me curious what a CBN wheel is and found a good read at:

Sure looks like the CBN wheels are much better, and would cure my vibration issues.

BTW - just wanted to mention for anyone that might run across this thread the difference between the 3400 RPM low end grinders and the 1700 RPM grinders is the 3400 RPM induction motors in these units have 2 polls, the 1700 RPM motor has 4. When hooked up to 60 Hz AC it sets the potential speed to 3600/1800 RPM but inductions motors require/run with a little slip. There are lots of other options for making motors run at different speeds but nothing as simple and cost effective as the induction motor.
Using CBN wheels you do not need any guards around them like usually is required because CBN wheels cannot ever break apart and there is no safety issue there. Good to know because you may want a 1.5 inch wide CBN but think
you need to fit the guards around them. You don’t.

They are also perfectly balanced and have much less vibration.

That woodworking place has a nice selection and has a couple lower cost wheels. They also have some CBN wheels with an inch of flat CBN on each side to sharpen things and not leave the 8 inch curve of the wheel.
 
I was astounded by how much more efficiently Norton wheels cut HSS than the gray stones that came on my grinder. I spent too long getting them balanced, but it was a teaching moment. (be sure to ballence them before putting them to use.)
you left out what type of norton wheels there are many.

I think you are probably talking a different color ..

I have in my bench grinders white, and gray. the white is a slow speed 8" Rikon 1725 rpm. it cuts fast using the coarse stone. I don't really use the finer stone much.

I also have a 6" Jet 3450 with gray wheels , I use it for milder steel.
On my surface grinder (7") it's slower speed, 3phase I use white (for HSS), pink/ruby for most everything lots of air holes it's a Radiac , and other Alum Ox for various other things.

I found HP more important than speed. You want to keep cutting, not slowing the wheel down, so HP is important. Wheel needs to match the material.

This is from Radiac: I have started to appreciate the Radiac line of stones. very nice cutting. I'm no expert, but I play one on HM :grin: .

Just remember that each color wheel also has a set of hardness in that wheel type. For example white has a large range of hardness.
 

Attachments

  • wheel_color.pdf
    1.1 MB · Views: 91
you left out what type of norton wheels there are many.
All I remember is they are from Norton, white, perhaps 80 and 120. Not at all sure anymore. I surely don't remember anything about hardness.
 
At that woodworkerswonders place you can buy 2 white wheels for $5

I bet he gets some grinders with them and sells CBN so they are not needed

 
Update, got my 6 inch grinder running much smoother. The three simple low cost things that made a big difference: Faced the center of the inner wheel washer where it makes contact with the small shoulder on the arbor, made a tight fit bushing on the lathe out of Delrin, drilled 3 3/8 inch holes close together near the outer edge of the outer wheel washer to make a counter weight. I marked the wheel in four quarters and tried the counter weight washer in position 1 - worse then 2, better. A bit of trial and error I had it dialed in to the sweet spot.

BTW there are a lot of videos on youtube with different things people have tried. Perhaps the best way to really fix up the cheap grinders is to make a one piece inner washer and bushing combo and a pair of tear drop shaped counter weights that can be positioned 360 degrees on the outer side of the wheel washer. With the counter weights 180 degrees apart they would be neutral and could be moved to dial in the exact counter weight needed.
I just balance the wheels drilling dimples in the wheels with a masonry bit. Works well for balancing.
And yes true or machined washers make a big difference, but so does shimming the washers since the problem is usually the stone itself not being flat.
 
I just balance the wheels drilling dimples in the wheels with a masonry bit. Works well for balancing.
And yes true or machined washers make a big difference, but so does shimming the washers since the problem is usually the stone itself not being flat.
Like the idea of making dimples in the wheel to help balance it. Just a little concerned about causing stress points in the wheel. Guess I better not use my masonry hammer drill ;-)
 
Simple low cost grinder wheel balance apparatus I made in home hobby shop. First thing was making a tight fitting bushing that will be used on grinder arbor. Then a spindle made from 9/16 aluminum rod turned down on the mini lathe to match the arbor size of the grinder then the ends turned down to fit the skate board bearings. And the wood jig to support the wheel. Turned out to make for a good lathe project and with the skate board bearings having near zero friction the slightest un-balance can be detected.
HMbalanceJig.jpg
 
Simple low cost grinder wheel balance apparatus I made in home hobby shop. First thing was making a tight fitting bushing that will be used on grinder arbor. Then a spindle made from 9/16 aluminum rod turned down on the mini lathe to match the arbor size of the grinder then the ends turned down to fit the skate board bearings. And the wood jig to support the wheel. Turned out to make for a good lathe project and with the skate board bearings having near zero friction the slightest un-balance can be detected.
View attachment 395839
So unless you have super high quality bearings, then you will not balance it well. Bearings are not generally used in a static balancer that way. Yes you will see bearings used, but different types of bearings, and they cost $$ You'll find dual wheel balancers that have bearings and the shaft rides between the V created by the 2 wheels. They can be riding in bearings that have jewels supporting a pointed shaft, or just a point.

I am not going to say it won't work, but not to a high degree. You are better off with a shaft riding on a knife edge . Also if you don't have it leveled from side to side, the bearings are not running true to the race, there's a side force.

Just saying. BTW wood moves. it swells, and since you put it on the long side you hurt yourself. Had you put the v on the endgrain you would have less movement.

That's how wood moves across the grain.
 
Back
Top