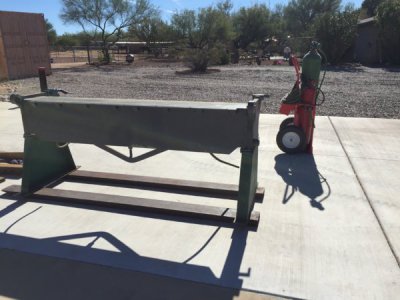
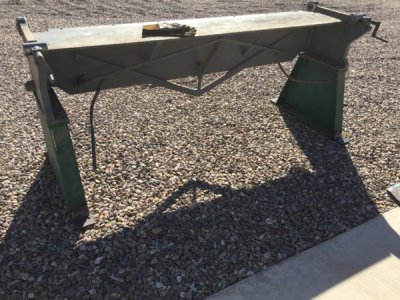
Chicago Dreis&Krump Box&Pan brake rebuild

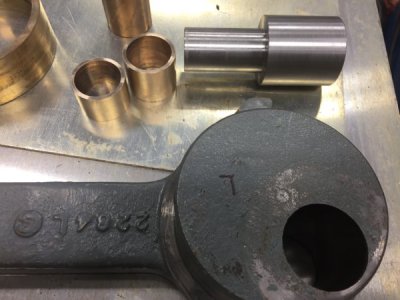
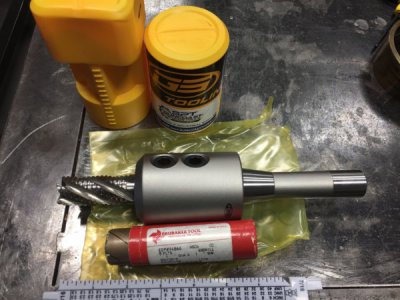
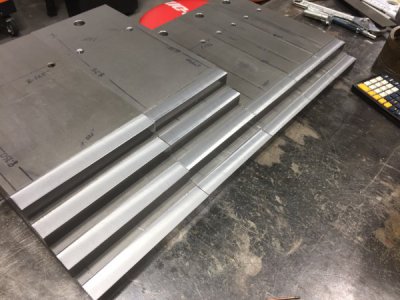
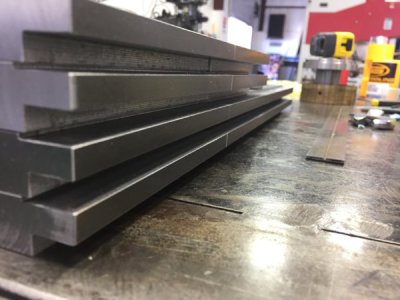
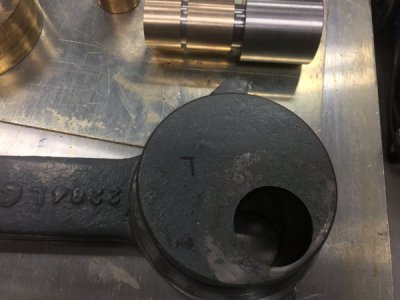
Made another press tool for the handle link bushings. Turned down an old bushing to use as a sleeve, then parted two different lengths for progressive pressing. Ordered a 1" medium roughing end mill and end mill holder for cutting the .750" x .065" steps and the .750" x .327" steps.
Planning on using the face mill for the larger 3" x .125" nose bar steps.

I used the shorter sleeve to start the tool, then added the second sleeve to complete the push. The old bushing was turned .045" smaller OD than the bushing being pressed out.
IMG_2342.JPGIMG_2343.JPG

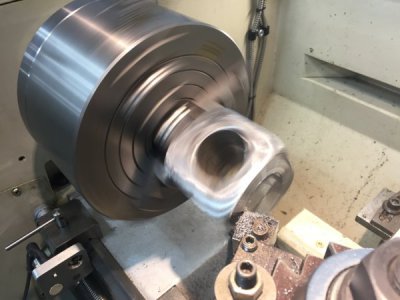
The right side pivot block was chingered pretty good. Apparently some knucklehead used a hammer to to work the block out at some point. More than likely the shaft had scored in the dried bronze bushing i'm guessing. It took a cheater bar and large pry bar to work the pivot block out. It would bind when rotating 360º. Once out, it was obvious the shaft end was hammered on resulting in mushrooming enough to prevent a smooth pivot. Indicated the block end in the chuck and was able to clean up the shaft end. The end also has a snap ring groove that required cleaning up.
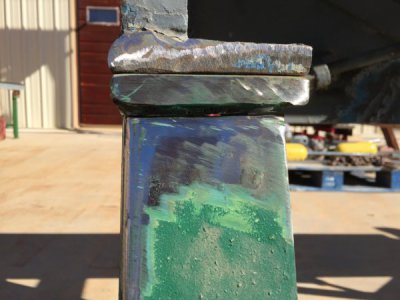
The new bushing slipped on well. Then the hammer dings where faced off both blocks for a new look.
IMG_2329.JPG
New goodies.
fullsizeoutput_639.jpeg
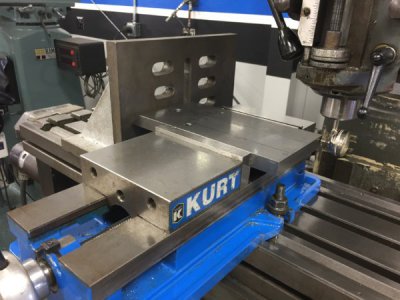
Used the last word to double check the vice set up and a wiggler to set up the DRO.
IMG_2338.JPG
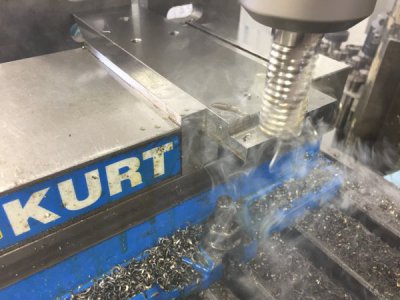
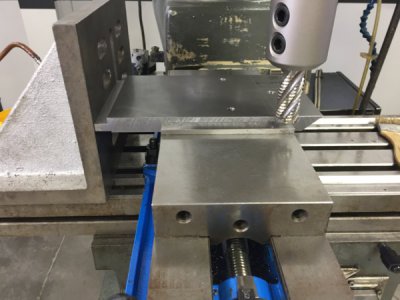
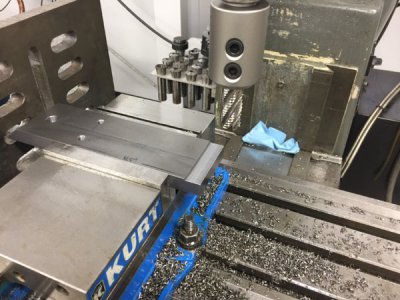
Took the cut .750"x.065" in a single pass. 340 RPM and 10 IPM (power feed). A nice feature with CNC/manual mill is the servo brake preventing the table from moving/creeping. With this larger end mill, I locked the x axis anyway.
IMG_2339.JPG
Tomorrow I hope to cut the deeper .327" step in three passes. Those chips coming off the rougher where nasty (thick sharp little "C"s). I had to use needle nose pliers to clear my shoe soles. It made walking slick as hell on the smooth floor.:cautious:
IMG_2340.JPG
64" worth of step and the end mill still looks great.

I wanted to share a quick story. This morning I received a phone call from Industrial Metal Supply (IMS). Turns out they caught a charge error in my favor. At the time when I ordered the 3/4"x 12" x 72" CR flat bar (33.66 lb/ft) they inadvertently charged me for more weight. Any way, they called to inform me that a $65 credit was placed back on my credit card. Bonus! Its nice to deal with an honest supplier.:) For those of you who have never stepped foot into an IMS store, Its like metal/tool porn warehouse and they provide EMS/fire with a 15% discount to boot.


Thanks for visiting.

Turn and burn!
Paco
 
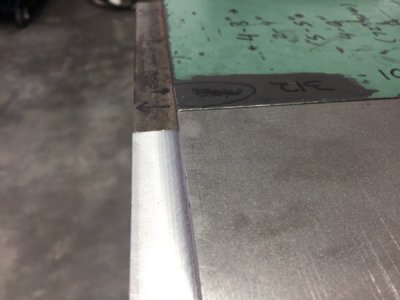
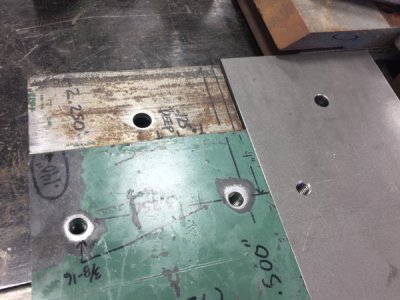
Back at it today, I decided to double check the top clamp track where the fingers insert. The factory steps cuts leave a center measurement of .350". The track easily can accommodate .380". I decided to leave some extra meat and only take a total depth cut of .300" x .625" leaving me with .378"center measurement. They fit very nicely and slide side to side smoothly.

I decided to take a single .300" depth with no clean up pass. I adjusted the RPM to 400 and slowed the feed rate down to 8 IPM. I figured the end mill and holder was plenty stout as is the Lagun so what did I have to lose.
Ate through all 14 fingers with a nice surface finish.
IMG_2347.JPG
This end of the fingers are completed.
IMG_2351.JPG
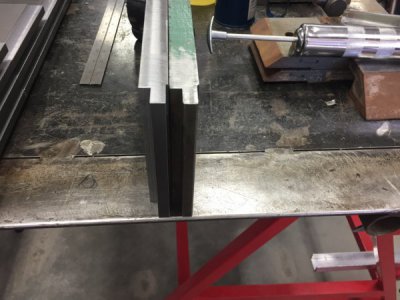
One of the OEM finger (green) and one of its newest brother.
IMG_2353.JPG
IMG_2352.JPG
The final operation will be to mill a .125"deep X 2.250" step on the nose to accommodate the nose bar.
IMG_2354.JPG
Started feeling crappy so I cleaned up the mill, shop and set up for the next operation. I'm probably coming down with the flu.
Seems every call this past tour was a "Sick person" and now its my turn.....Should I call 911?:cold:
We did have a ripping house fire the other night. Poor dude lost a 66 GTO and a 66 Vette both restored as well as the three vehicles outside.IMG_4018.JPG
Heres the setup for the next and final finger/s operation.
IMG_2356.JPG
That all for now and thanks for the visit.

Turn and burn, and blow off the worthless flue shot this year:mad:.

Paco
 
Last edited by a moderator:
After two weeks of dealing with the flu, I'm finally back in the shop. It took longer to recover simply because I went back to work after my break. The fever lasted four days of a six day break. I was fever free when I went back so my station brothers where safe from me anyway.
I put in a 12 hour day yesterday and felt about 95%. Not well enough to machine with a clear head so decided to make a steel run and get the rest of the brake torn down, repair bent items and torch and grind. I worked outside in the beautiful 70'sº weather as this is "dirty hot work".

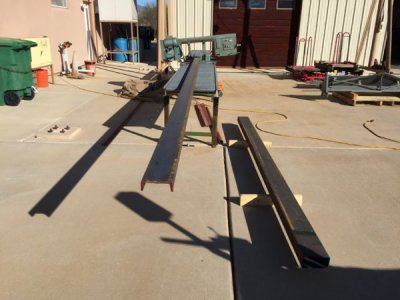
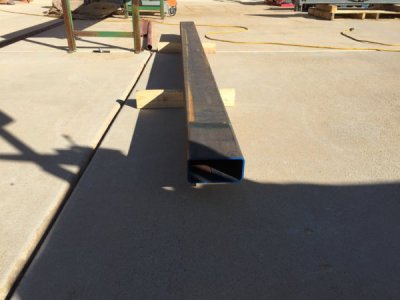
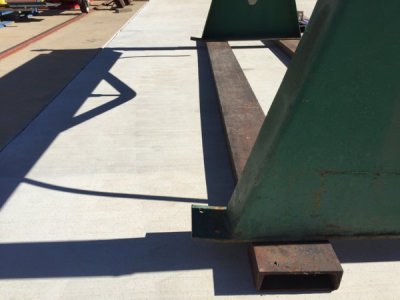
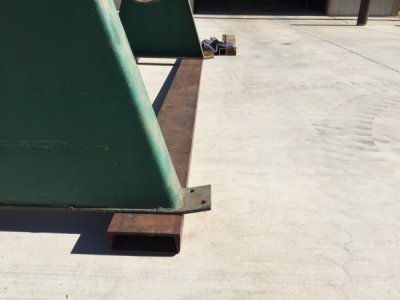
Picked up some 5" channel and a 10' remnant of .1875" x 3" x 6" rectangular structural tubing. I plan on fabricating fork pockets to move the machine safely and efficiently. No casters on this piece of equipment as it does require leveling for proper operation. The darn thing is extremely top heavy to pick with slings.

IMG_2414.JPG
Been buying from Supirior Steel since 1989 and they seem to always take care of me. The remnant ran me $60 so not bad, I'll only need 48" but I'm sure the remainder will come in handy down the road.
IMG_2415.JPG
Separating the top clamp went smooth using 2x4 to protect the finger channel.
IMG_2401.JPG
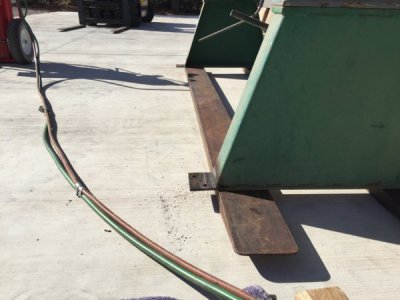
I kept the fork extensions under the unit to elevate the bent base. I used heat to straighten all four bent leveling pads.
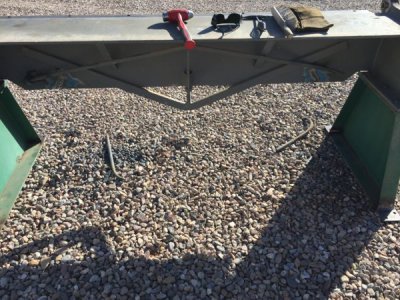
Front and rear of the stand where bent upwards.
Front:
IMG_2402.JPG
Rear:
IMG_2403.JPG
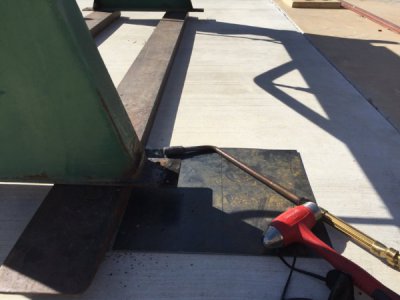
I used a #10 rosebud to heat the bend line at the toe of the weld only. This took about 2 minutes of heat. The elevated setup mad it easy to get her back inline. The base material is 3/8" x 4" flat bar welded to the stand which is a form bent piece of 3/16"plate.
A scrap piece of 1/8" sheet was used to protect the concrete .
IMG_2404.JPG
Back to original position.
IMG_2405.JPG
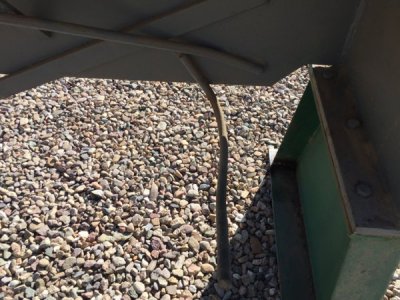
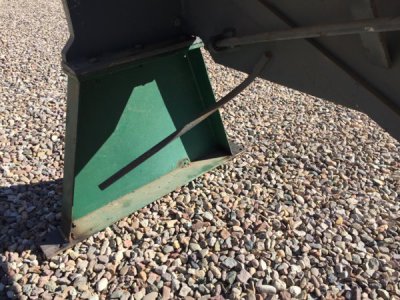
Next up was to cut off the badly bent 3/4" solid round bars designed to tie in the lower break to the stand (bracing).
The unit was moved off the concrete for this operation as the slag would have spalled the concrete.
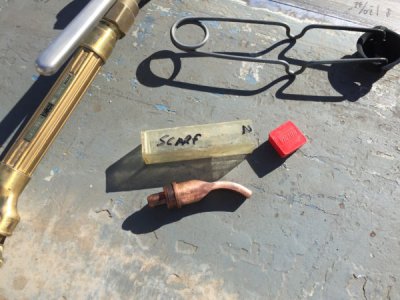
A scarfing tip was used on the cutting torch to minimize grinding as much as possible. This required me to get close up and under the unit. Cutting safety glasses and a face shield along with heavy gloves as the slag was ricocheting off the surrounding structure.
Really sucked but getting a grinder next to the torsion bar made it difficult. All the tension was removed from the torsion bar prior to this operation to keep it from stretching from near by heat. The trick was to minimize the heat on the parent metal while working around the torsion bar.
IMG_2406.JPGIMG_2407.JPG
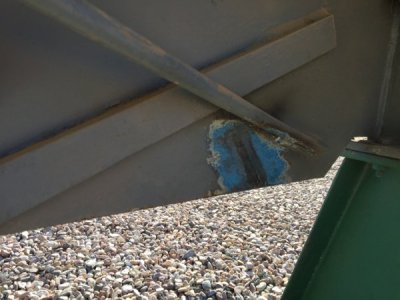
The brace bars where once welded to the lower section (corner) of the stand. You can see the remains of the weld. Its a mystery to me why these bars where cut and bent backwards. The auction photos never showed these details....imagine that!
IMG_2408.JPG
# 2 scarfing tip made short work of grinding. I first cut off the excess bent section prior to scarfing the welds.

IMG_2409.JPG
A four inch grinder took care of the remaining weld with no gouging to parent metal.
IMG_2410.JPG
Close up of right side. As seen, the torsion bar was in direct fire of the flame towards the top. It was impossible to cut away from the bar
as the torch head didn't allow room to work with the correct angle. This is why I took all the tension off the torsion nut. The larger flat bar welded to the lower apron is 3/4" x 2" allowing some forgiveness to the applied heat. No evidence of significant heat transfer to the opposite side, the paint was unchanged on the 1/2" parent material . I did mange to get a little slag in my right ear:(. It immediately took me back to my field welding/ship dry dock days when this was a common occurrence. I'm too old to be on my knees crammed into a tight quarters torch cutting/grinding hahaha.....seriously.
IMG_2412.JPG
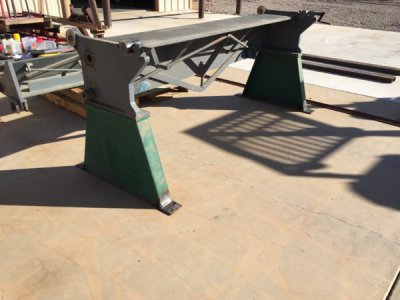
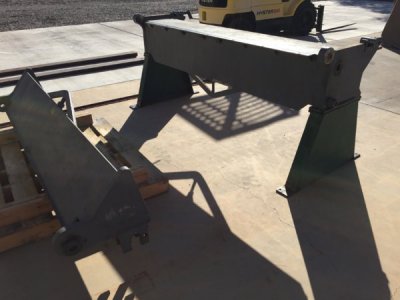
After getting the unit moved back on level ground I was taking preliminary measurements for the base channel and noticed a 1" discrepancy. Turns out the left base weldment on the lower apron is welded at a slight angle. Dries & Krump's lack of quality control. I wonder how many units out there are sitting goofy. I removed both bases and they mated up perfectly to each other. I pretty confidant the machine didn't take a hit as the bases are much thinner/lighter than the 3/4" bar welded to the 1-1/4" end plate they bolt to.
I'm debating on cutting the left stand at the top where the 1/2" x 4" flat bar is welded to the 3/16" and re-welding it at a slight angle to compensate for the 1" or simply tack a shim running the full length and call it good.
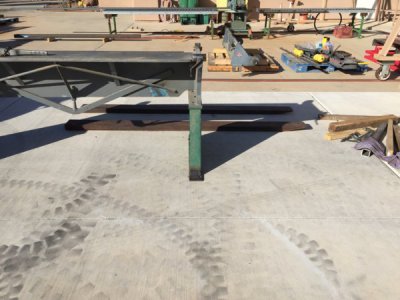
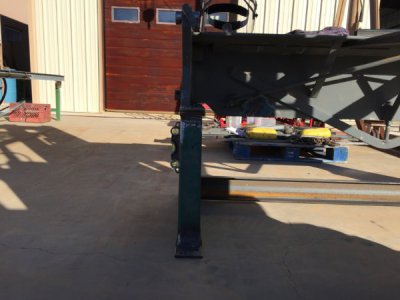
Right side view is vertical:
IMG_2419.JPG
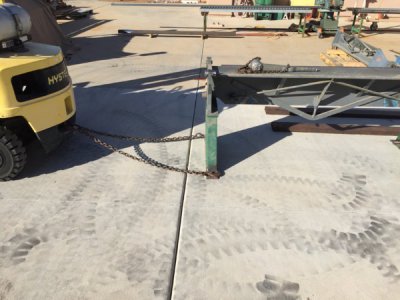
Left side not so much:
I could cut the front and rear welds (stand) and pull a little using this set up. The end horizontal (full weld) weld would hold plenty to allow the 3/16" plate to bend outward a little, then just re-weld the ends. Best I can tell, the mating surface of the lower apron is welded 1/16 +/-" off translating to approximately 1" in 20". I'll try out a piece 1/8" x 1" flat strap (shim) and see how it looks before committing to cutting the base.
IMG_2418.JPG
Its been a journey, but we'll get there.
Thanks for visiting and any advice/comments are always welcomed.

Turn and Burn!

Paco
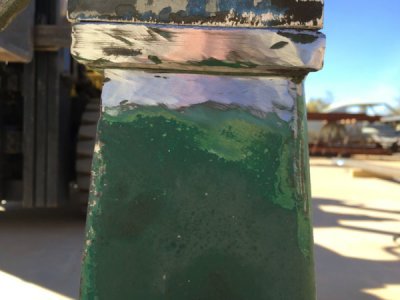
IMG_2416.JPG

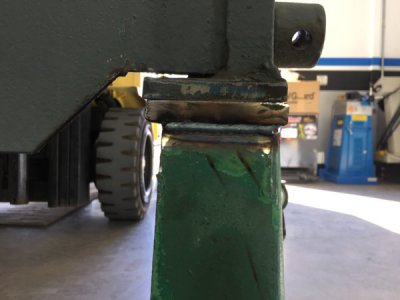
IMG_2417.JPG
 
I think you'd better straighten that stand.

Otherwise I predict some sleeplessness and kicking-self-in-rear. :grin: :grin big: :grin:

Seriously, I wonder if the mysteriously unattached and bent struts are somehow related. Possibly the stands were replaced once upon a time?
 
I've never seen a tip like that Paco, thanks for showing us.
As entropic said, maybe the stands were replaced at some time, don't see any green paint else where, except that one finger. If only these old machines could talk. Where are the stake pockets going?
Envious of your weather at the moment, not so much when its in the 40's celsius down there though. Drove from -40 c in Alberta to your area at plus 40 a number of years ago.

Greg
 
I think you'd better straighten that stand.

Otherwise I predict some sleeplessness and kicking-self-in-rear. :grin::grin big::grin:

Seriously, I wonder if the mysteriously unattached and bent struts are somehow related. Possibly the stands were replaced once upon a time?

Man, I think you know me pretty good, I couldn't stand the 1/2 bubble out of plumb. I ended up taking a slice at both ends with a 5" cutoff blade and simply pulled it back plumb. Ran a single hoy pass and all is well again. I should sleep like a baby tonight:D.
 
I've never seen a tip like that Paco, thanks for showing us.
As entropic said, maybe the stands were replaced at some time, don't see any green paint else where, except that one finger. If only these old machines could talk. Where are the stake pockets going?
Envious of your weather at the moment, not so much when its in the 40's celsius down there though. Drove from -40 c in Alberta to your area at plus 40 a number of years ago.

Greg

Hi Greg,

Those tips are or at least where popular in the shipyards back in the day. I seldom use the O/A these days but nice to have the option. I normally air arc stuff like this out, but would have caught myself on fire with that method hehe.

Yeah, who knows what that old iron has been through. I don't have buyers remorse quite yet, but damn that thing has been though tough times.
I'm getting close for blasting, once thats done the rest should be uneventful with no more surprises (fingers crossed). The voice inside my head is telling me to reassemble everything Including the new bushings prior to blasting and painting in case I need to flame straighten. That would require caps on all bushings to protect from blasting and more time re-assembling only to tear down yet again for blasting. I want to paint in sections for a good quality job when all said and done. The old bushings where badly worn which lead me to suspect the brake wasn't sprung when I couldn't dial it in originally. All the bent finger extensions didn't help either.
The fork pocket will be cut into the 5" channel and sleeved with the rectangular structural tubing. I'll post up some photos of todays progress shortly. I only had a few hours of shop time as the lawn needed mowing and a neighbor down the road needed a 18"x 36" hole dug. He's 83 and has been diagnosed with lung CA. He's a retired tool and die maker and a hoot to hang out with.
Our winters are lovely in Southern Arizona with todays high of 76º. Summers are another story.
Stay warm Greg and thanks for stopping in.
Paco
 
Todays progress was to address the cooked stand and get the channel cut.

A 5" cutoff wheel made short work of the cut on the front and back of the stand. Very little effort was required to pull the stand back to plumb. The fork lift was used to raise the machine for this operation making it simple.
The cut was made at the weld toe. Back side view.
IMG_2421.JPG
Front end. Hard to see but the cut is only 1/8" wide. It opened up to 3/16" (pie shaped) when the stand was pulled plumb.
IMG_2422.JPG
A single hot pass filled in the pie shaped gap.
IMG_2425.JPG
Nice and straight with even numbers on the tape measure:D
I failed to get a photo of both channels in position but you can see the front one in place.
The pockets will be cut for a wide fork pick.
IMG_2427.JPG
A short shop day today but should make progress tomorrow.
Thanks for visiting.

Paco
 
Project is coming along nicely Paco. I see by the pics you've been drifting the Hyster again.:grin: Mike
 
Thanks Mike,
Man that machine (fork lift) is one of my best buys. Seems I use it everyday whether for shop/house work or drifting when bored;).

Thanks for checking in. BTW, how's your mill project coming along?

Turn and Burn!

Paco
 
Back
Top