Clamptite tool

Philco

Active User
Registered
Joined
Oct 3, 2011
Messages
233
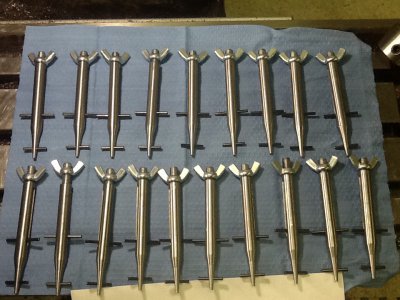
I first saw this tool in post #845 of the (Project of the day / what did you do in your shop today)http://www.hobby-machinist.com/attachment.php?attachmentid=63748&d=1383509051. This was posted by Andy Wander. I new when I first saw it that it would be a great little Christmas gift for the men in my family as most of us work with our hands & we're constantly trying to get the most out of what ever resources that we have close at hand. I decided that I would make about 20 tools & that should be enough to meet the needs of my immediate family & have a few left over for any unexpected guest.The challenge would be to finish before our family get together & to set up each machining step in a way that I could duplicate each step 20 times.
Along with Nelson's recent request for more projects,I decided to try to take pictures & post the progress along the way.
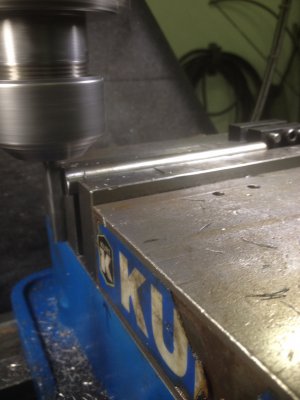
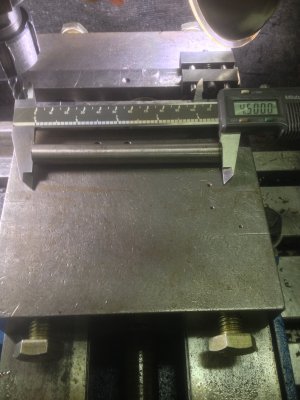
The first step is to rough cut the all thread & the tool body to length. The 2nd step is to set up the mill & bring the rough cut lengths to the print specs. That's all for tonight.
Phil
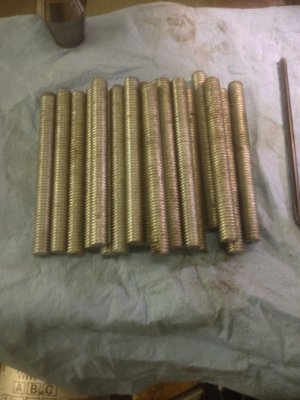
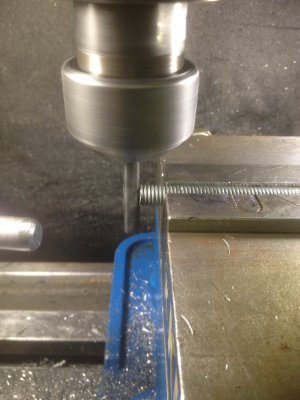
image.jpg image.jpg image.jpg image.jpg
 
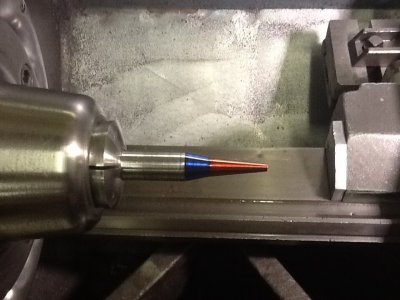
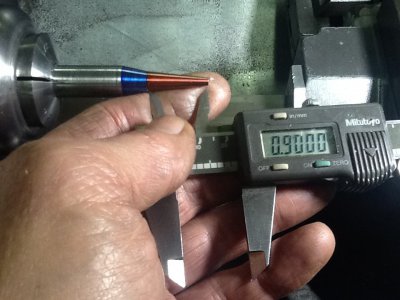
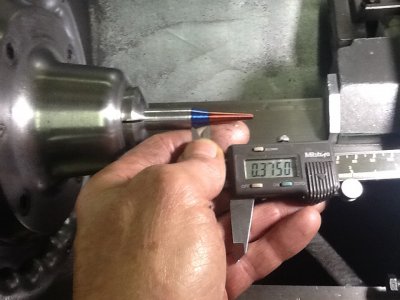
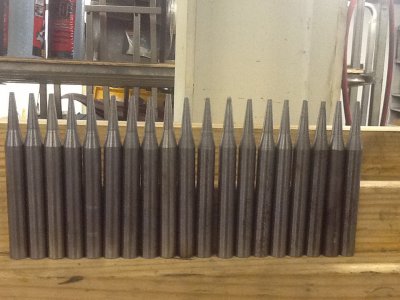
The next step in this project is to set up the tool body in the lathe & turn the taper on the end. There are actually two tapers according to the print.These deminsions are not spelled out in the print & don't seem to be all that critical to the function of the tool. There is probably enough information on the print as far as length times width to calculate the exact taper, but that's the difference between a part time hack like me versus an experienced machinist. I made an uneducated guess & came up with the first taper in red at about 5 degrees & a length of approximately .900 of an inch. The next taper in blue was cut at approximately at 12 degrees & 3/8 of an inch. I started out with 20 but through my trial & error method of setting up the lathe to cut the tapers, I produced a piece of scap metal so I'm down to 19 now. The lesson learned is to make a few extra parts & use one or two to set up the machine with. This took a while to get both tapers cut on all 19 parts but it's completed & I'll be on to the next step soon.
Phil

image.jpg image.jpg image.jpg image.jpg
 
Looking good Phil. Mass production is different than a single part at a time. Keep up the good work.
 
Last edited:
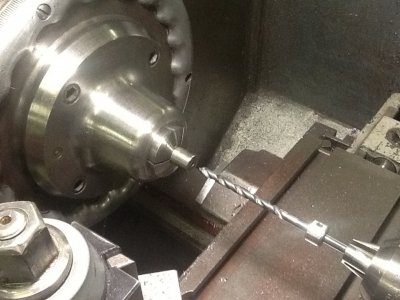
I'm back again with more progress. Thank you RandyM for the compliment and yes you're right, mass producing is "different." The next step required drilling a .375 diameter hole for a depth of 3.125 inches. After drilling all 19 pieces I had thoughts of CNC running through my mind
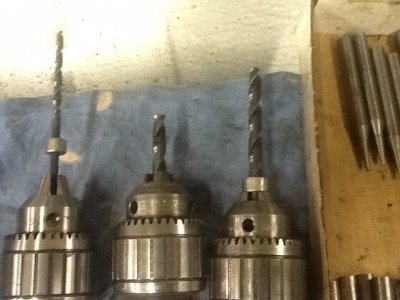
The first step was drilling a starter pilot hole, then switching to the long skinny bit to drill the full depth. I came back after the long skinny bit with a3/8 stubby bit to try & give the hole a good straight starter & then finished off with the long 3/8 bit to finish the hole
Over the years I have picked up several Jacobs drill chucks and this is one of those times when they came in handy.
This completes another step in the process. The next step will be setting up the mil to cut the slot down the center.

image.jpg image.jpg
 
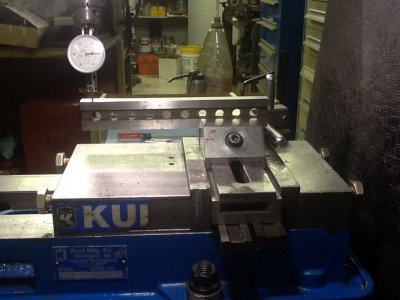
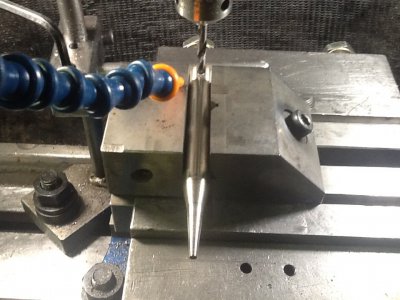
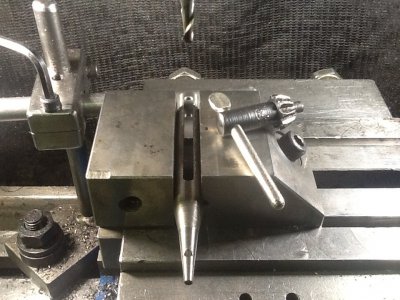
The next step required is to cut the 3/16 slot down the center of the tube & then drill a 1/8 hole near the tip of the tool for a roll pin. Also there is a small notch in the tip of the tool.
My first thought is the hole near the end. If the part is not completely centered & staight to the machine, then any error would be magnified at this point.
I set up a tool makers vice & clamped a straight bar in the vice & ran an indicator back & forth to achieve zero run out. It was off by . 0015 when I started.

The next steps were cutting the slot & drilling the 1/8 hole
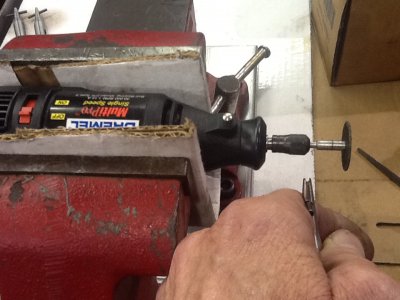
The last step was to notch the tip of the tool. The dremel tool with the thin cut off disc was the quickest way to achieve this task.

image.jpg image.jpg image.jpg image.jpg
 
Last edited:
The last step is to install the roll pins & assemble the parts together.
Finally all 19 tools are completed, but as I stated in the beginning these are going to be Christmas gifts & Christmas gifts need to be in a box to wrap up, right? Wood workers stay tuned.
Phil

image.jpg
 
Thank you for introducing me to this tool. I wish I had known of it years ago, I'm sure it would have been useful. After watching the web site demo that you suggested, I have decided to make some of them. They'll make good gifts for the guys in a Model T Club that I belong to. We're always looking for ways to help oneanother out.

I have one about finished, I decided to make just one to uncover my mistakes before I would cut several pieces in order to save time on set ups. Got to cut the all thread and make the wing nut and I'll be good to go.

Thanks again,
Jim Dunn

Sure like the Dr.'s "T".
 
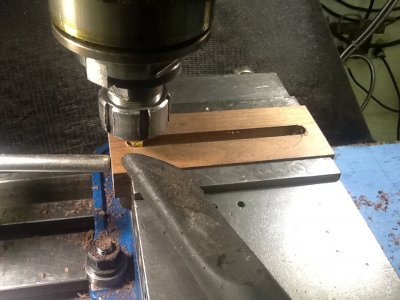
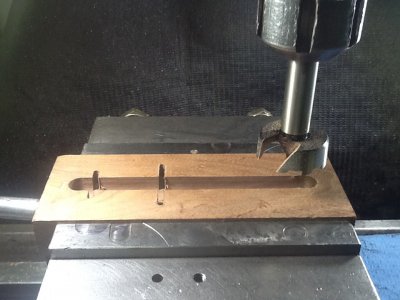
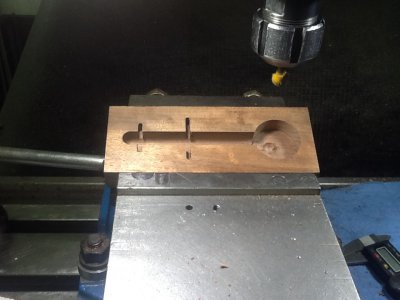
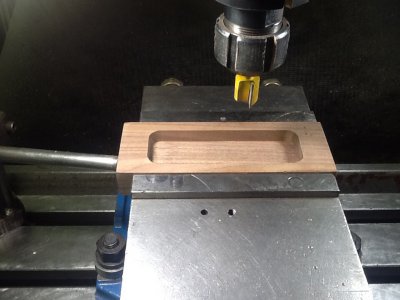
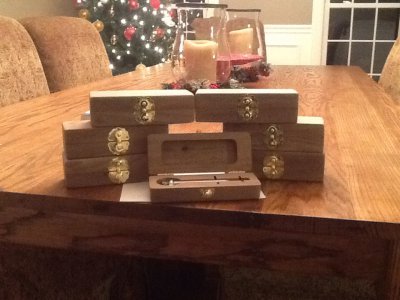
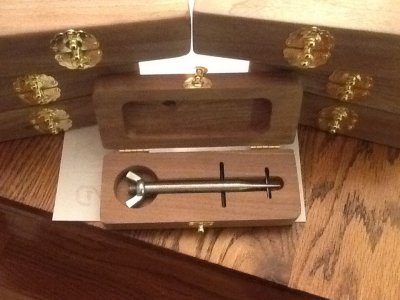
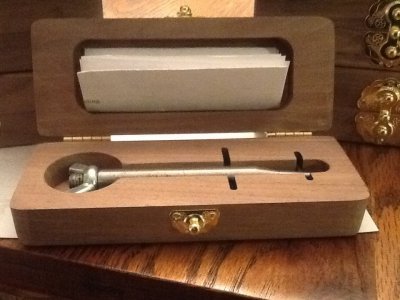
As I stated before,these Clamptite tools are going to be Christmas gifts for members of my family & the tools need a box to store them in. This lead to a project within a project. I had some walnut left over from another wood working project & decided this would make a nice box. I set out cutting the base of the box which will cradle the tool. I found a printable set of instructions off the web & decided to include a set in each box. I set the lid of the box up in the mill & routed a recess in the top that would store the set of instructions. I then installed a set of hinges then took the two joined pieces to the belt sander for a light sanding to blend the base & the lid together. I also used the belt sander to round the edges. I finished up by installing a small latch on the front. I'm running out of time & with all of the things I've got to get done for our family Christmas get together, I've decided not to stain the wood box.
This has been a fun little project & I can't wait until they open the box. I'm planning on having plenty of wire & some short pieces of 3/4 wood dowel to let everyone practice with
Phil

image.jpg image.jpg image.jpg image.jpg image.jpg image.jpg image.jpg
 
HOW IS THIS TOOL USED?
I can't find anything on Andy Wander and this tool.
 
Back
Top