Thanks for all the good words so far! I will be going to Cabin Fever and will likely bring the part along, even if they sit in the trunk all day...
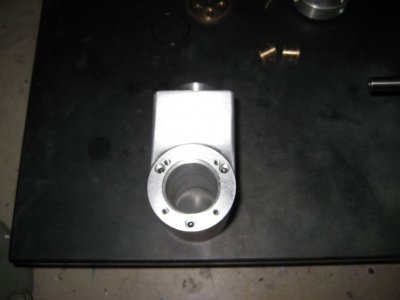
Here's the water hopper. I didn't take any pictures of the water hopper machining itself, but here are some shots of the water hopper funnel being turned. The circular boss sticking out is a separate piece shunk fit into the hopper after the water tank was bored out...
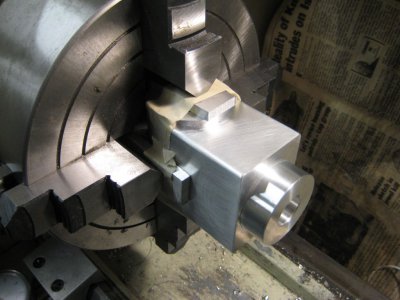
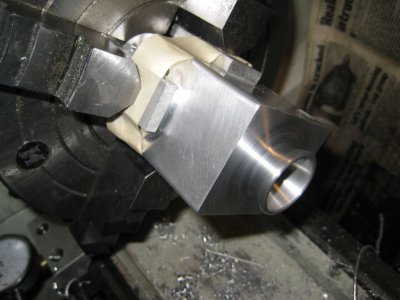
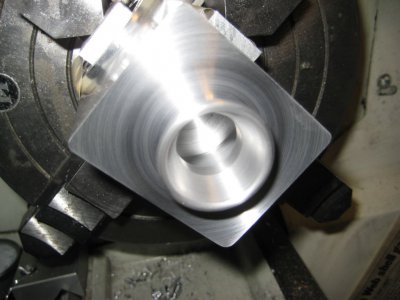
Here's the completed water hopper:
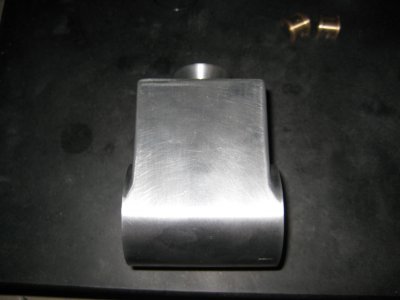
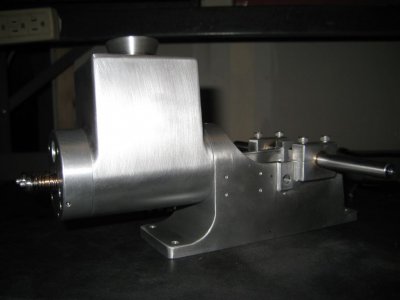
And a moment of triumph: a dry fit up of the frame parts, cylinder head, the cylinder sleeve, piston and connecting rod, water hopper and crankshaft...
Next up was to make the split bearing for the big end of the rod. Didn't take any pictures of the actual machining but it went something like this:
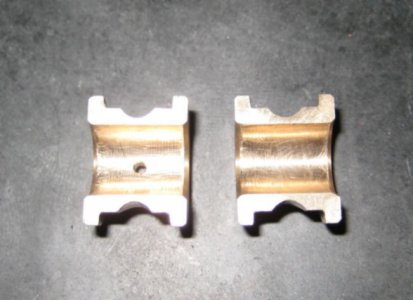
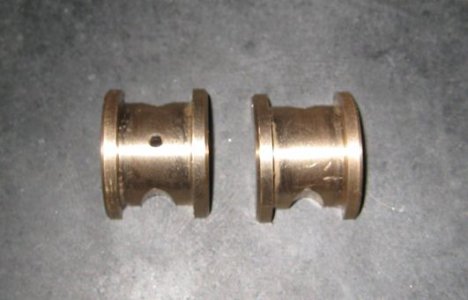
Slit a piece of bearing bronze lengthwise down the middle. Then, glue them back together with CA glue. Next was turning them round to the specified OD, turning the groove, drilling and reaming to fit the crankshaft, drilling an oiling hole, and machining clearance slots for the cap screws.
Here they are: the ID will be "cleaned up" after they are installed in the connecting rod.
And finally (enough work for today), fitting the bearings to the connecting rod, and the whole schmiel to the crankshaft. Here is a closeup of the split bearings and the connecting rod installed. The screws you see are temporary. All the pan head and Allen cap head screws will be replaced with miniature hex head screws later (after I make them!) If you look close, you can see the "Dutch" pins holding the two halves of the frame together. The frame is also pinned together from the sides. JB Weld was also used.
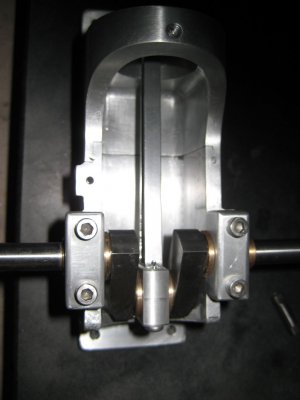
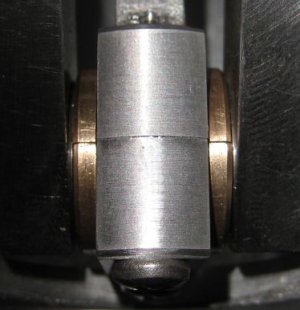
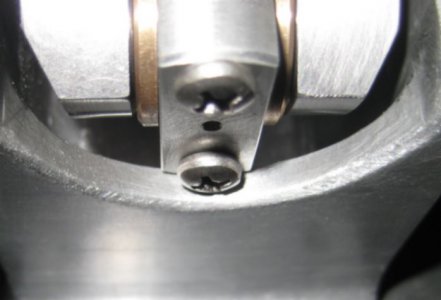
"Houston, we have a problem"... Looks like I didn't cut the radius in the back of the frame deep enough. Oh well. A job for tomorrow I guess. At least I don't have to put metal back on!
Cheers,
John


