- Joined
- Nov 28, 2016
- Messages
- 2,357
I've been tinkering with the Model A some lately... mostly going through it, doing 'exploratory surgery' trying to determine what is good, what is bad, what is worse than bad, etc.
I haven't done anything with the powertrain, brakes, or steering yet. I'm looking mainly at the body and interior, trying to determine what will need to be done.
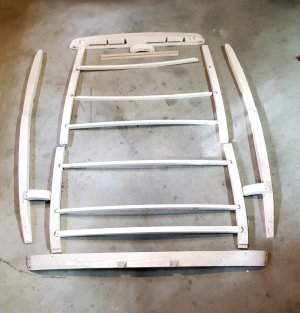
The body is a four door sedan, and was built by Briggs under contract for Ford. It is basically a steel shell mounted over a wood framing system... the wood is what gives it structural stability. Briggs didn't have the ability to make large stampings, so the roof is open in the middle, and had six wood bows supporting a vinyl top that covered the opening. There was a full headliner inside, supported by the same bows.
When I bought the car, there was one bow missing, and two more were broken. I had planned to epoxy the broken ones back together and reinforce the breaks, but discovered that the broken halves had hung from the ends long enough to become distorted... I can't repair that.
There are a few companies that reproduce the wood for these cars... it is made to order so there is a two to three month lead time to get it... and it is not cheap.
I decided to remove most of the interior and inspect all of the body and roof wood and go ahead and order everything that I'll need at one time... this decision led to the proverbial 'can of worms'...
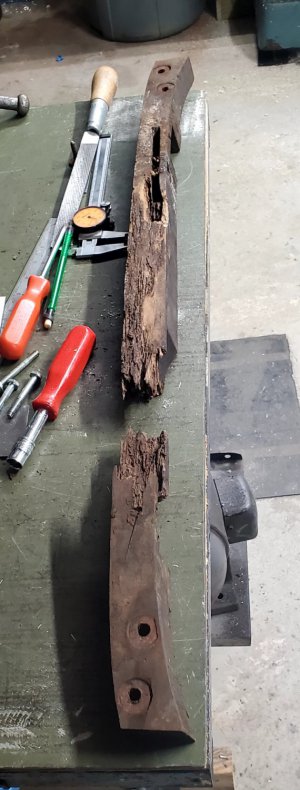
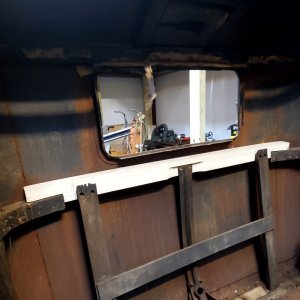
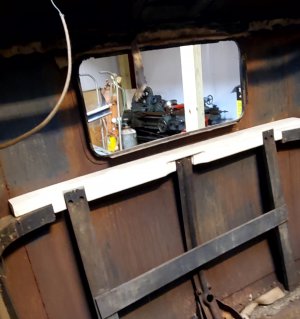
The body wood is pretty much all solid and useable with the exception of one piece that goes across the back just under the rear window... it is badly rotted, the rear window must have been leaking for years. You can see it in these pictures...
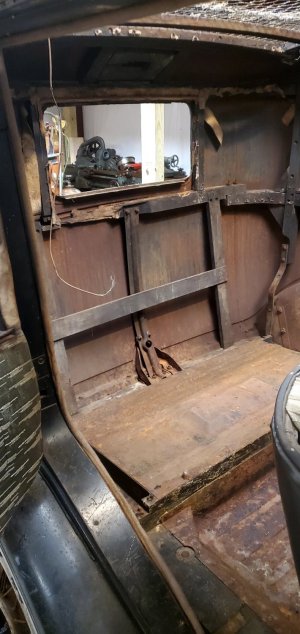
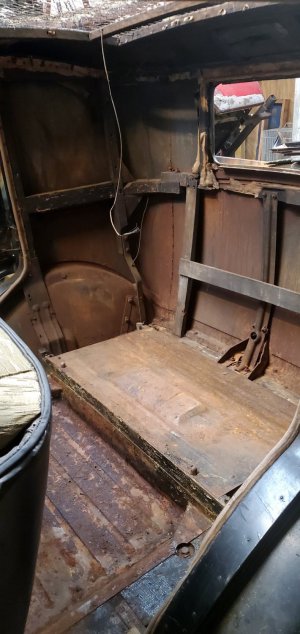
The rest of the body wood is good. The floor pans are steel and are covered with surface rust, but are very solid...
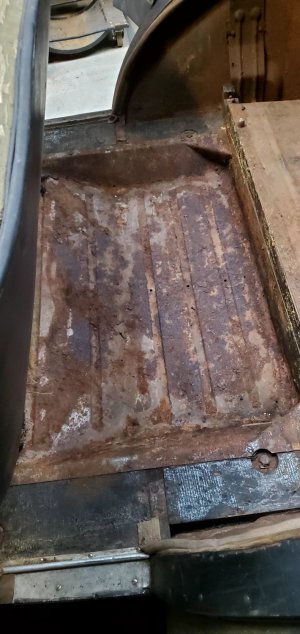
However... it didn't take long to discover that ALL of the roof wood is in very bad condition. I will have to replace all of it. The header panel over the windshield and both of the side rails that run front to back over the doors crumble when touched.
I've pretty thoroughly inspected the entire body and have not found a single hole rusted through anywhere... not even a pinhole. There are two areas where I expect to find pinholes when I start de-rusting... one is in the upper cowl where the windsheild seal seats, the other is at the very bottom of the cowl on the drivers side.
I have removed the windshield... it mounts on a hinge at the top and swings open at the bottom for ventilation. There are 10 1/4" screws that hold the windshield hinge to the roof, one was missing, I managed to remove two more... the other seven I had to cut the bolt heads off... they wouldn't budge.
I've also removed the front of the roof and most of the rotted header, in preparation for replacing the wood framework.
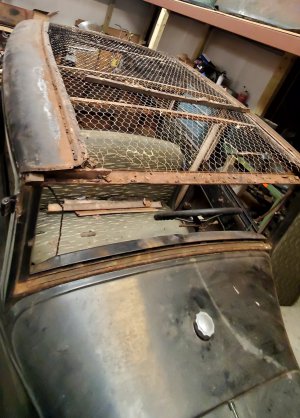
Yes, the chicken wire is original to the car... it was originally stretched tight across the bows to support the vinyl top.
Replacing the top wood is going to be a big, tedious, time consuming job... but it will be worth it.
Stay tuned... there's more to come.
-Bear
I haven't done anything with the powertrain, brakes, or steering yet. I'm looking mainly at the body and interior, trying to determine what will need to be done.
The body is a four door sedan, and was built by Briggs under contract for Ford. It is basically a steel shell mounted over a wood framing system... the wood is what gives it structural stability. Briggs didn't have the ability to make large stampings, so the roof is open in the middle, and had six wood bows supporting a vinyl top that covered the opening. There was a full headliner inside, supported by the same bows.
When I bought the car, there was one bow missing, and two more were broken. I had planned to epoxy the broken ones back together and reinforce the breaks, but discovered that the broken halves had hung from the ends long enough to become distorted... I can't repair that.
There are a few companies that reproduce the wood for these cars... it is made to order so there is a two to three month lead time to get it... and it is not cheap.
I decided to remove most of the interior and inspect all of the body and roof wood and go ahead and order everything that I'll need at one time... this decision led to the proverbial 'can of worms'...
The body wood is pretty much all solid and useable with the exception of one piece that goes across the back just under the rear window... it is badly rotted, the rear window must have been leaking for years. You can see it in these pictures...


The rest of the body wood is good. The floor pans are steel and are covered with surface rust, but are very solid...

However... it didn't take long to discover that ALL of the roof wood is in very bad condition. I will have to replace all of it. The header panel over the windshield and both of the side rails that run front to back over the doors crumble when touched.
I've pretty thoroughly inspected the entire body and have not found a single hole rusted through anywhere... not even a pinhole. There are two areas where I expect to find pinholes when I start de-rusting... one is in the upper cowl where the windsheild seal seats, the other is at the very bottom of the cowl on the drivers side.
I have removed the windshield... it mounts on a hinge at the top and swings open at the bottom for ventilation. There are 10 1/4" screws that hold the windshield hinge to the roof, one was missing, I managed to remove two more... the other seven I had to cut the bolt heads off... they wouldn't budge.
I've also removed the front of the roof and most of the rotted header, in preparation for replacing the wood framework.

Yes, the chicken wire is original to the car... it was originally stretched tight across the bows to support the vinyl top.
Replacing the top wood is going to be a big, tedious, time consuming job... but it will be worth it.
Stay tuned... there's more to come.
-Bear


