-
Welcome back Guest! Did you know you can mentor other members here at H-M? If not, please check out our Relaunch of Hobby Machinist Mentoring Program!
You are using an out of date browser. It may not display this or other websites correctly.
You should upgrade or use an alternative browser.
You should upgrade or use an alternative browser.
granite dresser tops for a surface plate or for lapping?
- Thread starter strantor
- Start date
- Joined
- Feb 1, 2015
- Messages
- 9,608
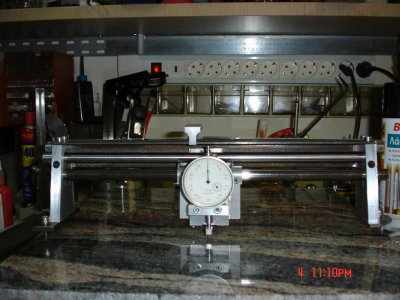
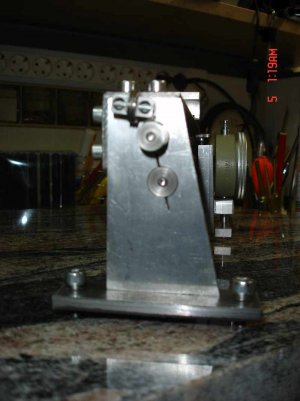
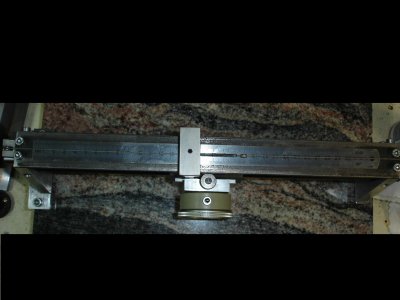
An interesting instrument. It looks well thought out and well made. As I understand it, you zero your indicator at either support and traverse in a linear path from one support to the other, looking for any deviation. Then you would move your gage to a different location and repeat the process. Continuing this until you have surveyed the entire surface. What kind of clearance do you have on your linear rail bearings and how does it affect the measurement process? I will be interested in the follow up on determining the straightness of the rails.
Best regards,
[FONT="]Bob[/FONT]
Best regards,
[FONT="]Bob[/FONT]
- Joined
- Jul 9, 2014
- Messages
- 613
Even if the top is flat, the underside might not be. If the centers don't touch, there's no extra rigidity from having more than one piece. Or they might rock on each other.
Not if you bed & bond them together with a very thin scrape coat of flexible rubberized floor cement . If the top one is out bond some " Plate " glass on it, Plate glass is the stuff big shop windows are made from , it is usually very flat if the size is 24 x 24 inches or so .
When it gets warmer I hope to be bedding /bonding a 1/2" or more thick plate glass top on a / precast fine concrete pavement/sidewalk slab that's 2 x2 foot square x 2" thick
- Joined
- Jul 9, 2014
- Messages
- 613
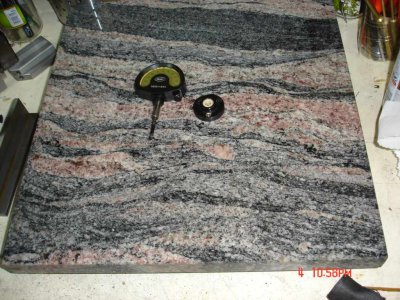
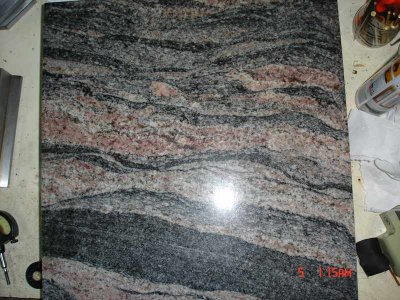
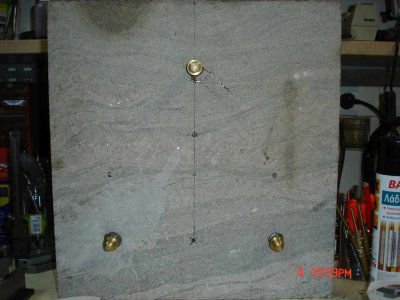
It happened that i got a kitchen countertop about 45x45 cm 25mm thick,for 7 Euros.Mounted it on the Airy points (3 insert adjustable
feet).Then the great question.How flat it really is.I had no means to verify it so i built a flatness assessment or measuring instrument
which i called an "epipedometro", a planes measurer.The epipedometro verified a maximum deviation from a true plane of+- 3μm. This
Is enough for me.It also happens that I am bedridden because of a foolish decision to ride standing on a wheeled office chair that resulted
in the inevitable fall.If there is any interest on the instrument,give me three or four days to stand up again and i will try to publish some
description an some pictures.
Ariscats
Was the chair ride fueled with Greek brandy ???
If so I commiserate with you , for in my younger days I once woke up on camel thorn bush after my engine spent the afternoon getting fueled up on the popular local brand .
- Joined
- Jan 6, 2013
- Messages
- 125
Yes Bob.You understood it well.After scanning a line noting indications,lets say,every 2 cm you move
the instrument parallel to itself for 2 cm and repeat till you cover all the surface of the slab,
without rezeroing at the ends.Very quickly you have a matrix of measurments that is actually
a map of the surface with a "gain" on the Z axis of about 10.000 to 1(1cm to 1μm). It is very easy
and fast.To my opinion it is very important for an assessment of the quality of the surface, to have
a smooth transition from one point to another than the absolute peak of the deviations.As for your
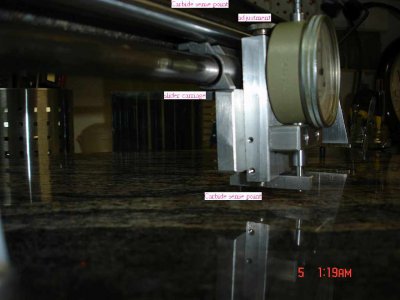
other question,as i have mentioned,the carriage is an aluminum casting with an inserted bronze sli
ding bearing probably oilite type (permanent lubrication) but very fine and dense.The rod is stainless
steel precision ground.I did not made these components,they came from an old printer,as I noted
before,but i verified the precision of the group.To make clear how i did it,i will need to take some photos
but now is half past midnight in Greece it is snowing temp 2deg below zero(Celsius) and the
Eurogroup is in session to decide about the future of my country in the European Union.
-
- :angry::talktogod: So allow me to take these Pictures tomorrow .Thank you for your nice comments.I will be back with more.
Ariscats
- :angry::talktogod: So allow me to take these Pictures tomorrow .Thank you for your nice comments.I will be back with more.
- Joined
- Jan 6, 2013
- Messages
- 125
For "Round in circles"
The famous Greek poison is called OUZO and is renowned the world over.Unfortunately the fall
was because of a completely dump bad evaluation.
The famous Greek poison is called OUZO and is renowned the world over.Unfortunately the fall
was because of a completely dump bad evaluation.
- :angry: Any way everything is ok now except some aches here and there.
Thank you
Ariscats
- Joined
- Sep 29, 2014
- Messages
- 2,102
I prefer Pastis (-: Bad things may happen either wayFor "Round in circles"
The famous Greek poison is called OUZO and is renowned the world over.Unfortunately the fall
was because of a completely dump bad evaluation.
- :angry: Any way everything is ok now except some aches here and there.
Thank you
Ariscats
- Joined
- Jan 6, 2013
- Messages
- 125
I prefer Pastis (-: Bad things may happen either way
Have you been in Greece?
Ariscats
- Joined
- Aug 22, 2012
- Messages
- 4,116
If you can get 3 slabs of granite off cuts you could use the 3 face method to grind them flat using water and carborundum grit.
A on B, B on C, C on A and so on.
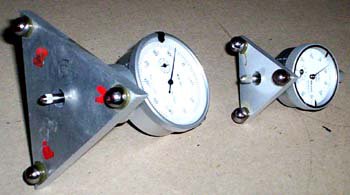
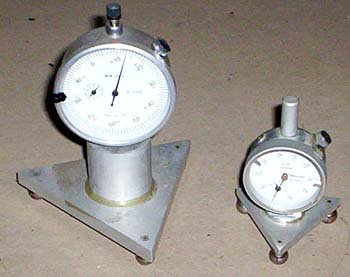
A simple test for flatness could be a triangle of aluminium with a steel ball on each corner and a dial gauge mounted in the centre.
Heres two I made earlier


Admittedly I use them for measuring the depth of curvature when grinding mirrors but they work very well for flatness.
If anyone is interested I can dig out the formulae to work out how deep (sagitta) is from the measurements.


A on B, B on C, C on A and so on.
A simple test for flatness could be a triangle of aluminium with a steel ball on each corner and a dial gauge mounted in the centre.
Heres two I made earlier


Admittedly I use them for measuring the depth of curvature when grinding mirrors but they work very well for flatness.
If anyone is interested I can dig out the formulae to work out how deep (sagitta) is from the measurements.
