Having trouble milling smooth.

Mercedes107

Registered
Registered
Joined
Feb 2, 2016
Messages
50
Hello people

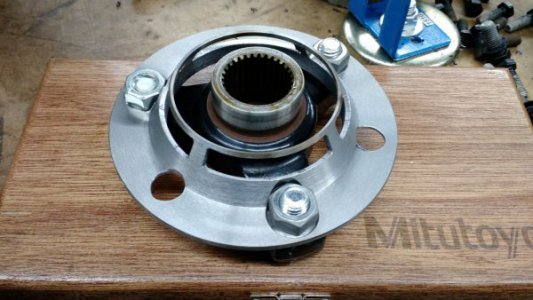
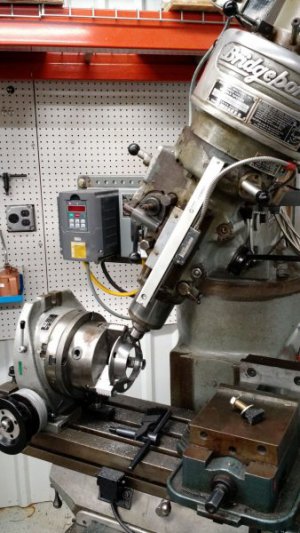
I believe this is my first post here. I just completed a job, which is probably the most complex task I have undertaken on the lathe and mill. While the part appears to be usable I did make some mistakes and would like to do it over and hopefully clean up the surface finish in the slots I cut. Attached are some pictures of how I did this along with the finished product. The steel is 1045 hardened to 77KSI Rockwel B90 from Mcmaster.

But it seams no mater what I use A36, 1018 1045, milling a slot is never producing a smooth finish. particularly in this case where I have to hand feed using the rotary table.

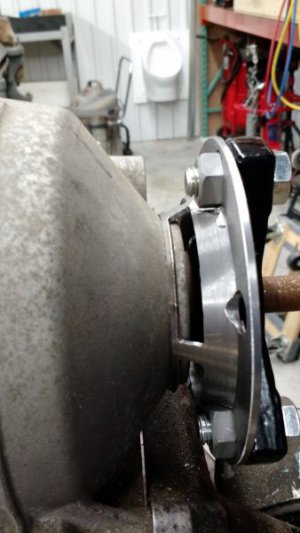
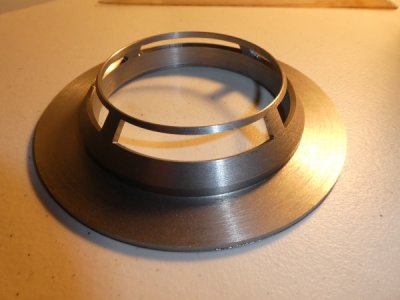
The slots in the third picture were cut out using a 1/8" 4 flute cobalt end mill. The material in that area is 0.100in thick so it was done in a single pass by plunging through and then rotating the rotary table by hand. The final product is the edges you see in the pockets of the tone wheel.

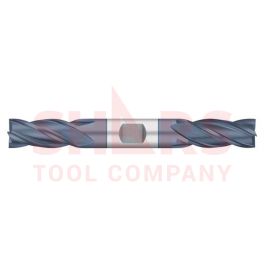
Another question I have is about the use of carbide end mills on a Bridgeport milling machine at I am starting to see cobalt in those small sizes less and less available. Will they work on these low speed machines and are they more prone to breakage, as I am certainly not an expert.

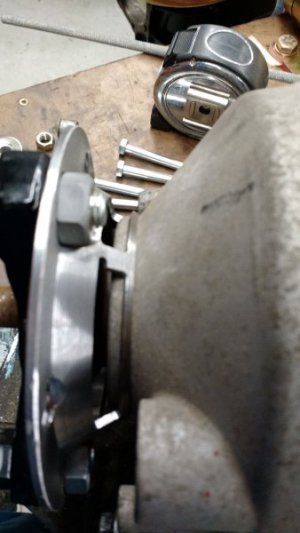
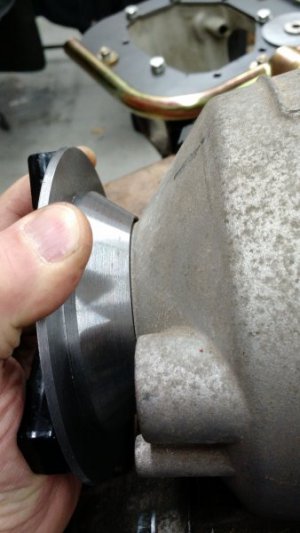
For reference the part you are looking at is a tone wheel required to use the stock Mercedes speedometer with an alternate transmission.

Thank You
John
IMG_20190216_214646524.jpg

IMG_20190216_214654422.jpg

IMG_20190217_240343382.jpg

IMG_20190217_240325687.jpg
 
Cobalt end mills will be less prone to breakage than carbide. They may not handle the hardness of the steel you are using well enough. B90 converts to about 55C Rockwell.
 
Welcome Aboard! That is a complex part. :) A36 is really a pain to get a smooth finish, 1018 is not so good either. 1045 should be a bit better. Tool sharpness has much to do with surface finish.

I would normally cut that in 2 passes or more, leaving about 0.005 / side for a final finish pass. That should leave a nice finish, but it does depend on how sharp your endmill is. If you are doing that cut in one pass with a 4 flute endmill, I would expect to see a ragged edge because the endmill tends to be pulled sideways and will create a scalloped pattern. A 2 flute endmill might produce a better finish because of less lateral loading.

Carbide endmills are brittle requiring a rigid setup and in the case of a manual machine a steady hand. The smaller the endmill the more prone to breakage, but I use carbide endmills all the time. Higher surface speeds are generally desirable, but not totally required if the feed is adjusted to keep the chip load in a reasonable range. In other words, you want to keep the endmill cutting and not rubbing.
 
Cobalt end mills will be less prone to breakage than carbide. They may not handle the hardness of the steel you are using well enough. B90 converts to about 55C Rockwell.

Thanks but will carbide even cut well at an 1/8" diameter under 2500 RPM.

This is the stuff. I thought B90 was off the low end of the C scale. In any case Mcmaster classifies it as Medium Hard.

 
Welcome Aboard! That is a complex part. :) A36 is really a pain to get a smooth finish, 1018 is not so good either. 1045 should be a bit better. Tool sharpness has much to do with surface finish.

I would normally cut that in 2 passes or more, leaving about 0.005 / side for a final finish pass. That should leave a nice finish, but it does depend on how sharp your endmill is. If you are doing that cut in one pass with a 4 flute endmill, I would expect to see a ragged edge because the endmill tends to be pulled sideways and will create a scalloped pattern. A 2 flute endmill might produce a better finish because of less lateral loading.

Carbide endmills are brittle requiring a rigid setup and in the case of a manual machine a steady hand. The smaller the endmill the more prone to breakage, but I use carbide endmills all the time. Higher surface speeds are generally desirable, but not totally required if the feed is adjusted to keep the chip load in a reasonable range. In other words, you want to keep the endmill cutting and not rubbing.

Thanks for the reply

When you say more than one pass are you referring to side ways approaching the edge or more that one pass in depth to punch through. with a final pass 0.005 at full depth on the edges. Is a 0.1 depth too much to take in one pass? The metal was getting hot I had to bring the speed down to about 1100 especially when cutting along the thin edge. Coolant would have been nice. Cutters were new but not any names I recognize. I did end up turning the tip of my 4 flute a dark brown color.

I would have thought the 4 flute would produce a better finish that the two flute but my results show otherwise. I did cut the radial passes with a two flute only because I had one with a long enough depth of cut to accommodate the change in height as I moved in and out with the x axis. Then again my two flute cutter was a name brand I recognize "OSG". It did produce a nicer finish. I wish I would have seen this post earlier I just ordered 2 new 1/8" double ended 4 flutes with AlTin coating. I really like the AlTin coating as it does really work on my drill bits. Its expensive but since I was having trouble I figured I would try it.

 
The 0.100 DOC is little heavy for a 1/8 endmill, but not too much. But I meant leave 0.005 to step over on the last pass to finish. If possible drop the endmill down another 0.100 to cut with the unused part of the endmill. Or even better is to go way deep on the roughing pass to use the stiffest part of the endmill, then back out for the final pass to use the unused tip area.

Coolant would be a big help.
 
Use a roughing end mill to get close to size then walk it off by climb milling to finished dimensions, this will get you as close to the target as your machine will allow.
 
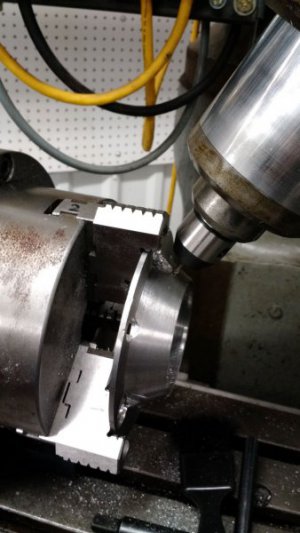
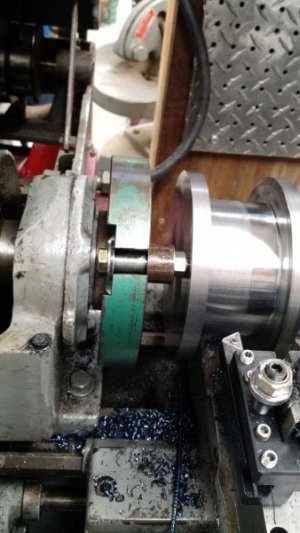
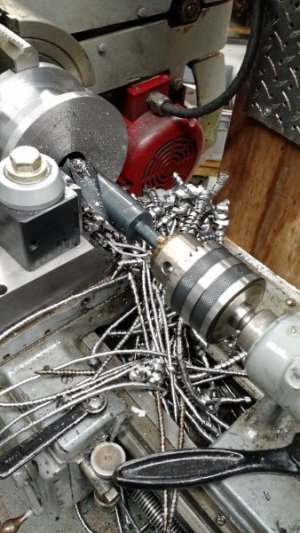
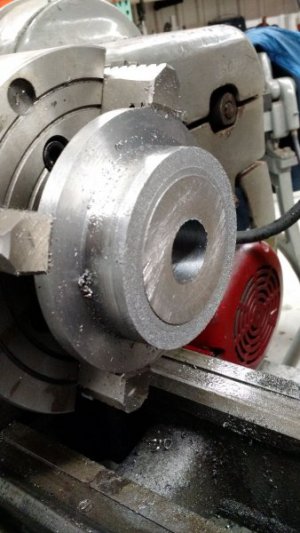
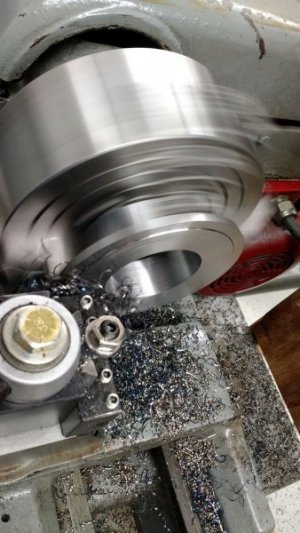
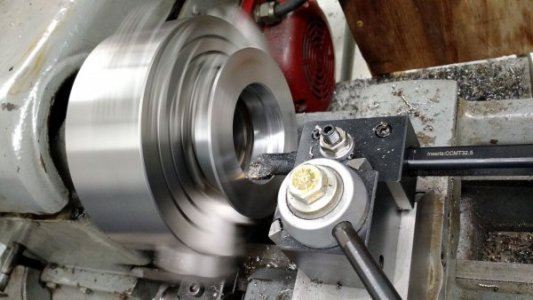
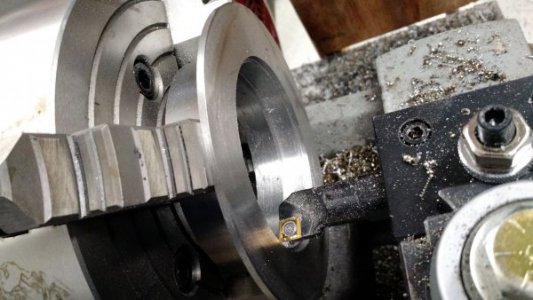
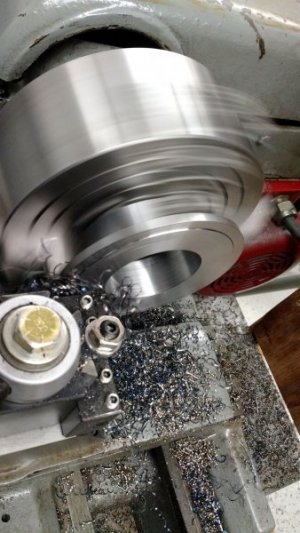
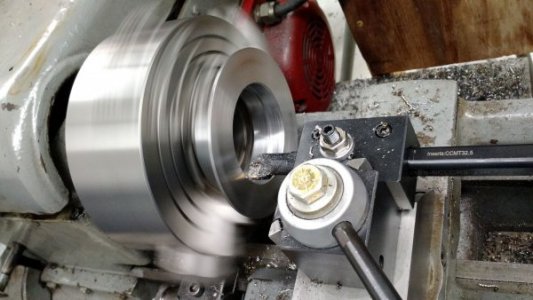
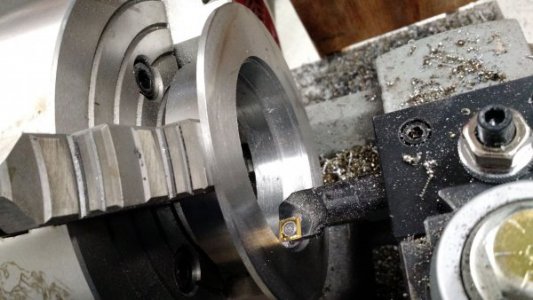
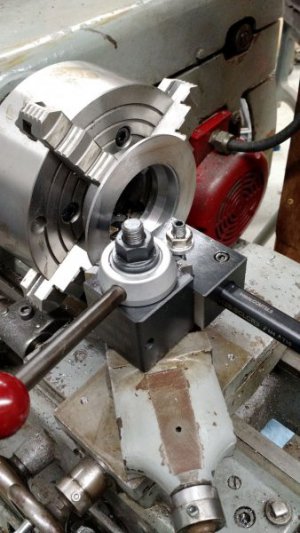
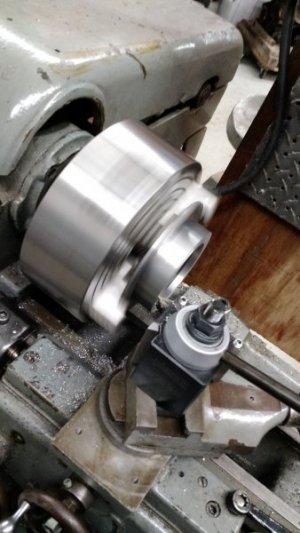
Well here I go back at it. OK in the last episode I made a wheel speed sensor tone ring. As far as working it will work just fine. As far as how good it looks, could be better and I had one opps in one corner. I have also fit checked it and found although it fits on this particular trans it is close and a different casting may have different results. So the latest iteration is underway. I will start with the other half of the blank I made. I had enough for 2 wheels so I did a rough hog out of the steel then cut it in half. Those steps are shown in pictures 2 to 4. OK I will fess up the last inch of that part was done with a sawzall and the lathe turning slowly backwards. But I had over 2" of blade sticking out on that. A lot to ask for a Logan 11"

So at picture #5 is where I'm restarting this project. Picture 5 shows the wheel bored to its minimum ID and the mounting disk being faced to a final dimension of 3 mm. Picture 6 showed the first pocket to be cut. Picture 7 shows the second pocket being cut.

And thats all for today. Tomorrow I will install the compound rest and do the inner tapper.

IMG_20190217_240416893.jpg

Blank Spool.jpg

Drilling the spool.jpg

Parting the spool.jpg

IMG_20190228_210237018.jpg

IMG_20190228_220229413.jpg

IMG_20190228_221804605.jpg
 
And today I finished all lathe work. So this weekend its back onto the milling machine, where I messed it up the first time. I got new end mills both carbide and HSS. I will be trying out the recommendations from the previous replies.

IMG_20190228_210237018.jpg

IMG_20190228_220229413.jpg

IMG_20190228_221804605.jpg

IMG_20190301_193214260.jpg

IMG_20190301_204506620.jpg

IMG_20190301_225343640.jpg
 
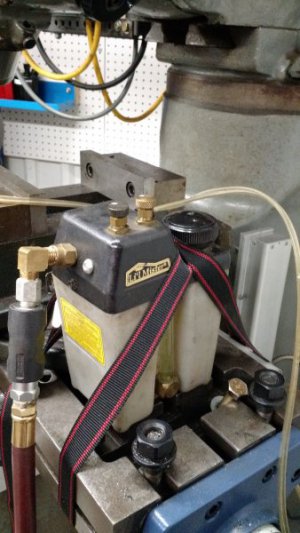
Carbide and the mist cooler did the trick. All worked very well. I am definitely a carbide believer. Roughed with 1/8" carbide leaving about 0.007" finished with 1/16 carbide and used the little mister cooler. Hope I don't screw it up when I drill and pocket the mounting holes.

Thanks to all that contributed. I will post more later this week.

Rev A.JPG

IMG_20190302_165418429.jpg
 
Back
Top