- Joined
- Apr 30, 2015
- Messages
- 11,374
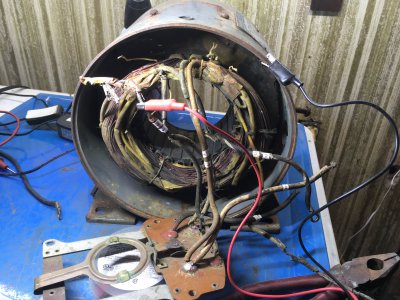
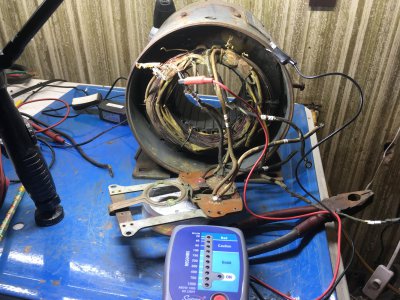
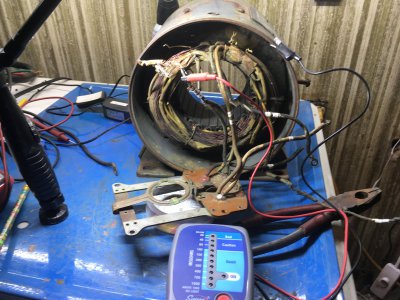
If you happen to lose track of which wire goes where I can help you re-identify them- a couple simple ohmmeter checks is usually all it takes

If you happen to lose track of which wire goes where I can help you re-identify them- a couple simple ohmmeter checks is usually all it takes
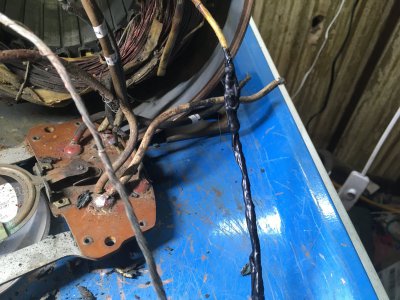
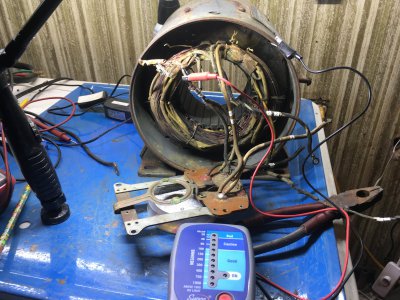
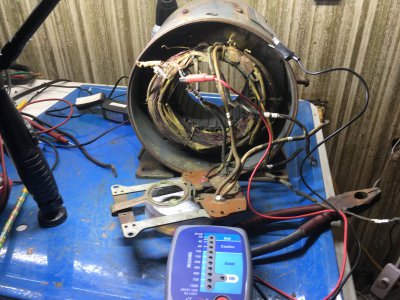
This would be greatly helpful and greatly appreciated. No color and in some case no insulation left on the wires. I have not traced them back to the coils they are connected to yet. Trying take it slow to help control any further damage. Thanks for the reply.If you happen to lose track of which wire goes where I can help you re-identify them- a couple simple ohmmeter checks is usually all it takes
Some repairmen use a Megger to create an arcing effect (or heat) to fix a shorted winding...The copper enameled wire windings are close together ,separated by the existing coating on the wire then the insulating varnish ..so the arcing causes the varnish to run into the shorted section.luap : could you please explain what you mean in "relieve" (A Megger might "relieve" a shorted winding but there isn't much between wires in a coil?)
Thank you verry much for explaining that to me. Now I understand. I am just a hobbyist but always eager to learn. I managed the skilled trades dept for GM for many years and was a skilled tradesman before, so I have been close to all aspects of skilled trades my entire life. Now that I am retired, I realize most of the trades are in my DNA. Again, thanks for the response.Some repairmen use a Megger to create an arcing effect (or heat) to fix a shorted winding...The copper enameled wire windings are close together ,separated by the existing coating on the wire then the insulating varnish ..so the arcing causes the varnish to run into the shorted section.
Transformers can also be repaired in similar manner but low voltage would do all right .
Your cooking it to correct the moisture content an etc . An oven will also do.
I think there is a treatise on this subject?
Many stories of natural disasters .
waterlogged pumphouse etc .
an they had to get the pumps back online.
Only to take the electric motors to the shop or oven to dry them out (The moisture .) ........
New to the( Forum )an still trying to digest what is going on here . Inventing a new world, I think we have done that here ?........Thank you verry much for explaining that to me. Now I understand. I am just a hobbyist but always eager to learn. I managed the skilled trades dept for GM for many years and was a skilled tradesman before, so I have been close to all aspects of skilled trades my entire life. Now that I am retired, I realize most of the trades are in my DNA. Again, thanks for the response.


 I can at least boast Made in the USA...