- Joined
- Jan 2, 2014
- Messages
- 8,854
Hi All,
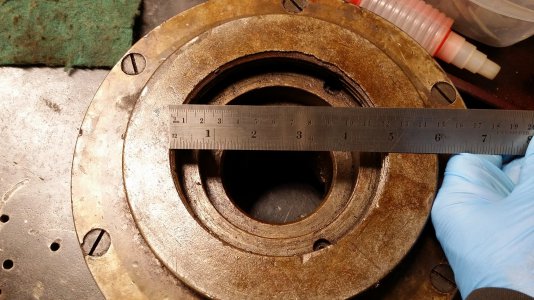
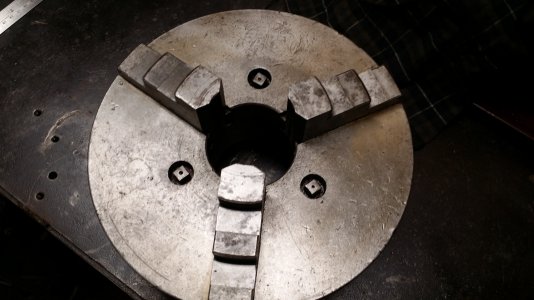
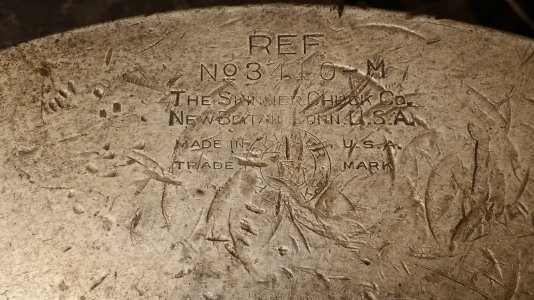
I picked up this well used and dirty 10 inch lathe chuck over the summer after seeing it in a kijiji ad.
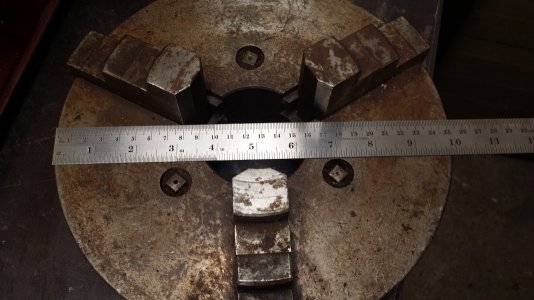
It will NOT fit my lathe, but for $40 I figured I could find something to do with it (weld positioner, or even just a bench vise) or worst case trade it in for at least that value at my local used tool store.
I was thinking about finally cleaning it up and realized that I did NOT even have a key to take the jaws out......okay, so the chuck key _IS_ the next project.
(Sure I could likely buy one quicker and fairly cheap, but I have some time off and want to be in my shop!)
I did NOT photograph all the steps, but here's how it turned out:
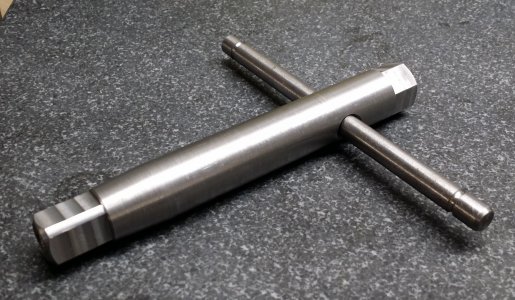
I got to use the lathe (including taper turning with the compound and my @Ulma Doctor inspired tool post cross-drill tool) the mill (with both square and hex collet blocks), and of course all the usual drill press, vise and files, etc.
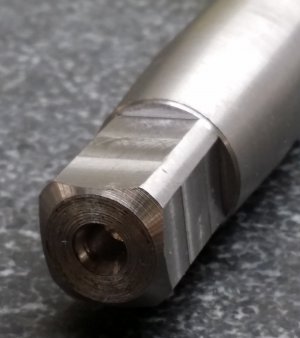
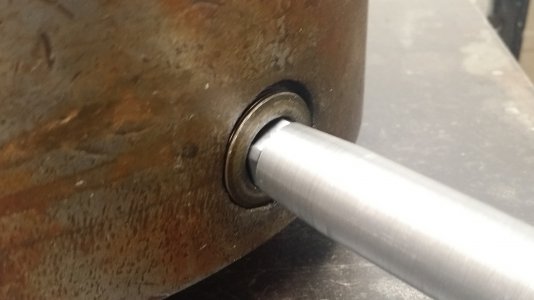
The square end is about 0.580 inch across flats and it fits the chuck perfectly; with the chuck face-up on the bench the key doesn't fall out.
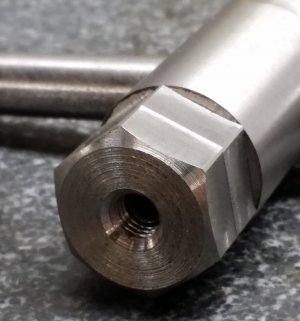
I put a hex on the back end so the I could drive it with a 3/4" socket in a drill for quick jaw removal.
I'll throw in some more photos below.
I had fun making it; there's no time like shop time!
-brino
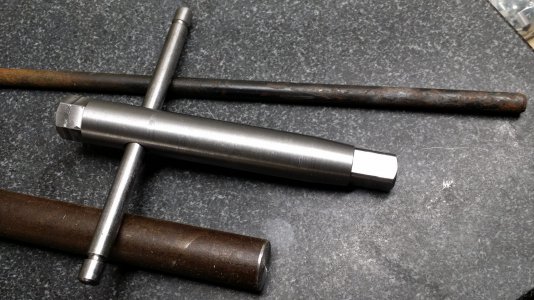
Here's the raw stock it was made from:
The square end:
The hex end:
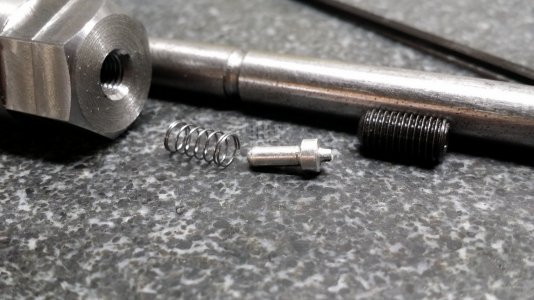
I decided on a detent to keep the handle from falling out, yet be able to offset it and remove it when I drive it with a cordless drill and socket:
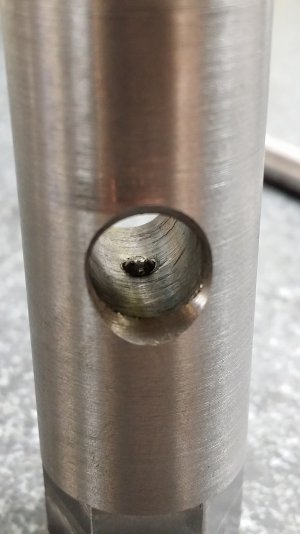
Detent parts (note the spring actually goes between the "button" and the set-screw):
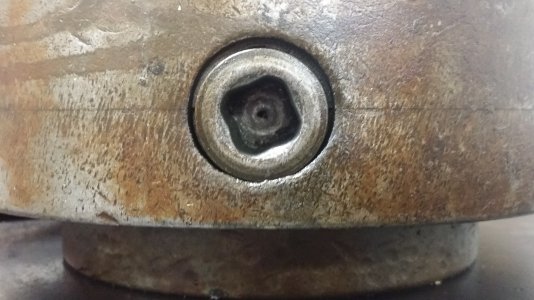
the chuck key hole:
...and the fit:
I picked up this well used and dirty 10 inch lathe chuck over the summer after seeing it in a kijiji ad.

It will NOT fit my lathe, but for $40 I figured I could find something to do with it (weld positioner, or even just a bench vise) or worst case trade it in for at least that value at my local used tool store.
I was thinking about finally cleaning it up and realized that I did NOT even have a key to take the jaws out......okay, so the chuck key _IS_ the next project.
(Sure I could likely buy one quicker and fairly cheap, but I have some time off and want to be in my shop!)
I did NOT photograph all the steps, but here's how it turned out:

I got to use the lathe (including taper turning with the compound and my @Ulma Doctor inspired tool post cross-drill tool) the mill (with both square and hex collet blocks), and of course all the usual drill press, vise and files, etc.
The square end is about 0.580 inch across flats and it fits the chuck perfectly; with the chuck face-up on the bench the key doesn't fall out.
I put a hex on the back end so the I could drive it with a 3/4" socket in a drill for quick jaw removal.
I'll throw in some more photos below.
I had fun making it; there's no time like shop time!
-brino
Here's the raw stock it was made from:

The square end:

The hex end:

I decided on a detent to keep the handle from falling out, yet be able to offset it and remove it when I drive it with a cordless drill and socket:

Detent parts (note the spring actually goes between the "button" and the set-screw):

the chuck key hole:

...and the fit:


