L-W Chuck Co. DIVIDING HEAD DISMANTLE AND CLEAN-UP

Hello Maddog,

What a great find... !!! You have yourself a real high-end dividing head. I'll bet it ended up on the scrap heap, just because it looks so bad. I'm sure that you can ressurect it with a bit of effort and end up with a real nice DH.

I ended up using mine for the first time a couple of days ago and wanted to use it in the vertical position, so I had to take the auxilliary gear train off in order to do so. It worked like a charm...

For buffing the shiny parts of the DH, I used "Norton Beartex" scuff pads in the "maroon" colour of grit. For the most part, I used them dry. Before using the pads, though, I used a simple 2" flexible putty knife to scrape the majority of the rust off. If you sharpen the putty knife to a square edge, it really works well. The flexability of the knife allows more control to prevent it from digging into the metal... especially on the rounded parts. This method takes a bit of time, but greatly lessens the elbow-grease required in getting the parts bright. To sharpen the putty knife, I used sandpaper on a flat surface and held the knife vertically and rubbed away. I think that it would be dangerous to sharpen it on a grinder, due to it's flexability.

Good luck on your restoration and be sure to take lots of pics for us to see... :)

Cheers...

Brian
 
Brian

Thanks a lot for the info! I have restored a bunch of old bench vises I've found, some that were so bad they were completely seized, but I used a cup wire wheel and sandblaster to clean the rust. I figured with this DH I wanted to be a little more gentle. When I get time to work on this, I will indeed start a thread like yours. Thanks again!

Matt


---------------------------------Why buy something when you can build it for twice the price!
 
:goodjob: Thanks for showing us the innards of your dividing head, I have often wondered what went on inside those things, it looks great now, nice work!

Bernard
 
Your welcome, Matt,

I agree about the wire wheeling being not the best method for such an item

Brian :)

- - - Updated - - -

Hello Bernard,

Thanks for the compliment. :) I was a little intimidated, at first, to take it completely apart, but it turned out to be relatively straightforward. I have a few other projects that I've restored that I should post some pics and text about.

Cheers...

Brian
 
I've never done it because I have yet to find anything old like that to fix up, but I've read where folks use electrolysis to clean up rusty cruddy parts. The electrolysis eats up the rust first if you do it right and will even flake the paint off. I just don't know if it will hold tolerances. Might want to degrease and paint the machined surfaces with latex paint (easy to remove from unprimed metal) to protect them from the electrolysis.

If you're near Tennessee, I could get rid of it for ya. :)

PS - this will get you started: http://www.instructables.com/id/Electrolytic-Rust-Removal-aka-Magic/
 
Great job Brian! The dividing head should last a couple more lifetimes. What brand of mill is that in the picture?

David
 
Hello David,

I am re-posting my response to your question, as it seems to have disappeared with the hacking situation.

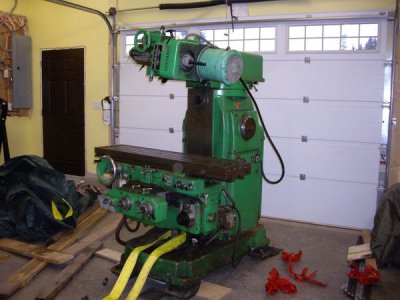
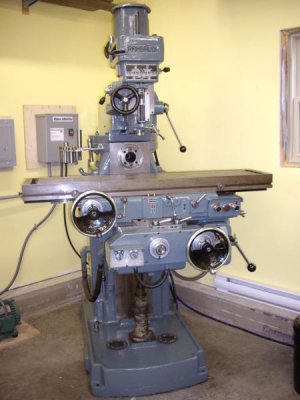
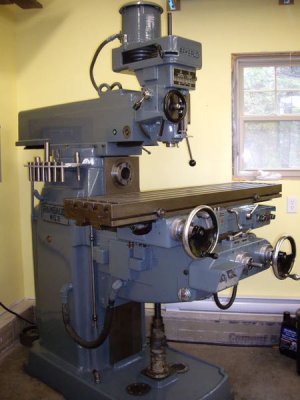
My milling machine is a Rambaudi MS2 horizontal/ vertical mill made in Italy. It has a 12"x52" table with power feeds in X Y & Z axis and a rapid traverse. The table feeds range from 25" per minute down to a slow crawl of just 9/16" per minute, almost too slow to see the movement. There are 4 seperate motors on the mill, one for the head spindle, one massive motor for the horizontal spindle, one for the power feeds and one for the coolant pump. Apparently it came out of the aerospace industry in the U.S. I was very lucky to have found such a nice mill, considering that there isn't a lot to choose from around my neck of the woods.

Here's a few better pics of the mill.

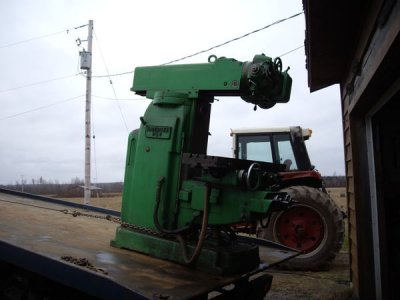
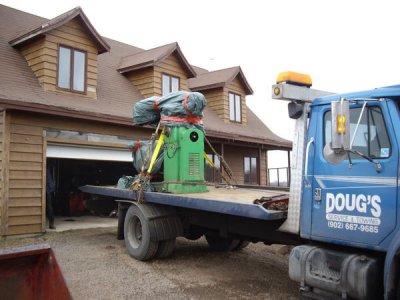
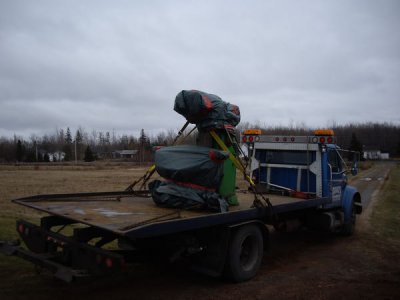
Loading the mill for the trip home...

IMGP1265.jpg

IMGP1266.jpg

IMGP1268.jpg

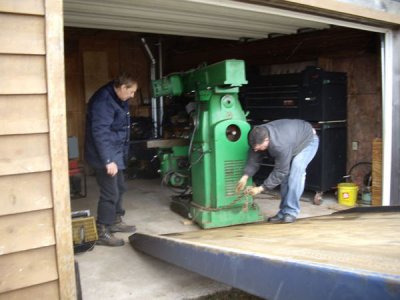
Now it's home...

IMGP1264.jpg

IMGP1269.jpg

I couldn't stand the shade of green that someone had painted it, so I cleaned it up, fixed a few things and painted it...

IMGP1373.jpg

IMGP1372.jpg

The design of this mill is unusual, in that, the handwheel for the X axis is mounted at the front.

Cheers... :)

Brian
 
That is one nice machine you have there! I like how it has both vertical and horizontal capabilities. It must've been fun to move around lol


---------------------------------Why buy something when you can build it for twice the price!
 
Hello Maddog,

Thanks... :) I had rented machinery skates for the move and after they were installed, I could push it along by myself (with a fair amount of grunting ) quite nicely, in spite of an estimated 3500#. I soon learned that you should only use 3 skates instead of 4 because as soon as you would hit even the slightest dip in the concrete floor, one of the skates would lose all contact with the machine... :yikes: heart stopping for sure... !!!

Brian
 
Lol yeah I bet that thing teeters a little and your heart goes straight into your throat! At any rate, you did an awesome job on that, it looks brand new


---------------------------------Why buy something when you can build it for twice the price!
 
Back
Top