I guess to one of my original questions on ‘is there an easier method than shimming’ the answer is no.
My answer is "maybe". In my world, seasonal climate and freezing means that concrete basement floors move. I constantly live with a taper, and when it bothers me, I can literally shim under one of the bench feet to bring things back if it bothers me. It's not as much as you're out, but it's enough to show... You don't "have" to adjust the lathe to "perfect", because in reality, your floor is not perfect, and to some degree, more or less, depending on it's design, placement, and construction, the floor moves. So there are limits to what's practical, but this is an option after you get the lathe bed shimmed "close".
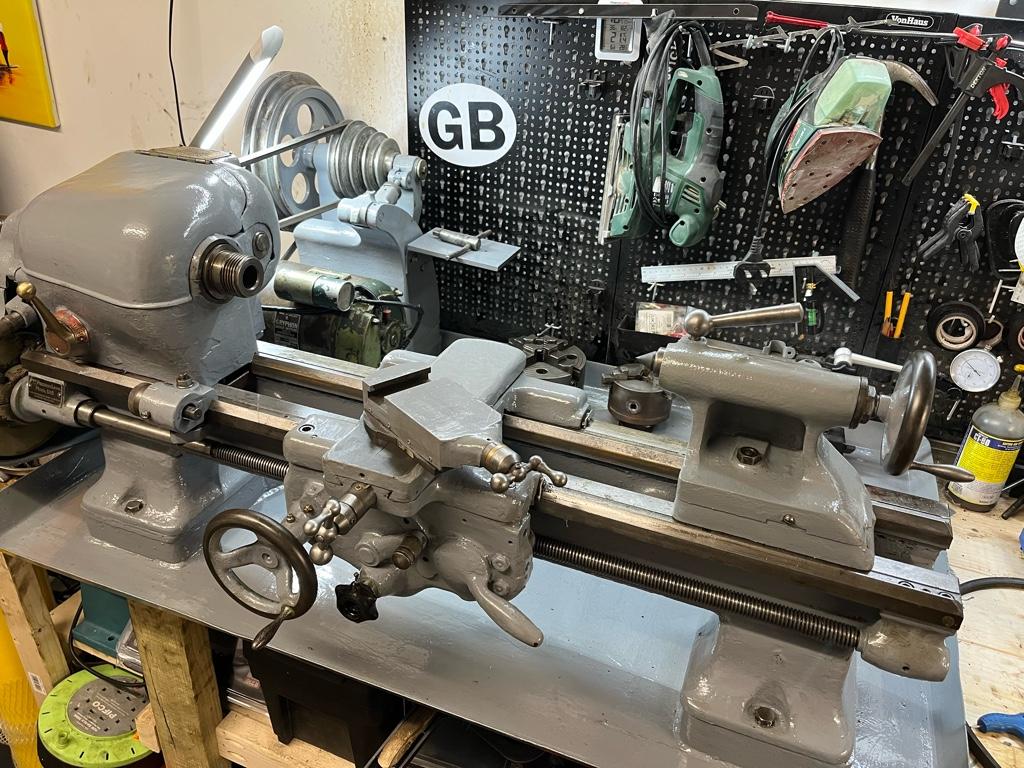
I’ve got some shim stock, but as I’m guessing I’ll need a bunch of different sizes to get it right, I’ll order some more.
Sent from my iPhone using Tapatalk
You said you had 0.45 degrees along the bed ways and zero across them? That's a lot of "not level", but in and of it's self, does not cause a twist. You could bolt that lathe at a 45 degree angle on the wall, and it wouldn't cut a taper, so long as it was flat. (Ok, there's other variables that are gonna get aggravated by that, but in theory, that would not cause a taper.
First, how are you calibrating your level? Bubble? Electronic? I'm guessing electronic since you imply 0.01 degrees of resolution.
1. Assuming that it's an electronic level, I would do this- Pick a point at or near the center of the big flat spot on top of your compound slide. Mark it with a sharpie. Place the level there, zero the level, and rotate it 180 degrees and read it. It probably won't be the same. Rotate the level a few degrees, and do the same again. That surface is flat. (Flat enough that we can call it flat anyhow). As you rotate the level around that spot that you marked there is ONE line that is perfectly, exactly level, which means that zero will repeat with the level in two positions, 180 degrees apart from each other. That is your zero. Zero the level, and don't ever touch the zero button again. At least for now. That's how you're going to get the whole lathe level enough that you just don't care.
2. Take that level that's now calibrated to as close to level as it can be, and validate the bench. Both length and depth. Shimming under the feet of a bench is far quicker and easier than shimming the lathe, and once you set up the lathe, you can never touch that again without influencing the lathe. 0.45 degrees is almost 8mm in a meter, so it's easy to correct it to close just by sticking something under the bench legs. That means a lot less shims stuck under each leg of the lathe. Or maybe it changes with the level calibration? Do your own math on the actual measurements.
3. Next, put the level so that it's facing you, measuring along the length of the ways. You said they're 0.45 degrees out, but if you adjusted the bench first, that changed. Revalidate that number based on exactly zero. Use the length between the lathe's feet to turn that angle into a height that one end or the other of the lathe will need to be raised. Write that down.
4. Now turn the level sideways, measuring across the ways. Still on that same dot. crank the carriage all the way to the headstock end, and get your reading. Don't fix it now, but document it. DON'T zero it! Move the carriage to several increments along the lathe bed, all the way to the tailstock end, documenting each reading. (slide the tailstock off, and go as far as you can, that's the least worn section back there, if there's wear).
5. Now you've got to do some math. The most unworn section at the tailstock end, that's where you want to find "level". Take that reading as far as how far the whole lathe needs to move to be level. The several readings you took along the way, the change in those from one reading to the next, that will show you the twist in the lathe bed. If it's a progressive change, it's twist. If there's a sudden change somewhere near the headstock end, it's wear. Although judging by the appearance of the lathe, and the resolution of the level- I suspect you could consider it all twist.
Take that reading from the tailstock end, measure between the two mounting bolts on the tailstock end, do your trig to figure out how much shim it's going to take to adjust that tailstock end foot to zero degrees. Assuming your change in angle (twist) was reasonably consistant, take the reading from the headstock end, do the trig on that one, and figure what that shim is going to be. The math is wrong on that last one, as the carriage won't ever reach the foot, but the headstock reinforces things, and that'll get you close, well within the resolution of your level.
So when you figure out, order, or make the two shims you will need to put it pretty darned close, go ahead and install them. The lathe should read pretty close to zeros. It won't be perfect, but it'll be an awful lot better than it was. Probably more level, square, and true than most houses are....
From that point, then you want to move on to cutting a test bar. The test bar should be fairly large, as it has to hang out a LONG ways. You can not test the lathe ways if you've got a center installed, so it's got to hang out. It's best to set it up as a two collar type, as you don't want wear and tear to influence the tool pressure as you're cutting. And you need a dead sharp tool, that can take off a half or a whole thousandth in a nice little curl, with very, very little tool pressure required. Cutting away between the collars is a great opportunity to dial in said tool, as that diameter, finish, and general appearance is totally irrelevent. Then , with the lathe preliminarily leveled, the test bar cut back from the collars, then test from one collar to the next, to see what taper you're getting. Now is the time you'll want thinner shims, and it may not be a lot. The first steps are very sciencey, and you can nail it in one shot. This is the black magic. If your tool is falling away from the work as you go, you'll have to add some shim under the rear tailstock foot. (or front headstock foot). If the tool is falling into the work as you go, you'll need to shim the front tailstock foot (or the rear headstock foot). Because you're dealing with rigid but flexible things (the bench and the lathe) pulling against each other, there will be some trial and error, but WAY, WAY less than if you had started from scratch that way.
Also, after the coarse adjustment is done, when you're cutting the test bar, let me suggest that you use a flat washer or similar in lieu of a shim, so that you can get a feel for how much movement gets you how much result. That can put you in a good spot to know what's a comfortable shim assortment to have on hand. (Or if you get lucky, flat washers are good and valid shims in and of themselves, if you happen to hit the mark.... Leave it there.)