Logan 200 - Figuring this thing out!

Laminar

Registered
Registered
Joined
Feb 18, 2022
Messages
36
Hey everyone,

Over the weekend I bought myself a pile of parts that is supposed to be a Logan 200 lathe. The guy I got it from bought it as a project, didn't know anything about it, ran out of motivation to do anything with it himself. So I bought a lathe and a bucket of accessories. I have no experience in machining, so I'm learning as I go.
 
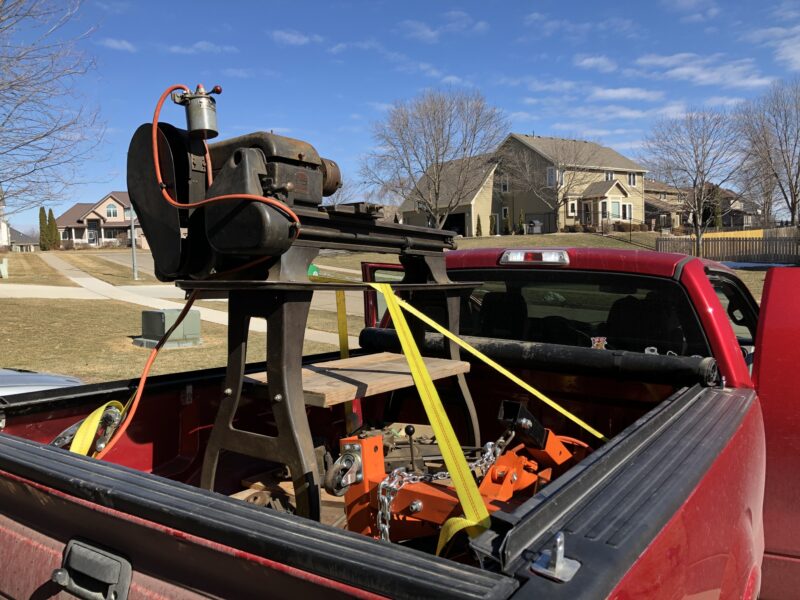
I found it on Facebook marketplace and decided to check it out on Saturday. After taking a quick look, I decided to give it a shot and take it home with me. We were able to back my truck up to his retaining wall and load it up. Once I got home, I recruited a neighbor to help me get it out. The guy had put it on casters so we were able to roll it down a set of ATV ramps without much drama.
 
IMG_1528-e1645453906414-800x600.jpg


IMG_1530-e1645453931670-800x600.jpg


IMG_1529-e1645453886690-800x600.jpg
 
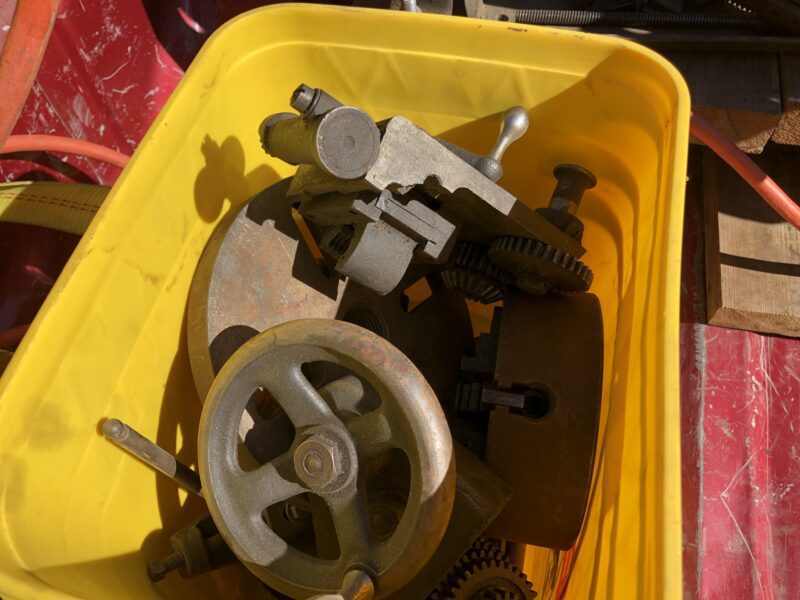
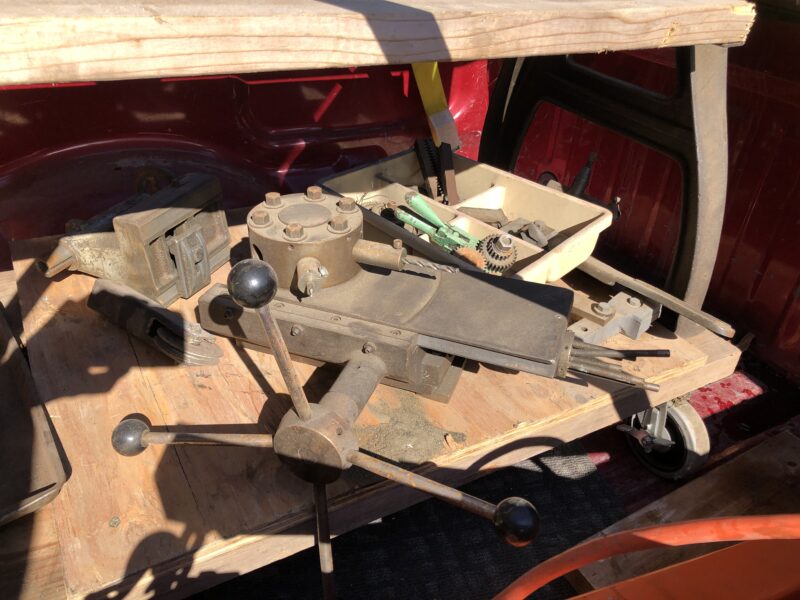
I pulled everything out of the buckets and boxes. Here's what I see, I'm figuring out what things are from the Logan manual.


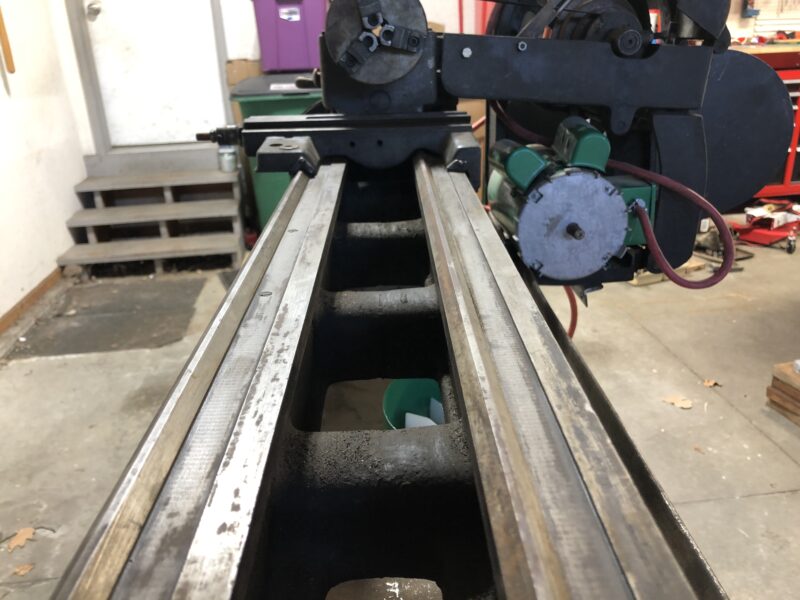
The ways look decent, not dinged up or damaged.

IMG_1544-e1645453691615-800x600.jpg


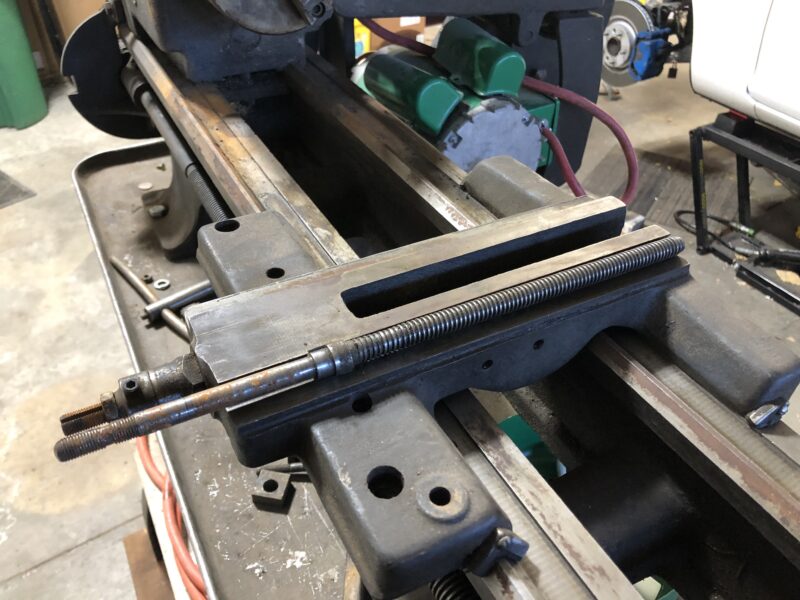
The carriage still has its felt wipers in place. The compound rest screw is bent, but it came with a spare.

IMG_1572-e1645453477751-800x600.jpg


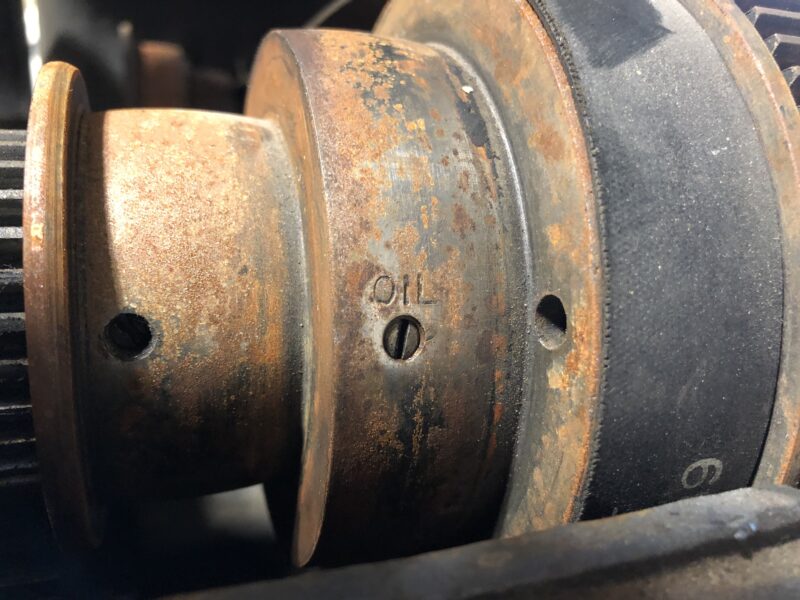
Some minor surface rust on the pulleys, but I think it should clean up.

IMG_1554-e1645453500505-800x600.jpg


IMG_1542-e1645453752653-800x600.jpg


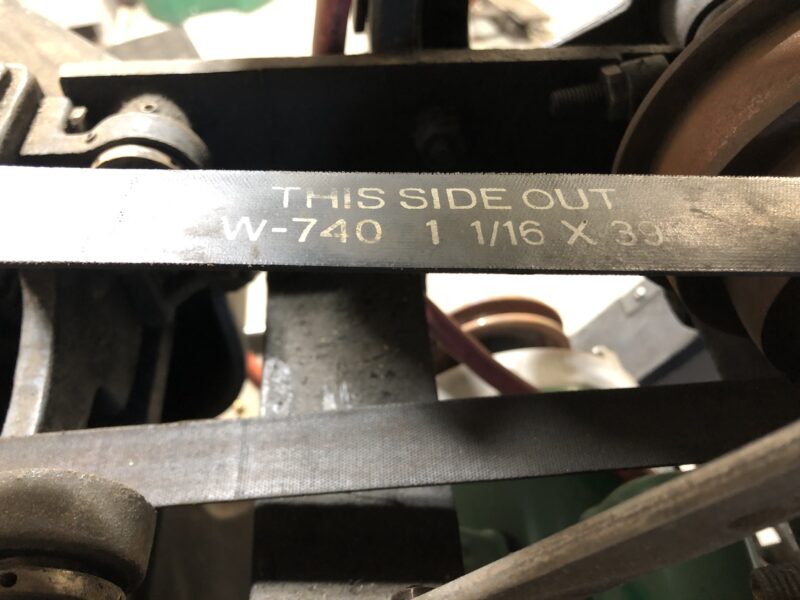
No leather belt, just a continuous rubber belt.

IMG_1539-e1645453789228-800x600.jpg


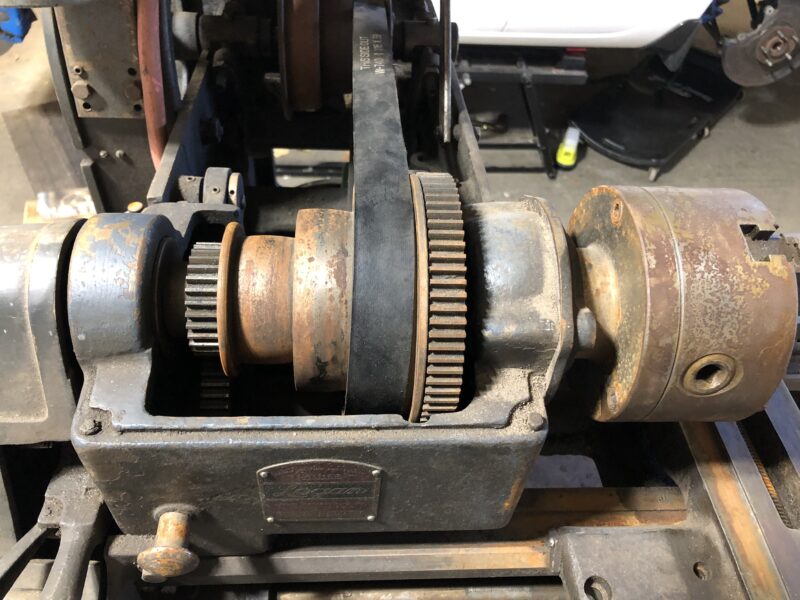
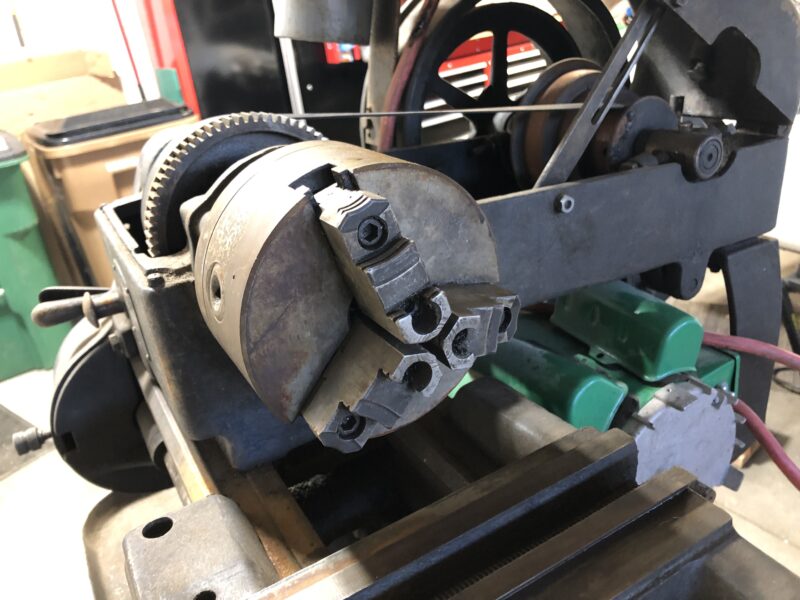
Came with a 3-jaw chuck installed:

IMG_1543-e1645453712463-800x600.jpg


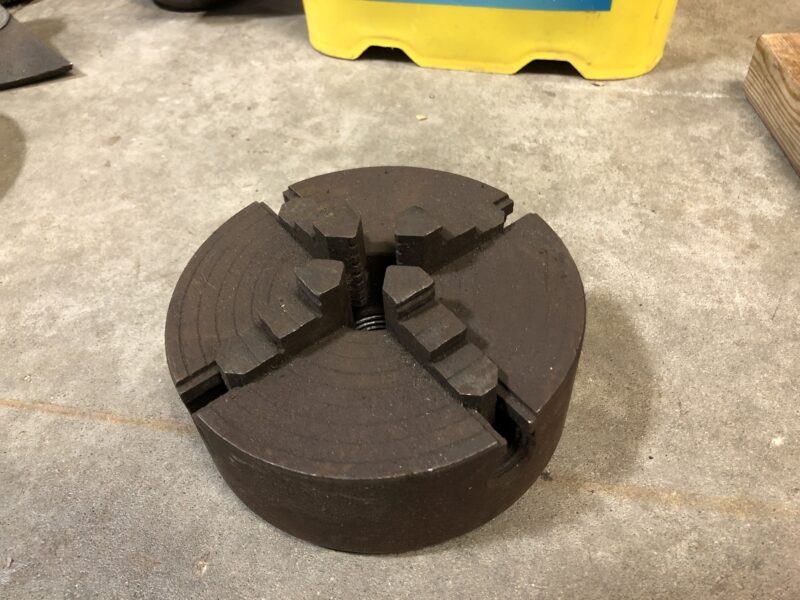
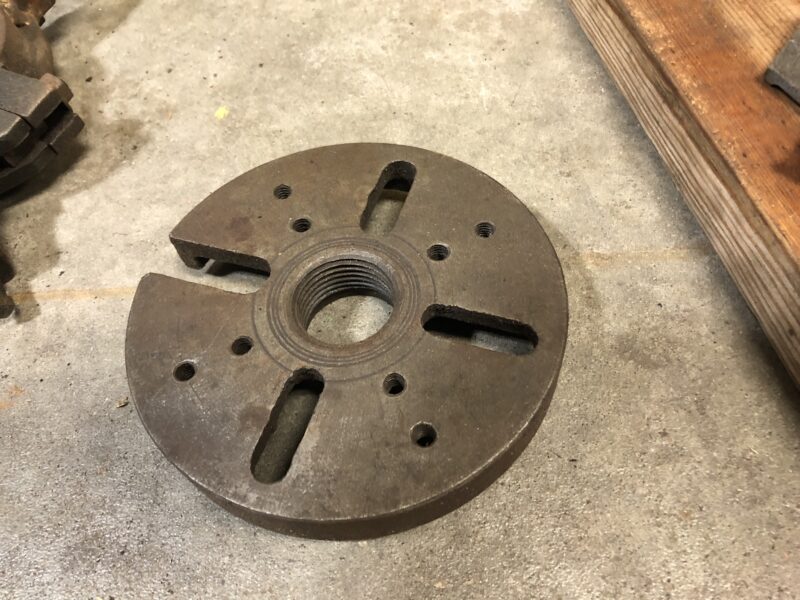
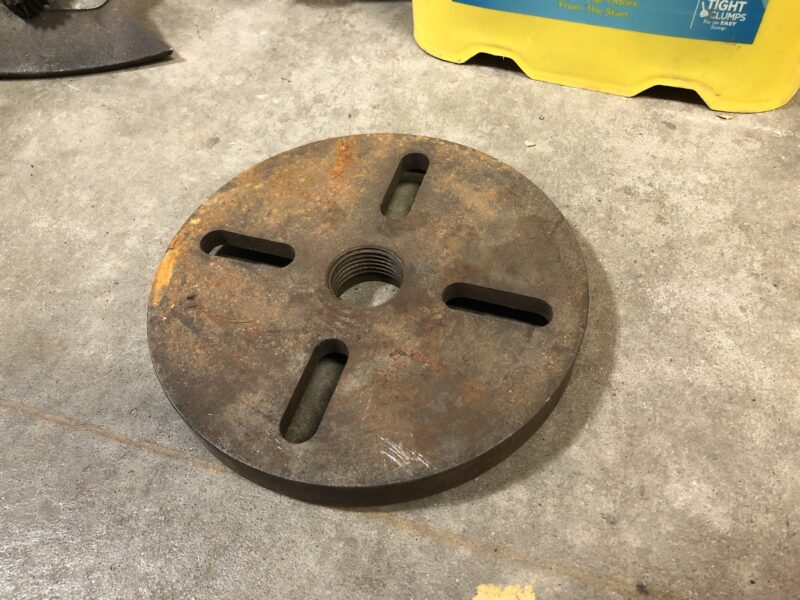
Also included a 4-jaw chuck and a couple of face plates:

img_1580-800x600.jpg


img_1578-800x600.jpg


img_1585-800x600.jpg


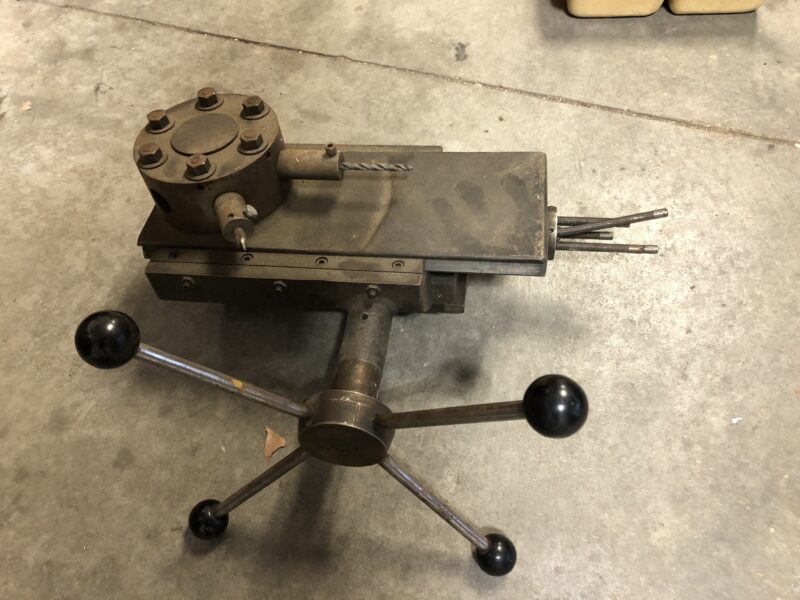
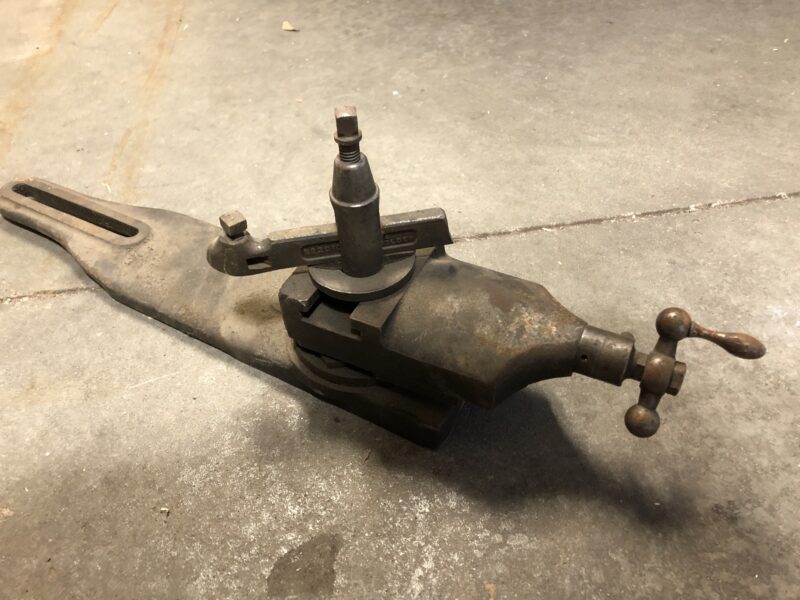
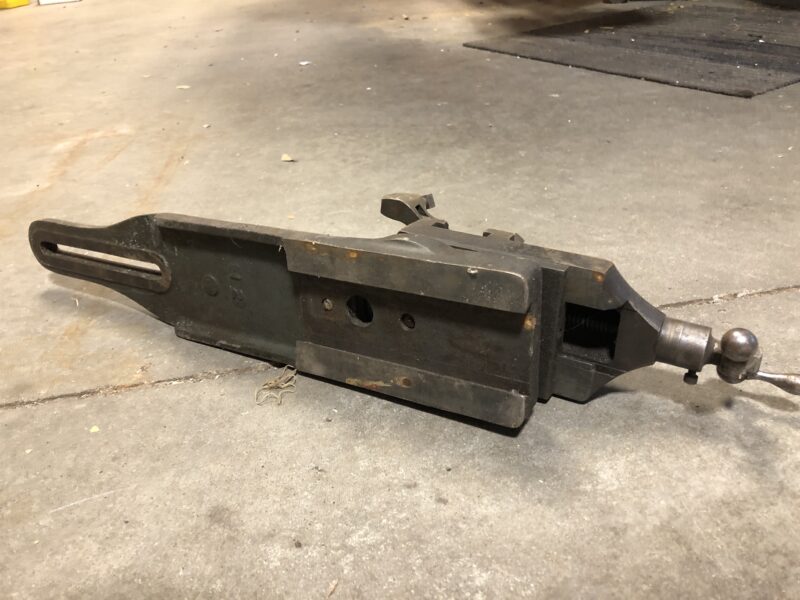
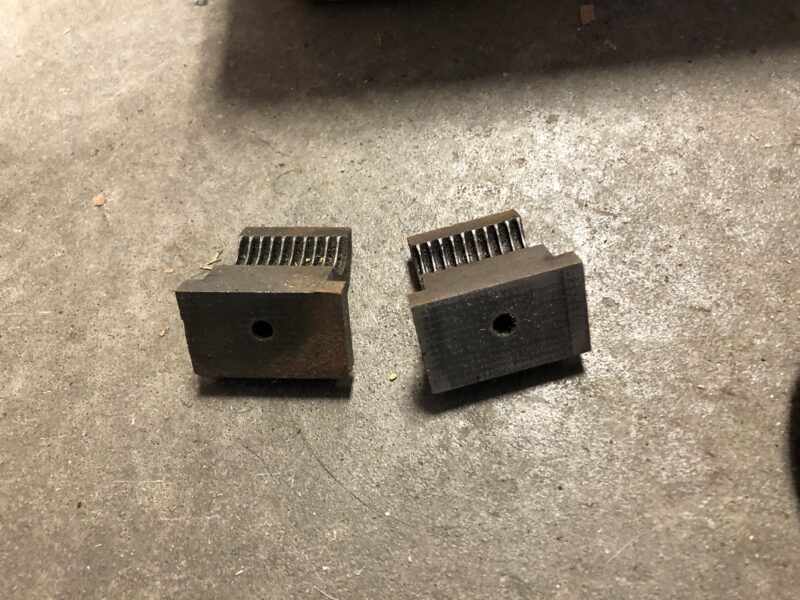
Included a turret:

img_1548-800x600.jpg


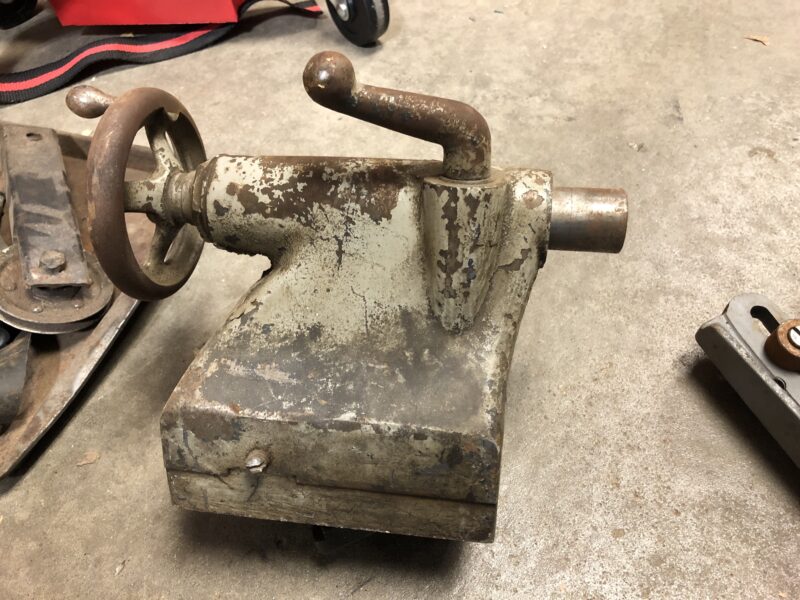
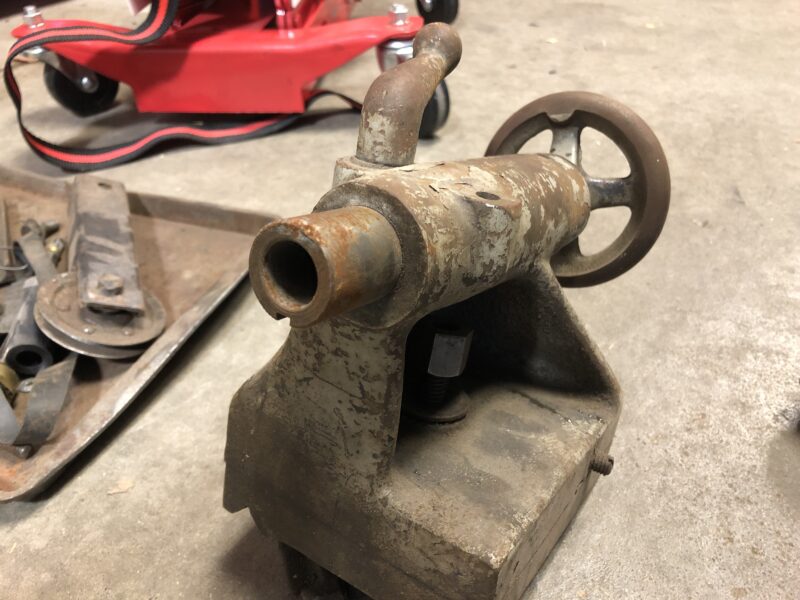
Tailstock is in decent shape. I'll need to clean out the taper. I don't see any accessories for it, so I'll probably look for a live center and maybe a chuck.

img_1568-800x600.jpg


img_1569-800x600.jpg


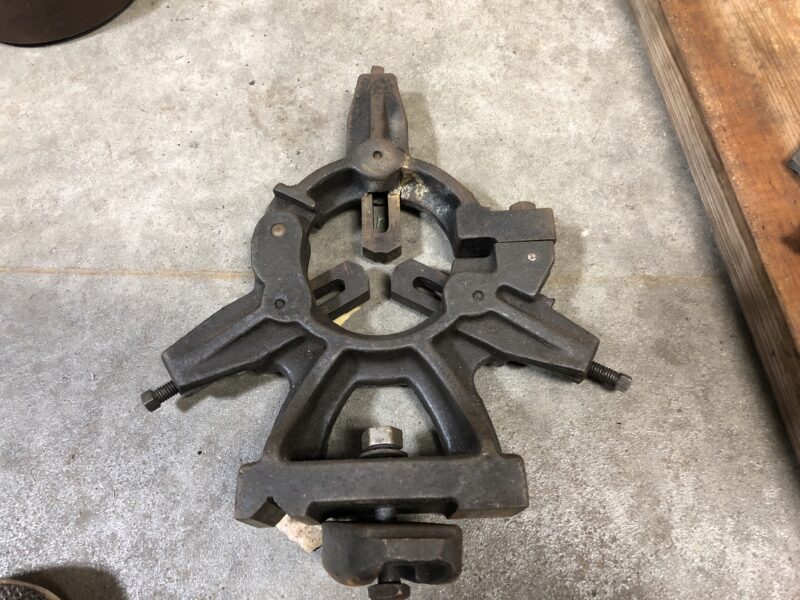
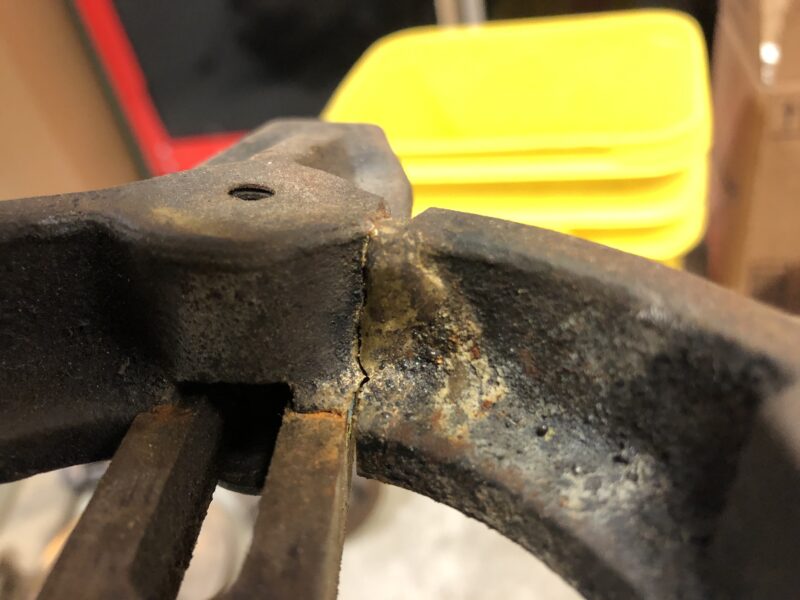
Has a rest. It's been broken and brazed back together, maybe not super well:

img_1581-800x600.jpg


img_1582-800x600.jpg


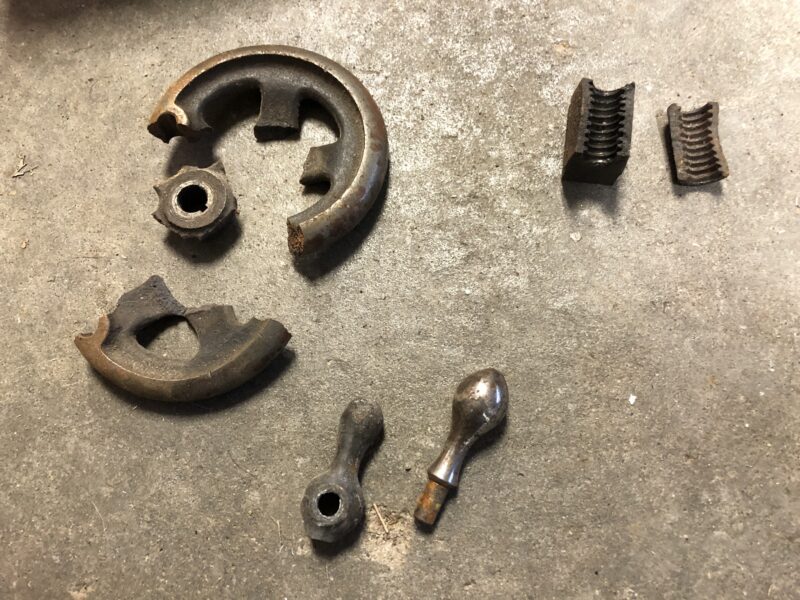
The crossfeed assembly is here, though the crossfeed nut is broken:

img_1550-800x600.jpg


img_1551-800x600.jpg


img_1558-800x600.jpg


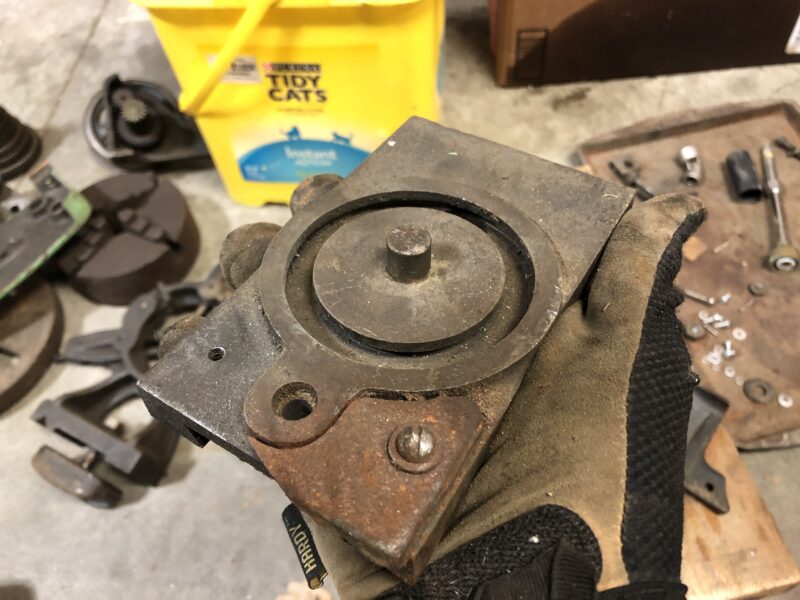
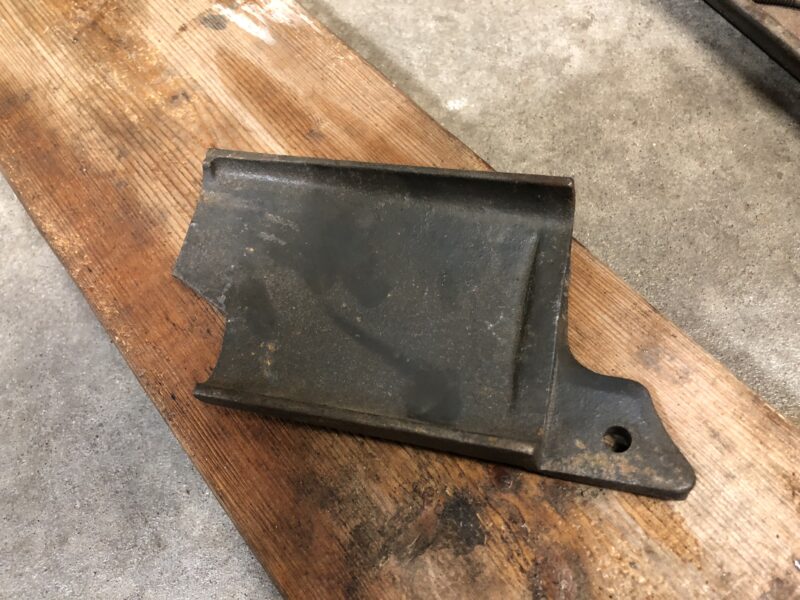
Looks like another compound base, with the chip guard broken off:

img_1586-800x600.jpg


img_1573-800x600.jpg


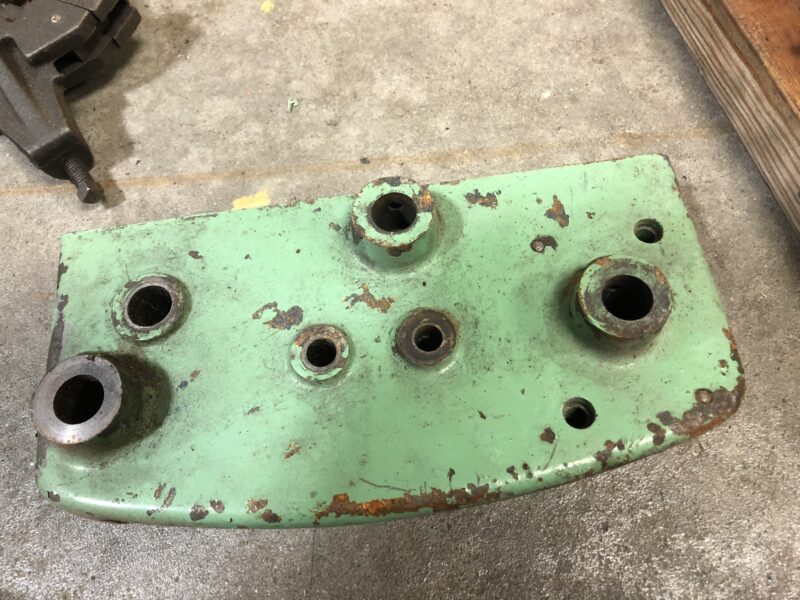
Also broken: the apron. Looks like maybe it fell over and the apron took the brunt of it:

img_1576-800x600.jpg


img_1575-800x600.jpg


img_1577-800x600.jpg


The half nut broke, but it came with a spare:

img_1557-800x600.jpg


It came with a spare apron, but it's smaller than the broken piece. I think the stamped part number is "LA-111," though I can't find anything on that part number.

img_1583-800x600.jpg


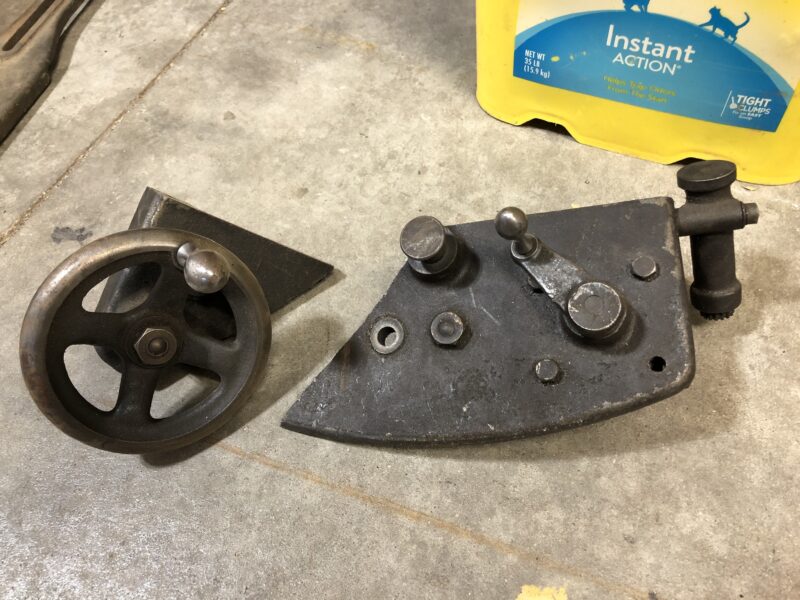
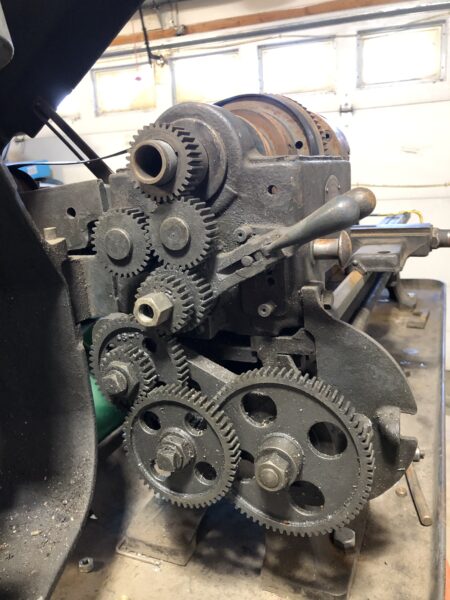
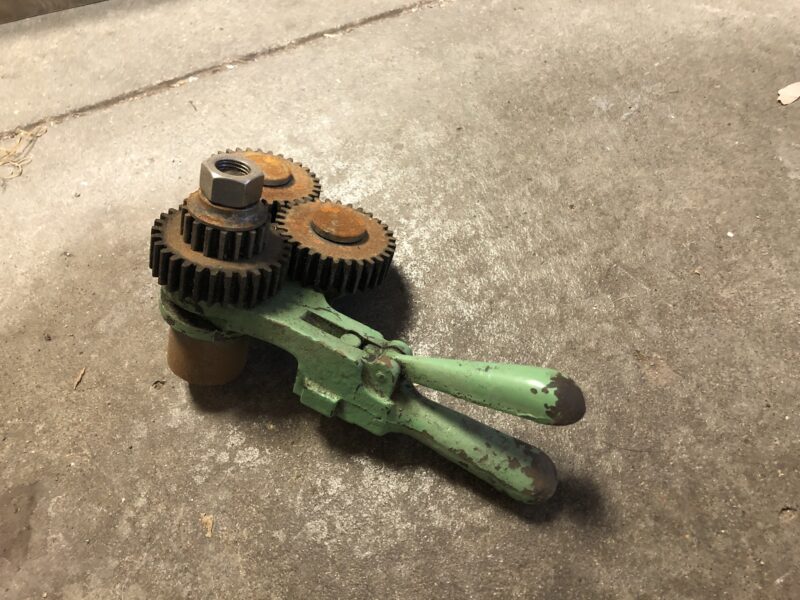
The power feed gears are here, looks like I might be missing some original nuts:

IMG_1546-e1645453650205-450x600.jpg


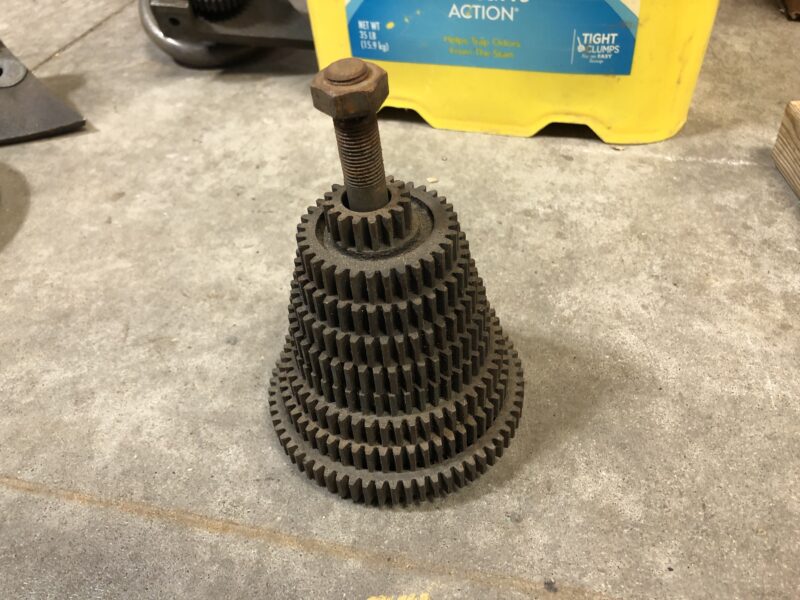
I also have a bunch of spare gears, though I'm not sure if that's the whole set:

img_1579-800x600.jpg


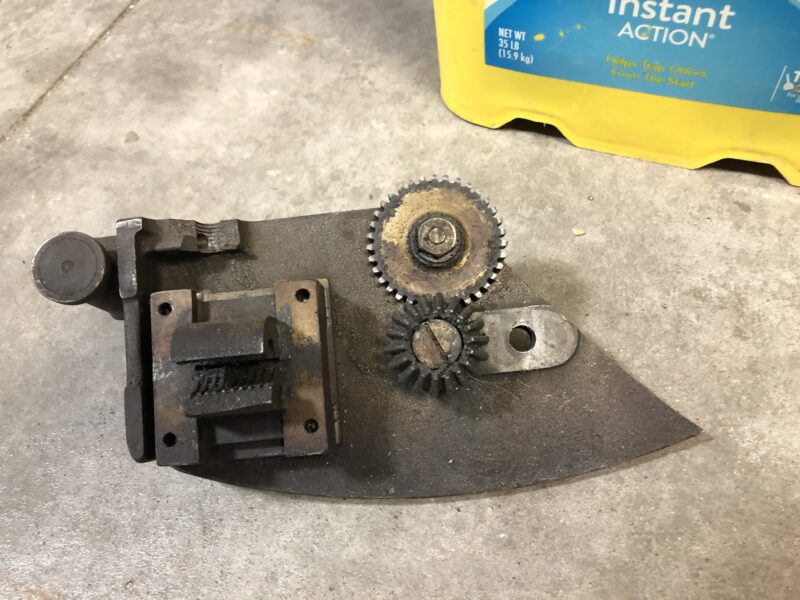
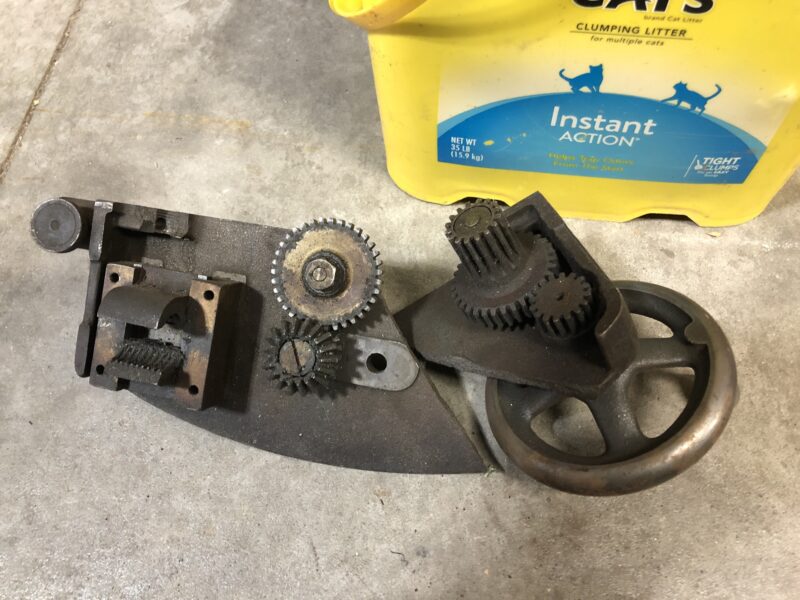
One of the idler gears on the reverse gear assembly has a missing tooth, but I have a spare assembly:

img_1552-800x600.jpg


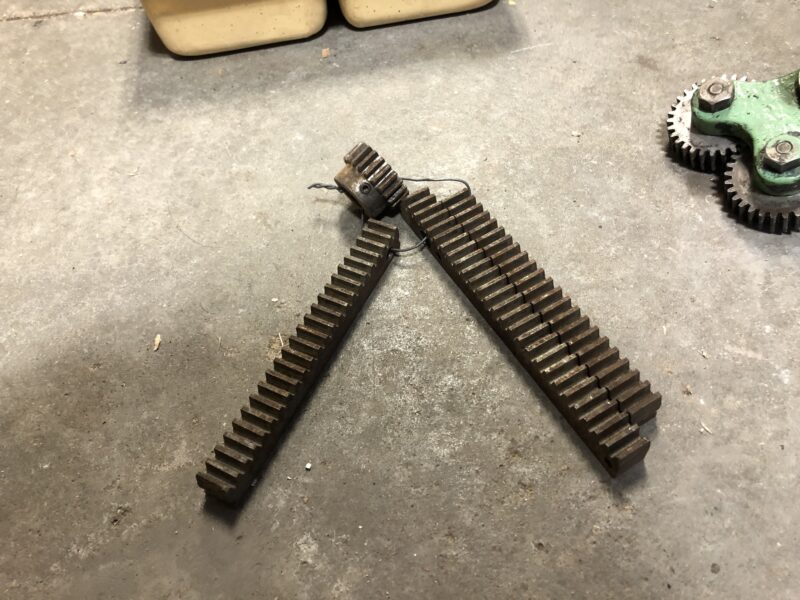
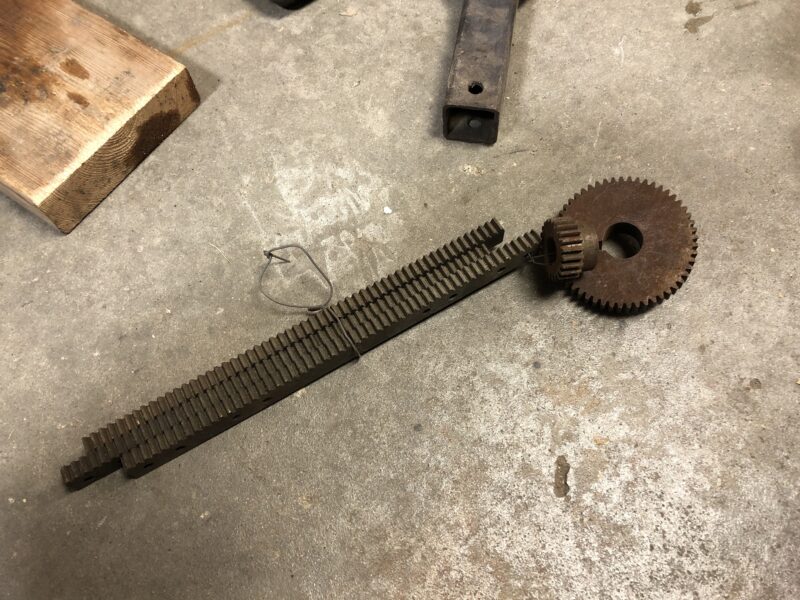
Spare rack and pinion gears:

img_1555-800x600.jpg


img_1570-800x600.jpg


Looking at the motor next.
 
Pics or it didn't happen ! :big grin:

Welcome aboard . :)

Edit ..............................typing at the same time , I'll revoke the above ! :welcome2:
 
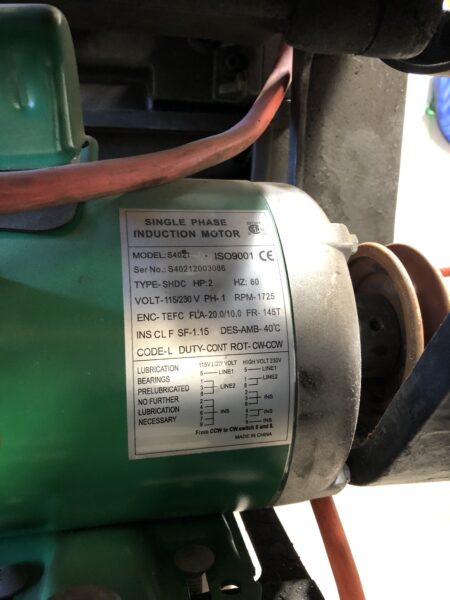
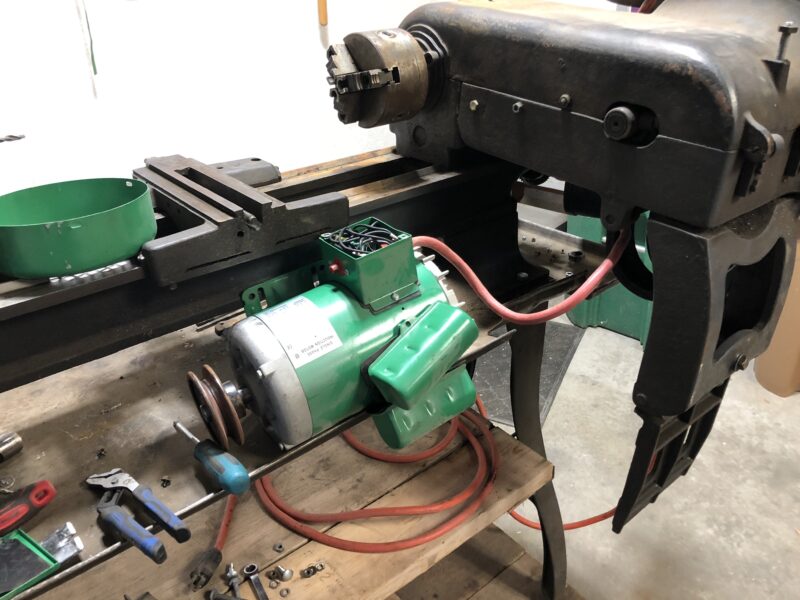
It came with a new 2HP 110V single phase motor. The guy said it ran, but was slow.

IMG_1538-e1645453821542-450x600.jpg


IMG_1541-e1645453840117-800x600.jpg


IMG_1540-e1645453774493-800x600.jpg


It's definitely too big physically to fit the motor mount. It's missing the pegleg support, so everything is just wedged together in place.
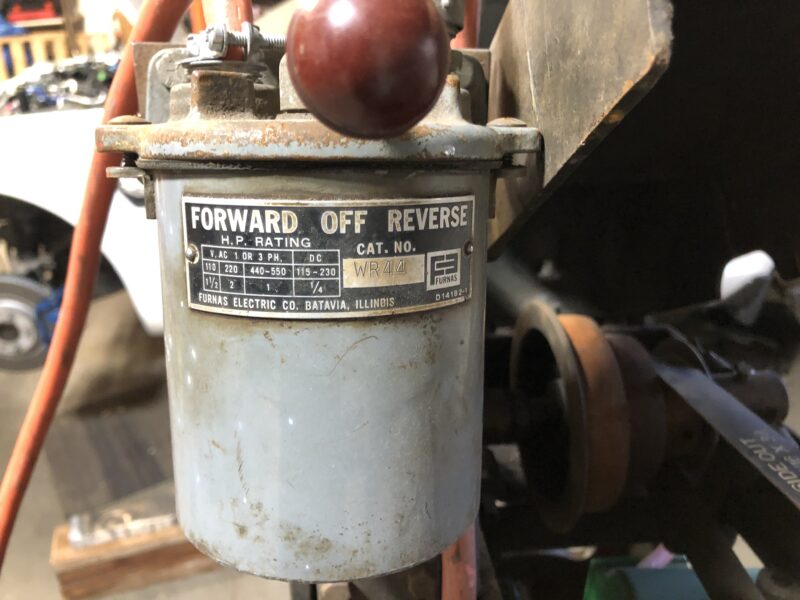
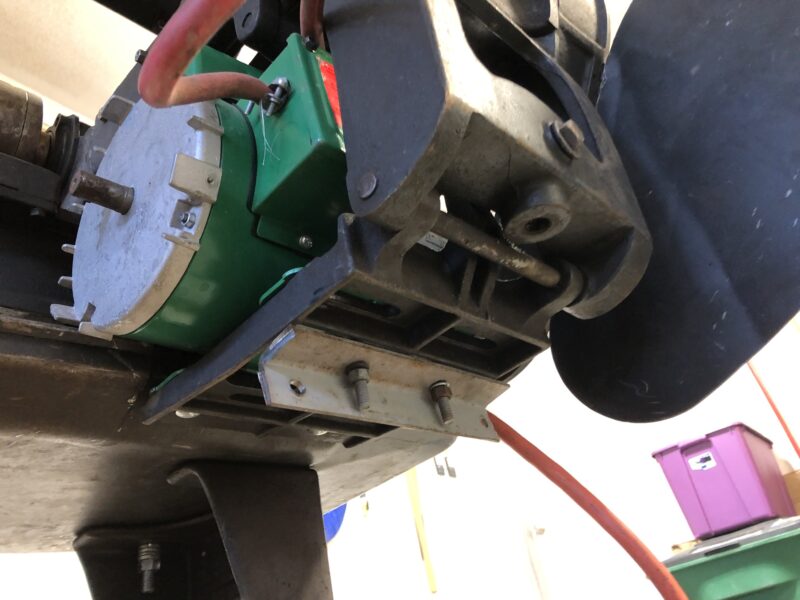
I'm also worried that the extra power would absolutely shred the gears if anything were to lock up.

Just to see if I could get it running, I pulled it off the mount and dug into the wiring.

IMG_1589-e1645453728398-800x600.jpg


I found it was wired entirely wrong per the wiring diagram. But even with that fixed, it just buzzed when I gave it power. I kept digging and found one of the capacitor leads was disconnected. With that reattached, it spins! Though there does seem to be quite a bit of vibration.

I will probably see if I can just resell this motor and then go for something a bit more...correct. What's the current "easy button" for a variable speed refit? I've seen treadmill motor adaptations, and there are plenty of those available around here for free.

With a variable speed drive, would it make sense to eliminate the countershaft and just drive the spindle with just a single reduction from the motor?

I have 230V available in my garage (installed an extra outlet when I put in the electric heater). So I could conceivably do a 230V single phase source to a VFD driving a 3-phase motor, I assume that would end up being fairly pricey. What's best practice nowadays?
 
Last edited:
And as far as parts go, here's what I've found that I need so far:
- 5/16" chuck key
- Chuck wrench (not sure what to get here)
- Tool post wrench (0635)
- Tailstock wrench (Q23-03308)
- Apron (have replacement casting coming from eBay)
- Saddle lock nut (LA-174)
- Saddle lock screw (LA-175)
- Saddle washer (LA-198)
- Pedestal leg (easy enough to fabricate something sufficient)
- Cross feed nut (LA-173-1)
- Saddle rear gib (I don't think I have this) (LA-397)
- Compound base gib (LA-749)
- Drive box pin (LA-399) (operator side currently has undersized bolt in place)
- 10-32 nut and washer for stay bar
- 3/8-16x1 socket head cap screw x2 for apron
- 5/16-18x5/8 cap screw for compound rest base
- Groove pin 1/8x3/4 for compound base gib
- 1/4-20x1-3/4 cap screw x2 for carriage front gib
- 1/4-20x3/4 cap screw x2 for carriage rear gib

- 3/16sq x 3/8 lg key (LA-298) for crossfeed screw handwheel
- 3/8" bore handwheel for the crossfeed (LA-299)
- 3/8"-24 jam nut for the same (0531)
- 3/8-16 x 7/8" hex head cap screw to attach apron to lead screw bearing


On top of this would be any bushings and bearings that may need replacement. If anyone can think of any other good additions, please let me know!
 
Last edited:
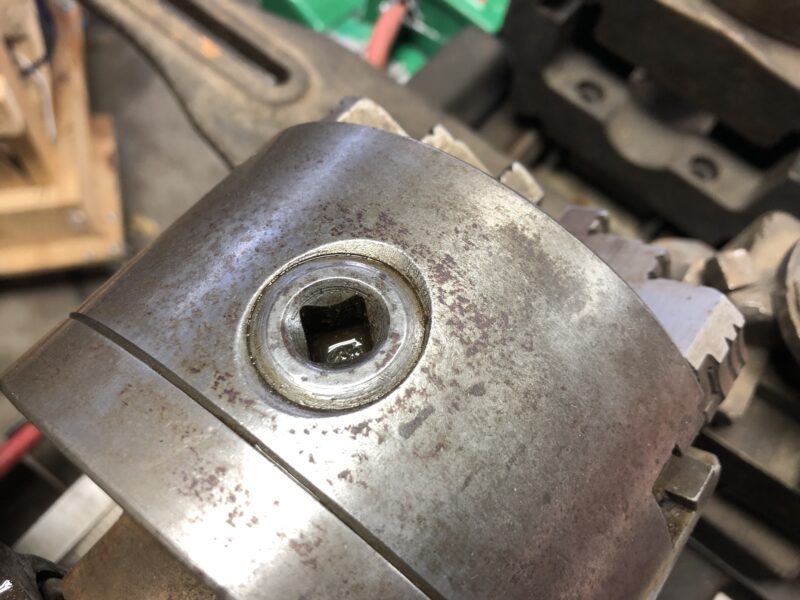
I spent a bit of time fooling around in the garage yesterday. I took a brass brush and some WD-40 to the chuck just to see if it would make much of a difference.

Before:
IMG_1542-e1645453752653-800x600.jpg


After:
img_1612-800x600.jpg


That cleaned up nicely. I think with a bit more elbow grease it would be in great shape.

Any thoughts on maintaining the current lantern-style toolpost vs. converting to a quick change? I don't have anything for tooling so I have no sunk cost in either method yet.
 
Good luck with the project...
 
Back
Top