Looking for why these two pieces might not fit...

You can use a felt tip marker. Dykem would be my choice because I want full coverage the first couple times to really highlight.
I won't be looking for blue,I will be looking for where the blue is missing.
Don't get me wrong if the blue makes a mark that shows me the defect right off then I will address that area but more I am looking for interference (rubbing).
 
I didn't see a close up of the male thread but be sure to knock the crest off the threads. It looks better and avoids many of the issues.
The same should be done with your i.d. threads. The i.d. threads look nicer as well. Depending on material I might try a unworn flapper wheel as big as will fit.
Look in the old time machinist box and you will find ruffling files and small scrapers.
I usually take .005+ extra so the tips of the threads come out with a small flat rather than a point for this.

That of course depends on the thread size, but .005 is in the range for this size thread.

Still might need to hit them lightly with a file or paper to clean them up.
 
Where did you touch off the tool for setting your depth on the gutter? When I am putting a gutter on an internal thread, sometimes I will touch off the tool at the open end so I can see when it starts touching, and then set my zero for the cross slide, move to the back of the hole and start at the zero point to the depth I need. I think I saw that technique in a Joe Pi video.
 
Where did you touch off the tool for setting your depth on the gutter? When I am putting a gutter on an internal thread, sometimes I will touch off the tool at the open end so I can see when it starts touching, and then set my zero for the cross slide, move to the back of the hole and start at the zero point to the depth I need. I think I saw that technique in a Joe Pi video.
Near the open end, of course. Can't see when in the bore. But sometimes you get a false indication, if you pick up some loose crud from the bore.
 
I usually take .005+ extra so the tips of the threads come out with a small flat rather than a point for this.

That of course depends on the thread size, but .005 is in the range for this size thread.

Still might need to hit them lightly with a file or paper to clean them up.
If you look carefully at the picture of the male threads they are flat topped. If you run the recommended nominal OD, and cut to the nominal pitch diameter, you get flat tops, at least that's my experience. I still could run something over the tops to dislodge any burs, that wouldn't hurt any. I've used a fine wire brush before to clean up threads. Worked ok.

Cleaning up the inner threads would be harder. The ID is near 7mm, about the best I could do is to twirl a rolled up piece of sandpaper in the bore. I don't know of any flap rolls with diameters of under 1/2". Might be able to use a bore brush to clean up the threads.
 
You can use a felt tip marker. Dykem would be my choice because I want full coverage the first couple times to really highlight.
I won't be looking for blue,I will be looking for where the blue is missing.
Don't get me wrong if the blue makes a mark that shows me the defect right off then I will address that area but more I am looking for interference (rubbing).

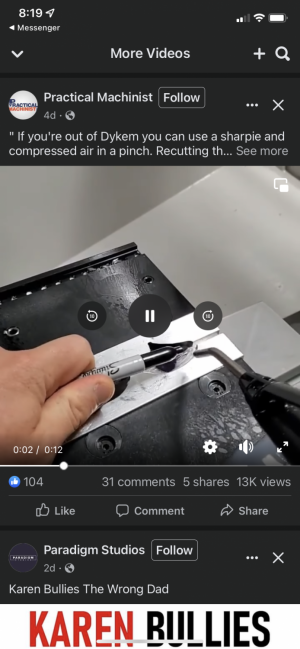
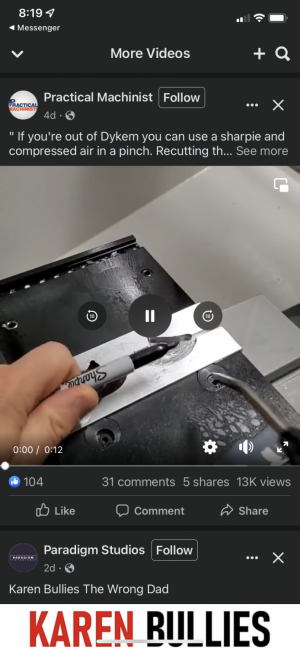
Friend shared this with me the other day. Use a air blow gun to blow the marker onto the part.
I tried it the other day, thinking why not just mark it with the tip, and thought after doing it, would be great for threads. And it instantly dries.
IMG_9506.png
IMG_9505.png


Sent from my iPhone using Tapatalk
 
I didn't see a close up of the male thread but be sure to knock the crest off the threads. It looks better and avoids many of the issues.
The same should be done with your i.d. threads. The i.d. threads look nicer as well. Depending on material I might try a unworn flapper wheel as big as will fit.
Look in the old time machinist box and you will find ruffling files and small scrapers.
What's a ruffling file? I tried to look it up, but found nothing. Found riffling, but not ruffling. Riffling files look like what you meant, I can see how they could be helpful. There seems to be quite a few to choose from! Could go broke assembling a set...
 
Last edited:
If I believe what I did, the groove was 0.9mm deep
Was the reading on the DRO 0.9? This would mean a depth of 0.45mm which is too shallow. M8x1 is a fine thread and the depth is 0.5mm so the relief needs to be less than 7mm diameter.
 
Was the reading on the DRO 0.9? This would mean a depth of 0.45mm which is too shallow. M8x1 is a fine thread and the depth is 0.5mm so the relief needs to be less than 7mm diameter.
My DRO is setup to read the radius (actual movement) not diameter (2x actual movement). I wrote the code to read the scales and incorporated the readout into my ELS. I do have the option to change that, but I've gotten used to radial vs diametral mode. But, good observation - that could trip one up! I moved the cutter 0.9mm after touch off, cutting a 0.9mm deep groove (or increasing the ID by 1.8mm).
 
Back
Top