-
Welcome back Guest! Did you know you can mentor other members here at H-M? If not, please check out our Relaunch of Hobby Machinist Mentoring Program!
You are using an out of date browser. It may not display this or other websites correctly.
You should upgrade or use an alternative browser.
You should upgrade or use an alternative browser.
Modifying A 6 Point 1" Socket For Tail Stock Die Holder
- Thread starter omni_dilletante
- Start date
T
TOOLMASTER
Forum Guest
Register Today
- Joined
- Jan 29, 2014
- Messages
- 156
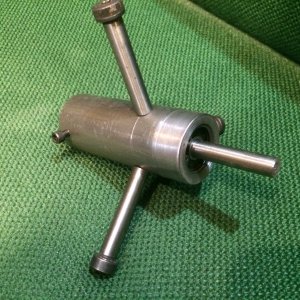
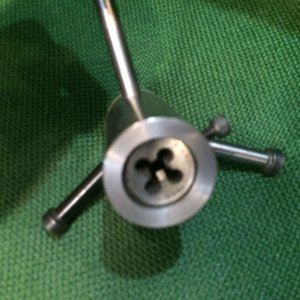
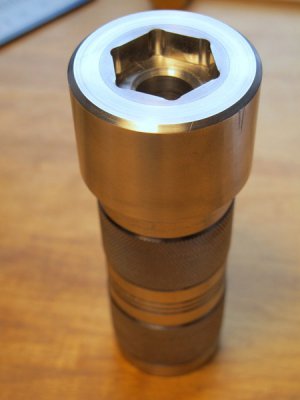
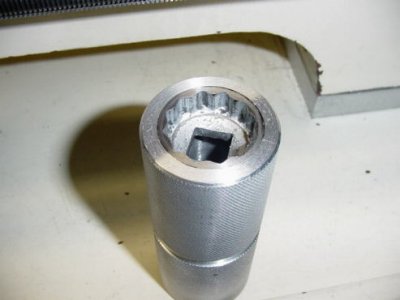
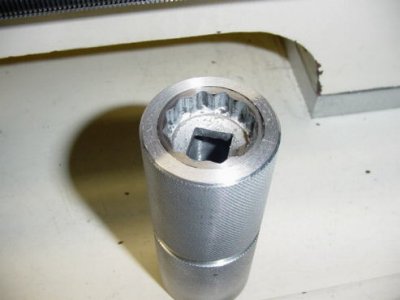
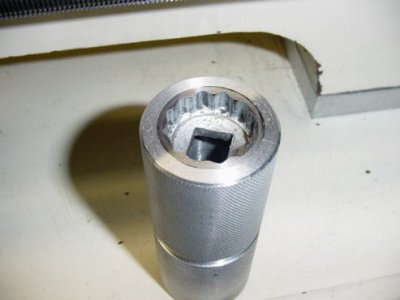
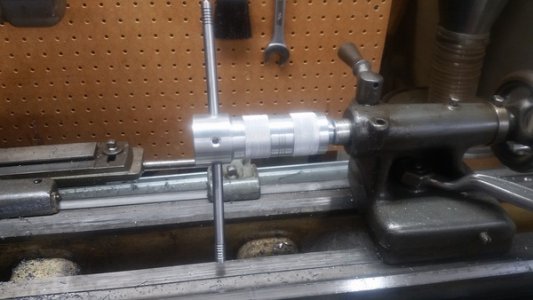
My threading die holder is mostly done. I used Locktite 640 to secure the socket to the holder.
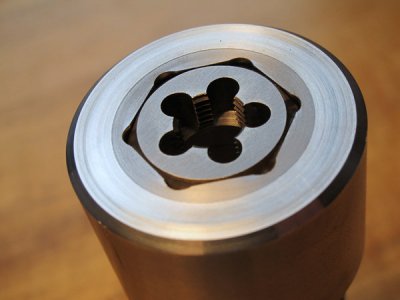
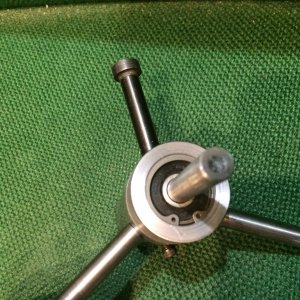
There is a 5/8" hole behind the die, and there will be a 1/2" hole in the rod that supports the die holder. This way there is nothing that would limit how long a thread I can cut.
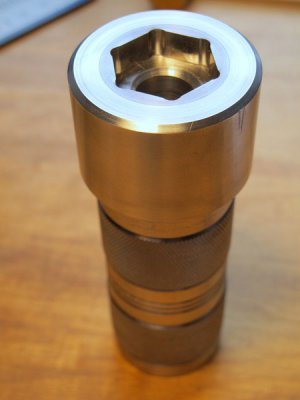
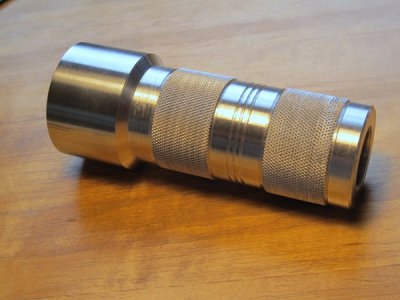
I am still trying to figure out how to get the knurling to come out right. There are a few things I could to do make look better, but it is as pretty as it is going to get.
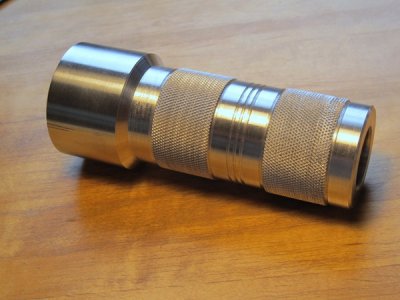
I need to drill and tap some holes for a handle to keep the die holder from spinning. But I am anxious to start work on the tail stock portion of the project.
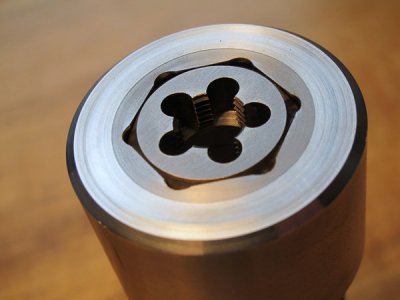
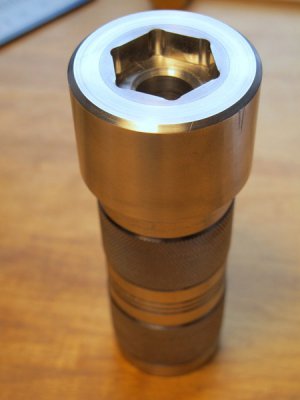
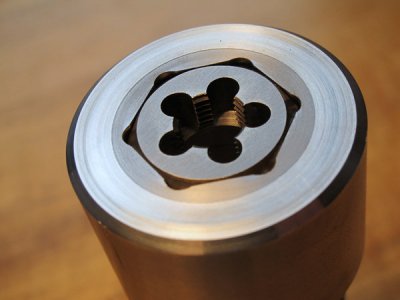
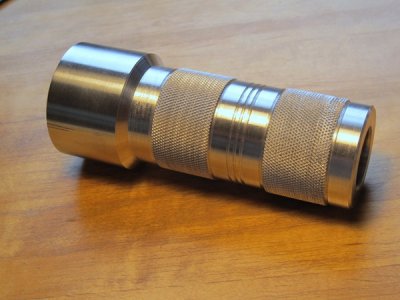
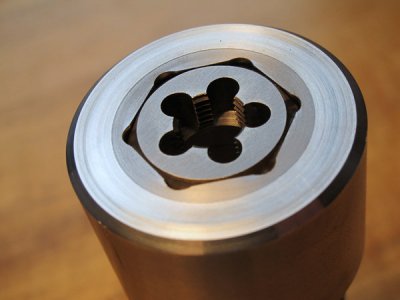
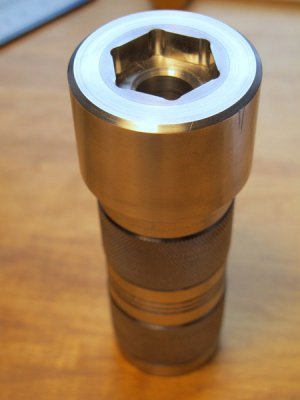
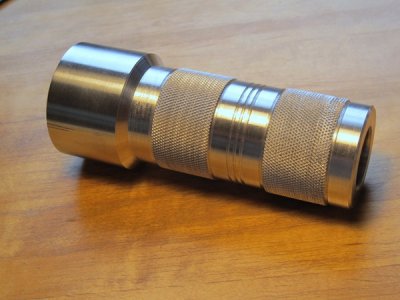
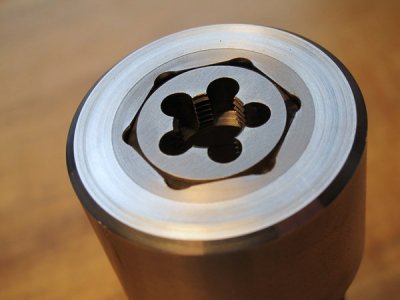
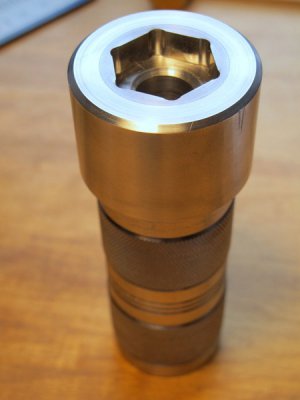
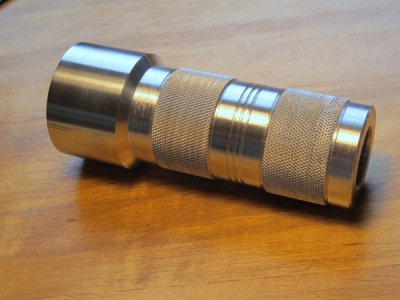
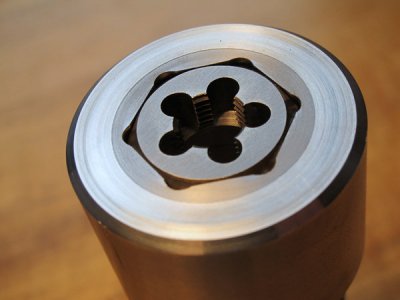
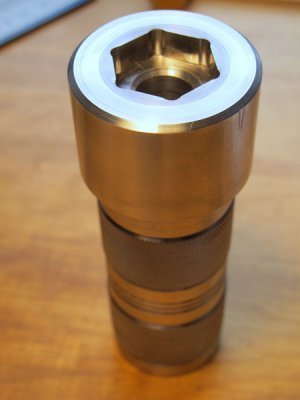
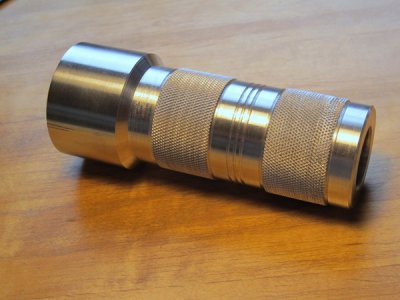

There is a 5/8" hole behind the die, and there will be a 1/2" hole in the rod that supports the die holder. This way there is nothing that would limit how long a thread I can cut.

I am still trying to figure out how to get the knurling to come out right. There are a few things I could to do make look better, but it is as pretty as it is going to get.

I need to drill and tap some holes for a handle to keep the die holder from spinning. But I am anxious to start work on the tail stock portion of the project.


- Joined
- Aug 12, 2014
- Messages
- 269
Nice work so far Omni, good tips on the socket machining.
Your knurling looks better than some of mine but a note of caution, if (when) the knurles slip in your hand and they have sharp points, it is like trying to brake a rotary sander by grabbing it with your hand .
.
I have found a wire wheel judiciously used will knock off all the sharp points/edges, whereas a file etc. just takes the top off, leaving sharp squares of metal.
John.
Your knurling looks better than some of mine but a note of caution, if (when) the knurles slip in your hand and they have sharp points, it is like trying to brake a rotary sander by grabbing it with your hand
I have found a wire wheel judiciously used will knock off all the sharp points/edges, whereas a file etc. just takes the top off, leaving sharp squares of metal.
John.
- Joined
- Jan 11, 2013
- Messages
- 1,821
Omni, this is so nice, you make me want to remake mine! Beautiful
- Joined
- Oct 21, 2014
- Messages
- 43
Be aware that a lot of Hex "dies" are not "dies in the true sense as they could be "nut runners" and are intended to remove thread damage or rust from screws, bolts,studs etc rather than to cut threads from scratch.It is time for me to make a tail stock tap and die holder. I have 1" hex dies and would like to use a 1" socket to hold them.
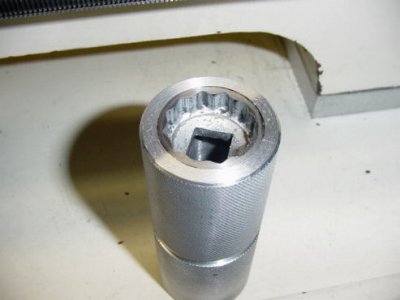
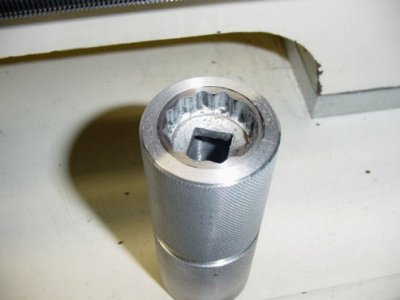
Something like this:
In this example the person used the bottom of the socket. I am inclined to use the top portion of the socket.
I would like some advice from people who have good and bad experience machining sockets.
- Are some sockets easier to machine than others?
- I am hoping to chuck up the socket and using my cut off tool to part off the top 1/4". Is this likely to work, or should I be looking into other ways of cutting the socket?
- Will I be able to use my HSS taps to cut threads in the side for a set screw?
- I hope to press fit the socket into a 6061 holder using some locktite for insurance. Is this likely to work, or is there a better plan?
- Joined
- Jan 29, 2014
- Messages
- 156
I actually managed to finish a project. A rare and good feeling.
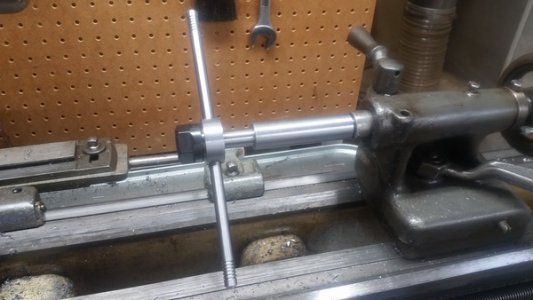
The project was three pieces:
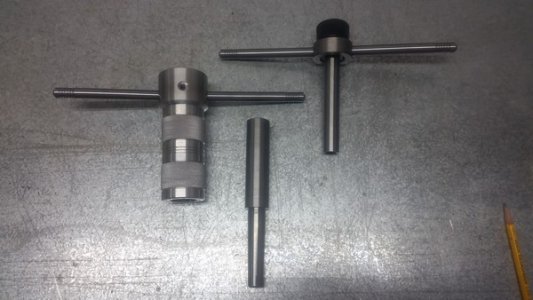
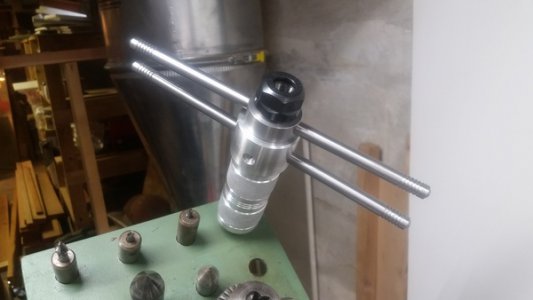
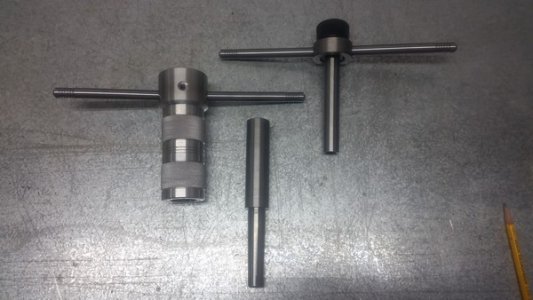
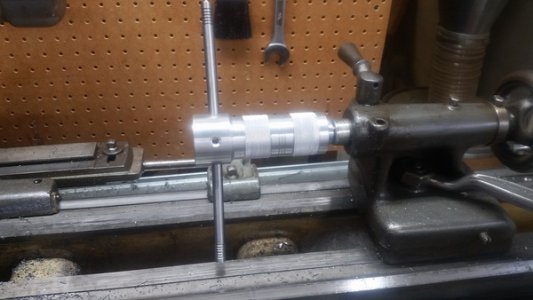
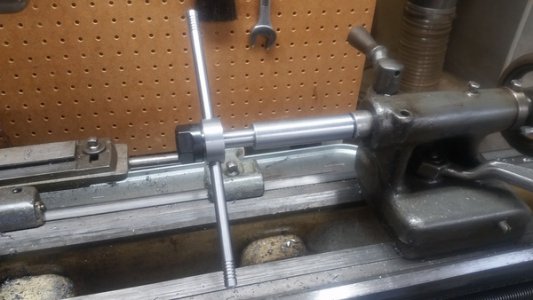
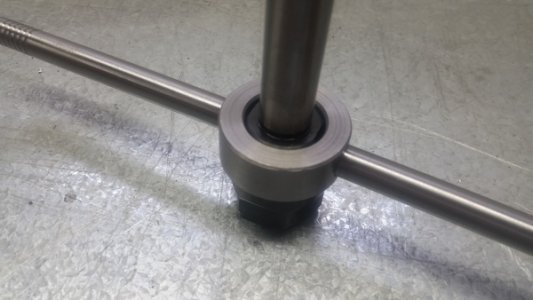
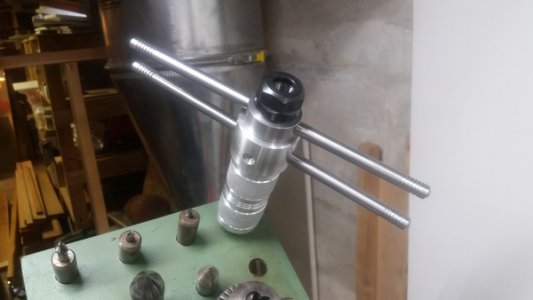
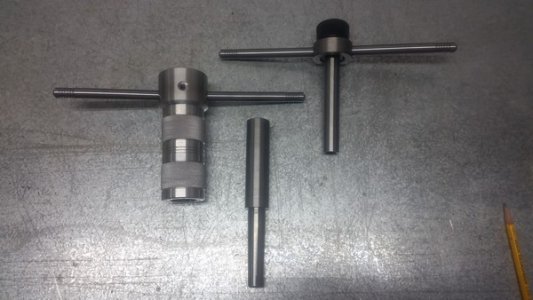
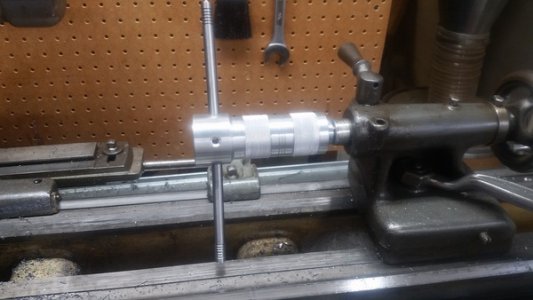
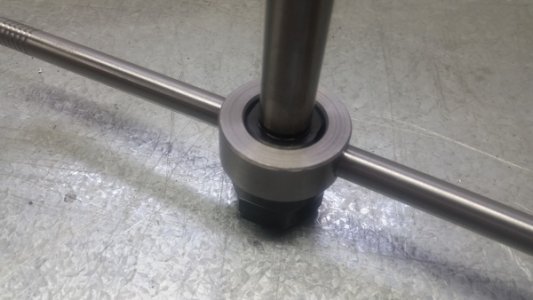
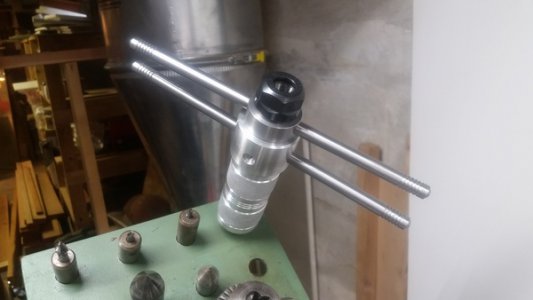
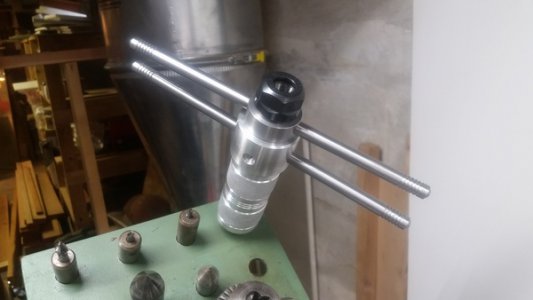
The die holder I mentioned above. The MT2 guide. And a modification to an ER20 collet chuck to hold taps.
I managed to mess up the first pair of holes for the handles on the die holder. The handles were a few degrees off of making a straight line. I decided some unused holes in the die holder would be less annoying than handles that did not line up.
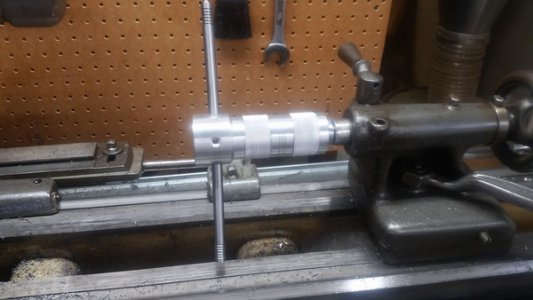
I think I went a little overboard on the length of the handles, but the work fine.
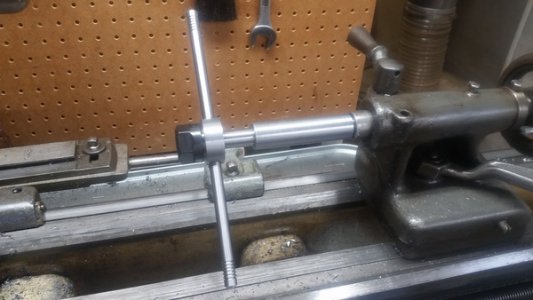
I have had some frustrations with tap holders. I decided that since I had a set of ER20 collets I would go ahead and get a ER20 collet holder that would fit inside the guide. It has a 16mm diameter shaft and is 100mm long (or about 4").
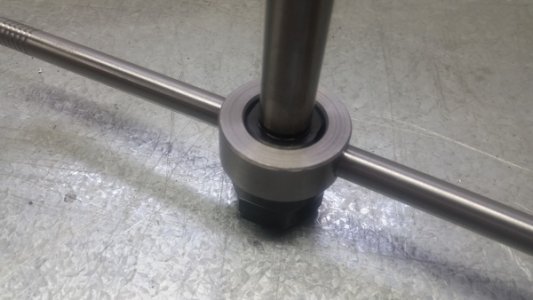
I thought I would drill and tap the collet chuck to add the handles but could not figure out how to do that without messing up the taper inside the chuck. Work around was to make a ring for the chuck to fit into. It did not turn out too bad.
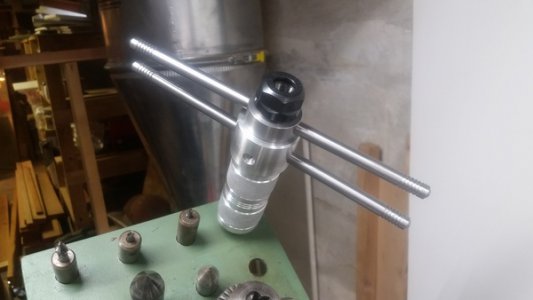
And all parts nest together for storage.
This feels good enough that I may try to finish a project again some time.
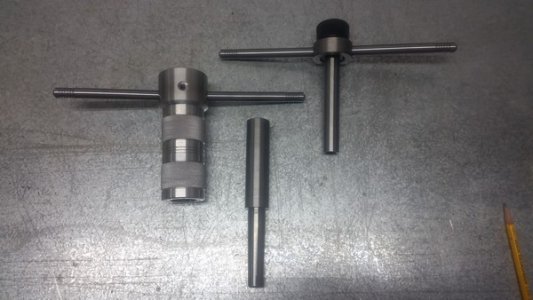
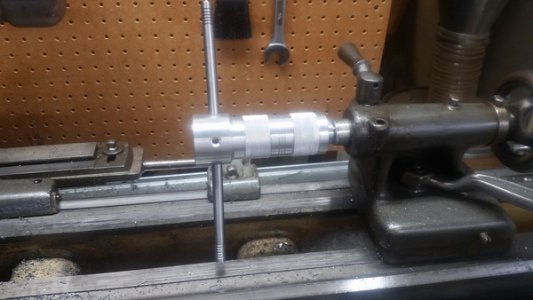
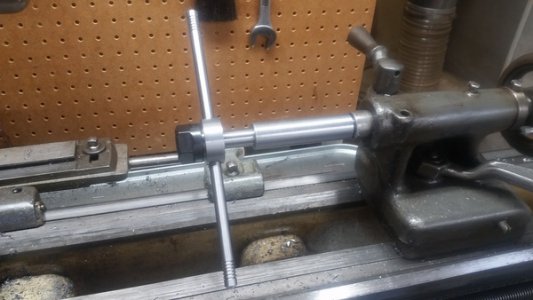
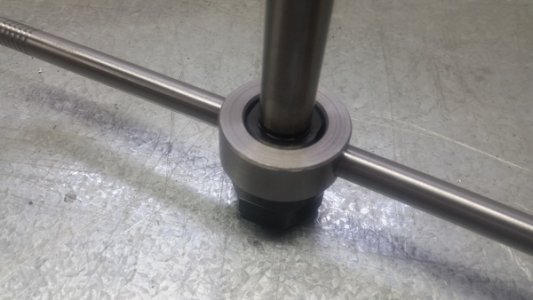
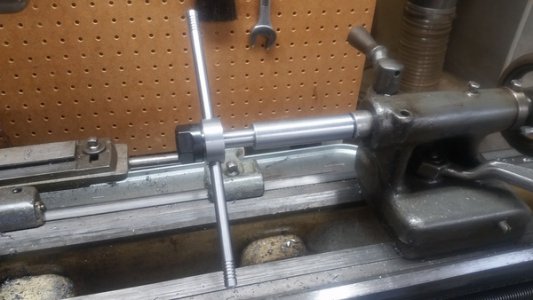
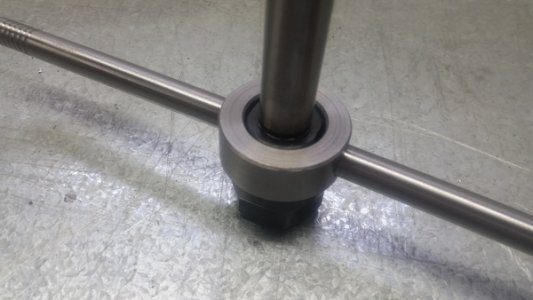
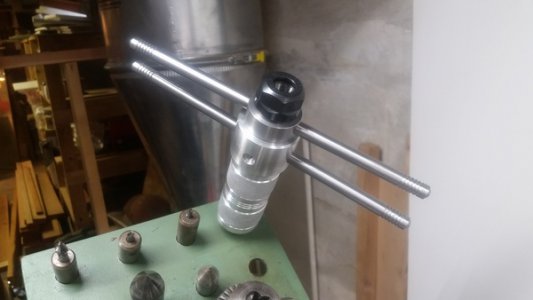
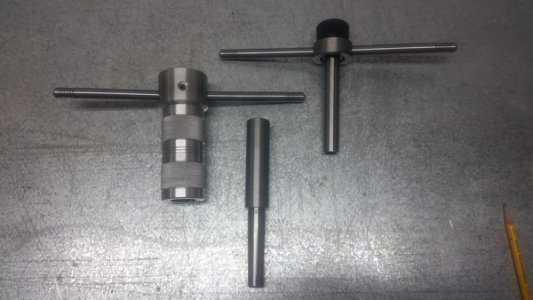
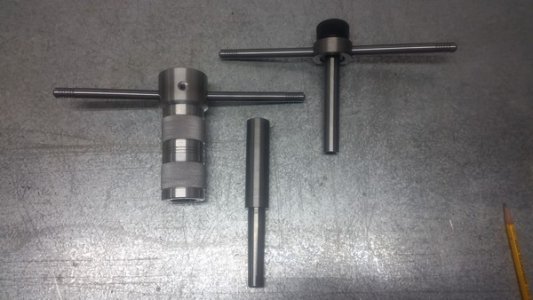
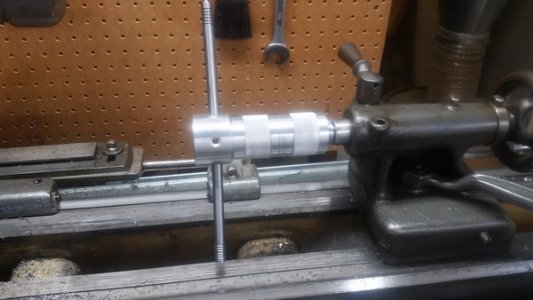
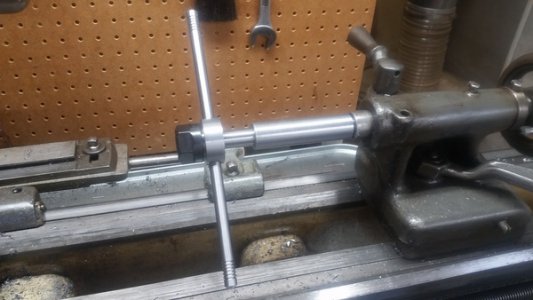
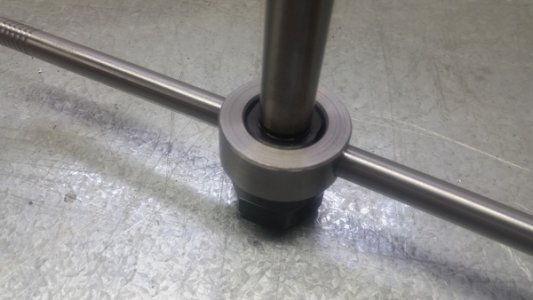
The project was three pieces:

The die holder I mentioned above. The MT2 guide. And a modification to an ER20 collet chuck to hold taps.
I managed to mess up the first pair of holes for the handles on the die holder. The handles were a few degrees off of making a straight line. I decided some unused holes in the die holder would be less annoying than handles that did not line up.

I think I went a little overboard on the length of the handles, but the work fine.

I have had some frustrations with tap holders. I decided that since I had a set of ER20 collets I would go ahead and get a ER20 collet holder that would fit inside the guide. It has a 16mm diameter shaft and is 100mm long (or about 4").
I thought I would drill and tap the collet chuck to add the handles but could not figure out how to do that without messing up the taper inside the chuck. Work around was to make a ring for the chuck to fit into. It did not turn out too bad.

And all parts nest together for storage.

This feels good enough that I may try to finish a project again some time.


