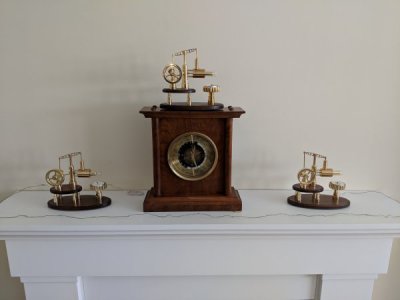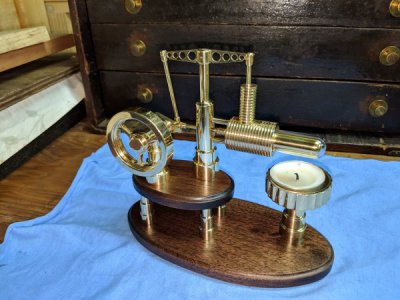
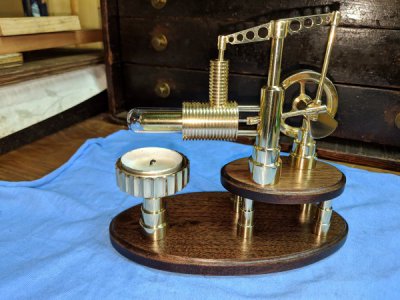
After building my first model (a simple, single action wobbler) I started searching on-line for my next build. When I came across the beautiful brass Stirling engine designed by Jeroen Jonkman, and found out that he had posted free plans for it, I knew I had found it.
So, I converted the drawings from metric, ordered the materials I needed and got to work. First thing I did was cut the Pyrex test tube to length. I ended up using my Noga mister to keep the tube from thermal cracking. For the machining, I started with the flywheel. I drew it up in Fusion 360 so I could make drawings for the offset positions for the slots. I set it up on my rotary table and used those offsets and moves along with the rotations of the table to cut the slots. Boy, was this a lot easier with my new DRO! Also, using Fusion was a lot easier than doing all the Trig to calculate the offsets and moves.
I haven’t worked much with such small parts. For example, some of the pins were only 0.047” in diameter. Most of my experience is with parts that if I drop them on the floor I’ve got at least a chance of finding them. And, my equipment is geared towards larger work, as well as my work holding devices. I’m sure that after building a few more models I will have built up a better supply of small work holding equipment. I also ordered and used a pair of Optivisors!
I made piece after piece until it was time for polishing. I ordered some buffing wheels and compounds from Caswell. These did a great job of shining things up. For me, I got to the point where I just had to say enough is enough, because you can drive yourself crazy polishing parts… The more you polish, the more those tiny little scratches show up!
I made the wood platforms out of walnut, because I thought that would look nice against the polished brass.
There can be no friction or air leaks or these little guys won’t run. So, great care must be taken there.
This project certainly came with its’ challenges… but that’s why we build this stuff, isn’t it?
So, what’s my next project? Well, to start with, I’m going to make two more of these brass Stirlings! One for each of my boys!
Ted
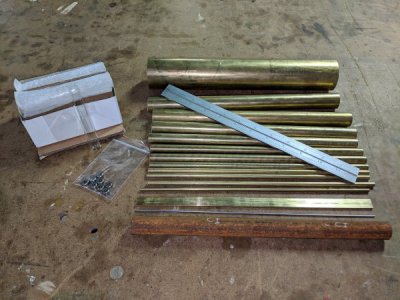
The raw materials...
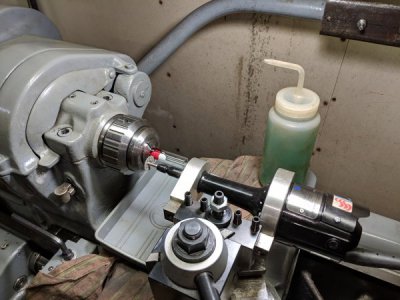
Used a Dremel type diamond cut off wheel to cut the Pyrex test tube to the required length.
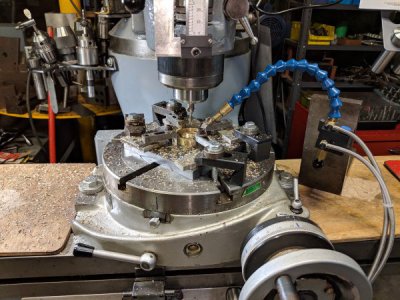
Some fun with the rotary table.
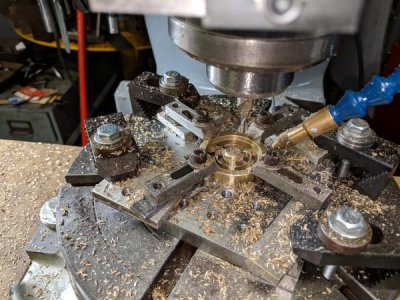
One of the first things I did was make this plate to hold some of these small parts.
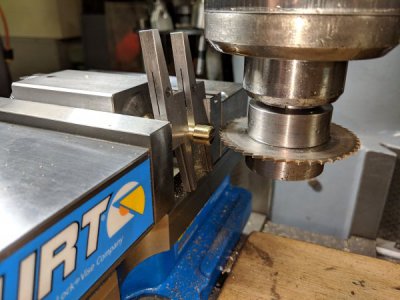
These adjustable parallels were just the right size to add some support.
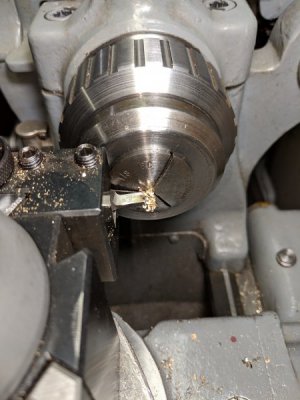
Cut these 0.047" diameter pins by taking a heavy, single cut.
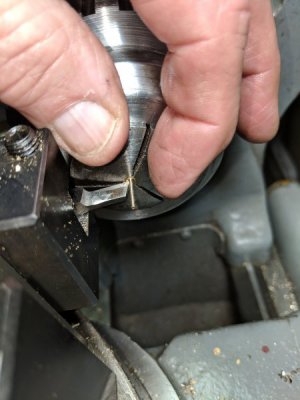
You lose a little stock finding the correct depth of cut, but once you find it they will come out right on size!
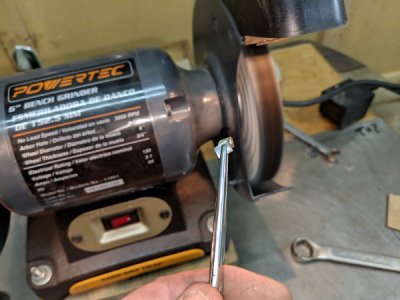
Had to hold some of the parts with hemastates with aluminum shim stock (to keep from marring it) so I could buff them up nice.
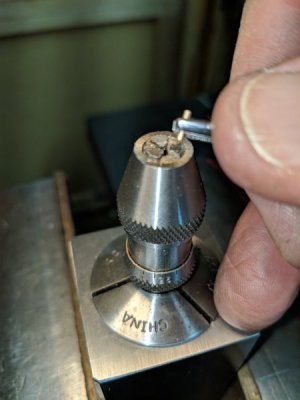
Used my tiny Albrecht chuck as a pin vise to hold the tiny pins so I could file them to the proper length.
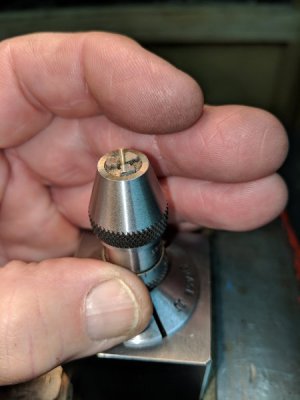
I love these Albrecht chucks!
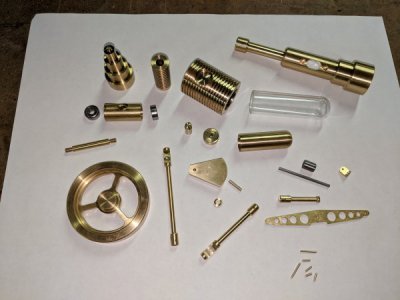
The finished main components (before buffing).
Here's a YouTube link to see it running if you're interested...

