My round column RF30 mill to CNC conversion, the cheap way

A short speeder wrench for the vise...but really just another excuse to use the mill and to try designing/making something I haven't before.

26913435727_446022d3b2.jpg


27913108508_9683438af1.jpg


27913109728_ddce37ce98.jpg


27913110548_e3b63ed601_z.jpg


BTW - I almost broke my thumb yesterday, forgot the wrench on the drawbar (I was always afraid of that) and turned the motor on then stupidly/instinctively tried to grab the wrench instead of turning off the motor. Woke up with a blue thumb (I was never much of a green thumb anyway) - could've been worse! I post this as a PSA.
 
Glad it was only a Thumb. That could have been ALOT worse
 
Oh for sure, like my face/head etc. I guess my next project should be a power draw bar...which was in the plans but since I use TTS now I just don't know how to only spin it part way so I can remove the TTS collet holders from their R8 adapter without undoing the R8 adapter.
 
Chip containment devices :p 16ga sheet metal and cheap Home Depot Lexan sheet with magnets...next time it'll be polycarbonate because Lexan shatters too easily if you drop it.

40924389044_b89f6a5c92.jpg


41634857401_a1ceafdaa8.jpg
 
Lexan is polycarbonate. You're good to go.

Sent from my SAMSUNG-SM-G900A using Tapatalk
 
I got remote access to my LinuxCNC box working using MobaXterm on my Windows 10 desktop, you need to have Putty installed too which MobaXterm uses for X11 over SSH. Works great!

Now if I can just teach the dog to go chuck up the stock I can run and monitor the mill from my desk inside the house :D

26989201217_ef9c7aab79_o.jpg
 
Now if I can just teach the dog to go chuck up the stock I can run and monitor the mill from my desk inside the house :D

Just tell the dog he's got to earn his kibbles and do something useful around the house.

It worked when I was training my cat.

Of course, I was training him to take a nap and that comes pretty easy for a cat.
 
Man, what an exhausting weekend- I knocked out three garage projects back to back. Exhausting yet somehow so satisfying because despite a few minor challenges it was all a 100% success and I didn't even lose an eye. In Ice Cube's words "today was a good day".

So it all started with this SnapOn wheel balancer I picked up that had been in storage for about 4 yrs, whether it worked was questionable due to lots of rust etc. It runs off of SnapOn batteries or the AC adapter but the guy didn't have either. Anyway, I got it cleaned up, de-rusted etc and wired up to my Craftsman C3 battery and whatdaya know, it lit up like Kitt after being burried in the sand for a long time. I go grab a spare tire off one of my cars and realized the three cones it came with are too big for the hub bore. No problem I say to myself, I can make a cone myself.

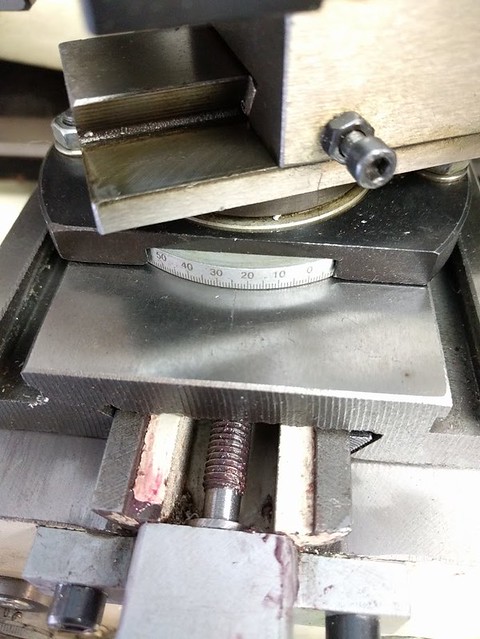
Oh wait, crap, I realized I had the lathe's top apart because I was taking measurements to eventually make a beefy compound slidemount. These 9x20 lathes have a very wimpy 1/4" thick 2 bolt mount.

40435936160_f21075a1a0_z.jpg


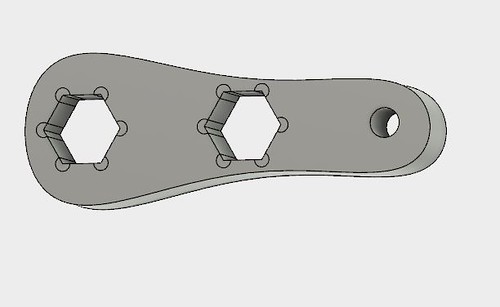
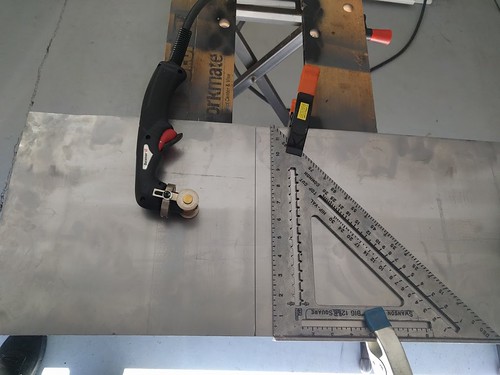
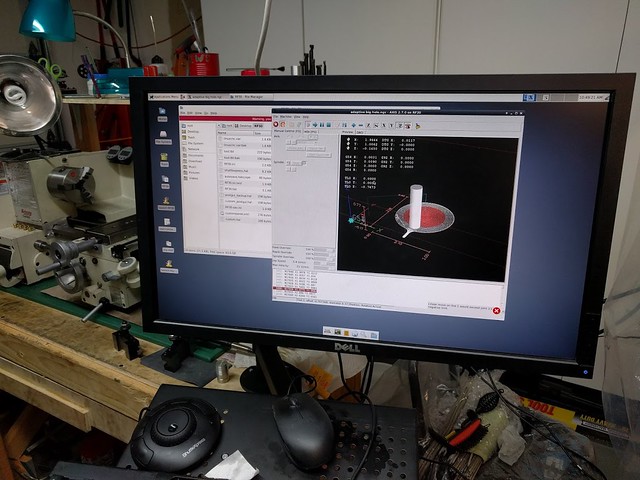
OK so let's make that first and then make the cone. So after the CAD/CAM work I started the fun part. Cut out a chunk of 5/8" CRS steel plate

28370326098_a3cccb1cdc_z.jpg


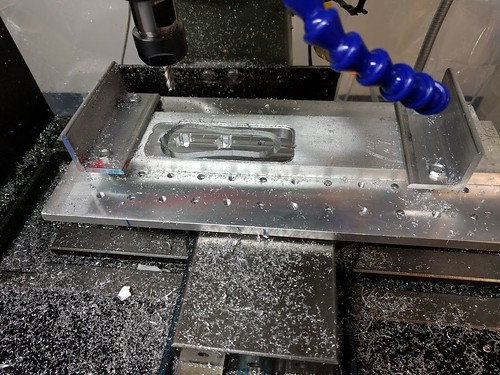
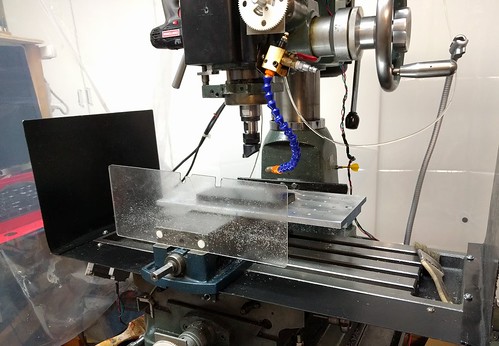
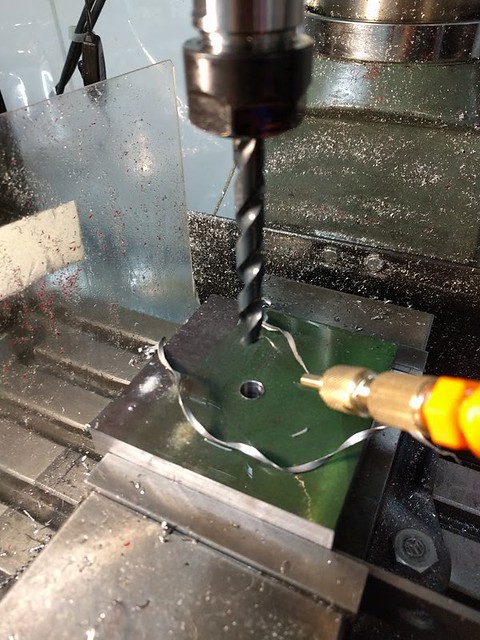
Pick up the the edge of the workpiece and drill a hole for all future operation tooling to enter the stock. My first time CNC cutting steel.
40435935580_5176f1edac_z.jpg


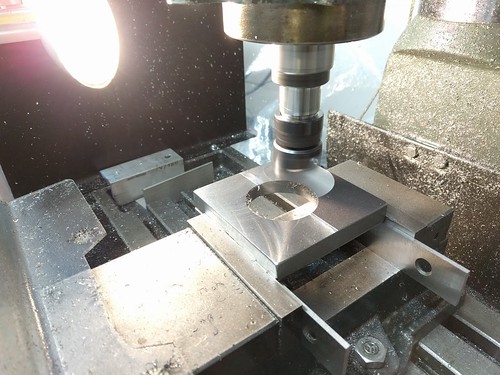
Shape the part, using a corn-cob rougher and adaptive clearing, DOC 5/8", WOC .005, 5 IPM, 1200 RPM:
28370325048_b4c63a4c55_z.jpg


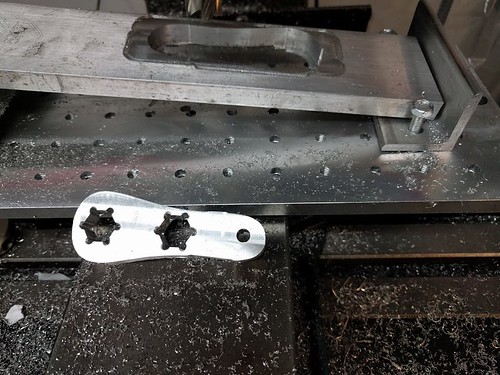
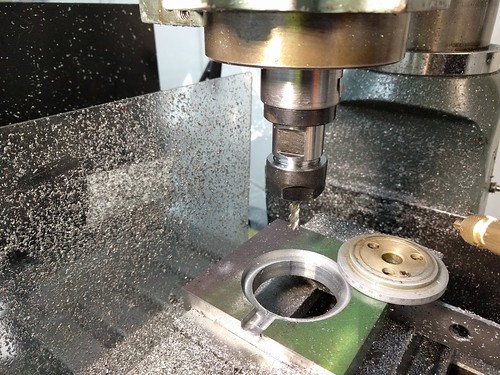
Once I got close I used a 4 flute endmill to creep up .002 to .008 a few times on the diameters (using pocketing operation) due to machine/mechanical error etc and I wanted a very nice and tight fit without slop in either the inside or the outside hole- both radially and axially:
40435934840_be86384994.jpg


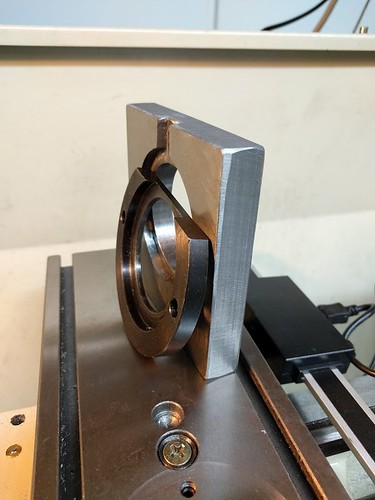
The effort was well worth it:
27372729777_dd21fff26c.jpg


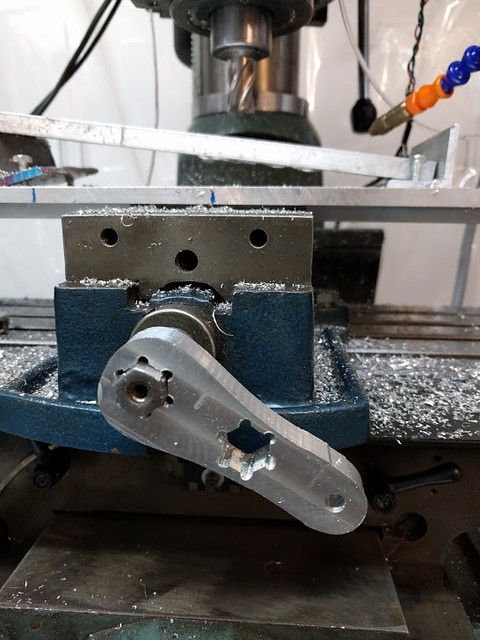
Flipped it over and flycut the surface:
40435932910_c89de311cd.jpg
[/url]

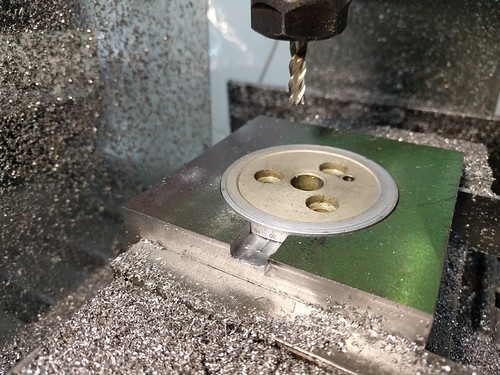
Comparison old vs. new:
42243556611_91a6fb8a0f.jpg


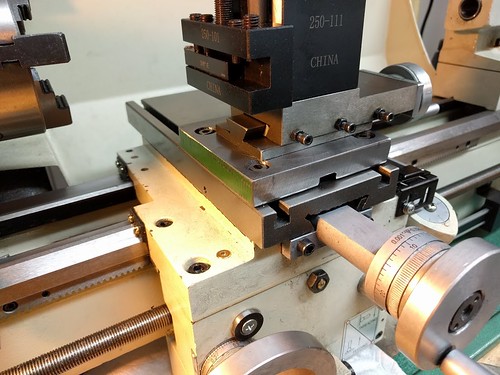
Drilled, counterbored and bolted in place, this took a while, especially grinding the regular nuts into T nuts and using an endmill to counterbore :(
41342249815_a2f39ab35c.jpg


I really like the heft of the new mount. The only issue is that if I swivel the compound I can't access one of the bolt so I'd have to do with 2 or 3 bolts depending on the access. I can mill the top ends flat until it's level with the counterbore's floor. Then I can make a short allen wrench to get to the bolts.
 
You are killing me! I've moved and my machines have been shut down for the better part of three months. My tools are stuffed in my future shop while I get the house in order. The picture is after I reorganized my stuff. LOL Anyway, nice compound clamp. My first lathe was a G4000. Sold it for a larger one. Wish I kept it.

IMG_0313.JPG
 
Back
Top