New PM-25MV Mill

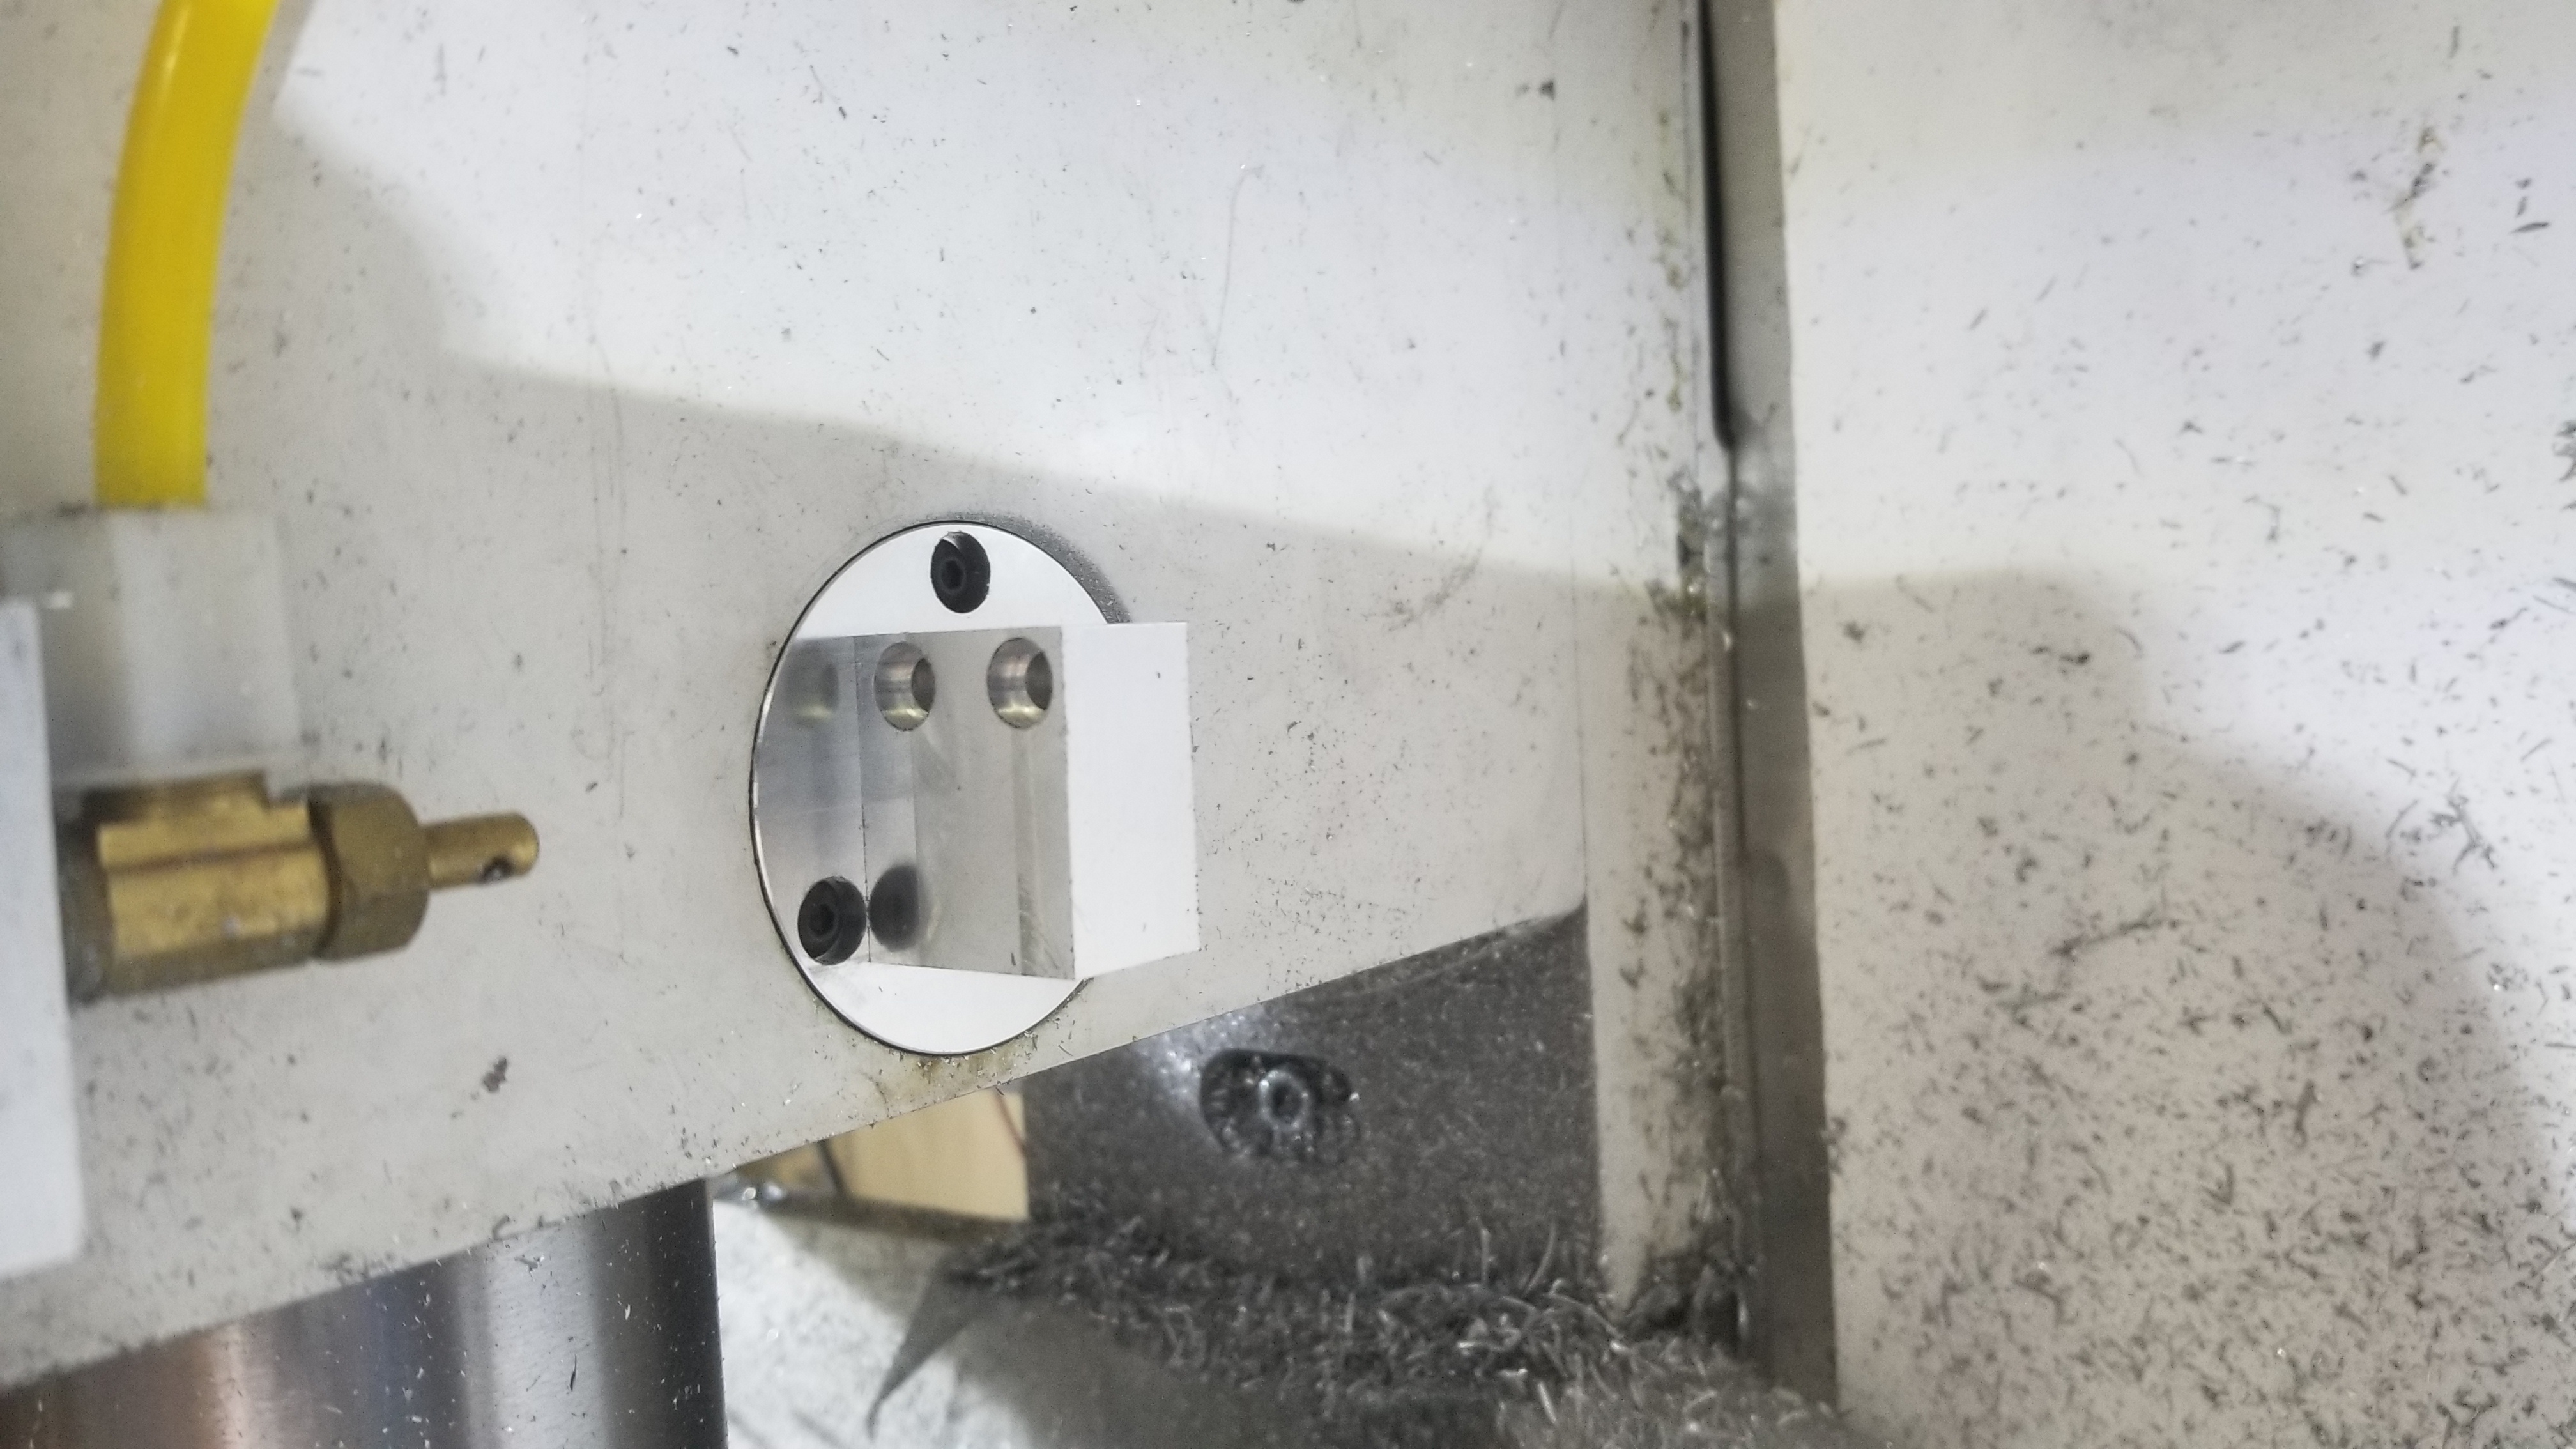
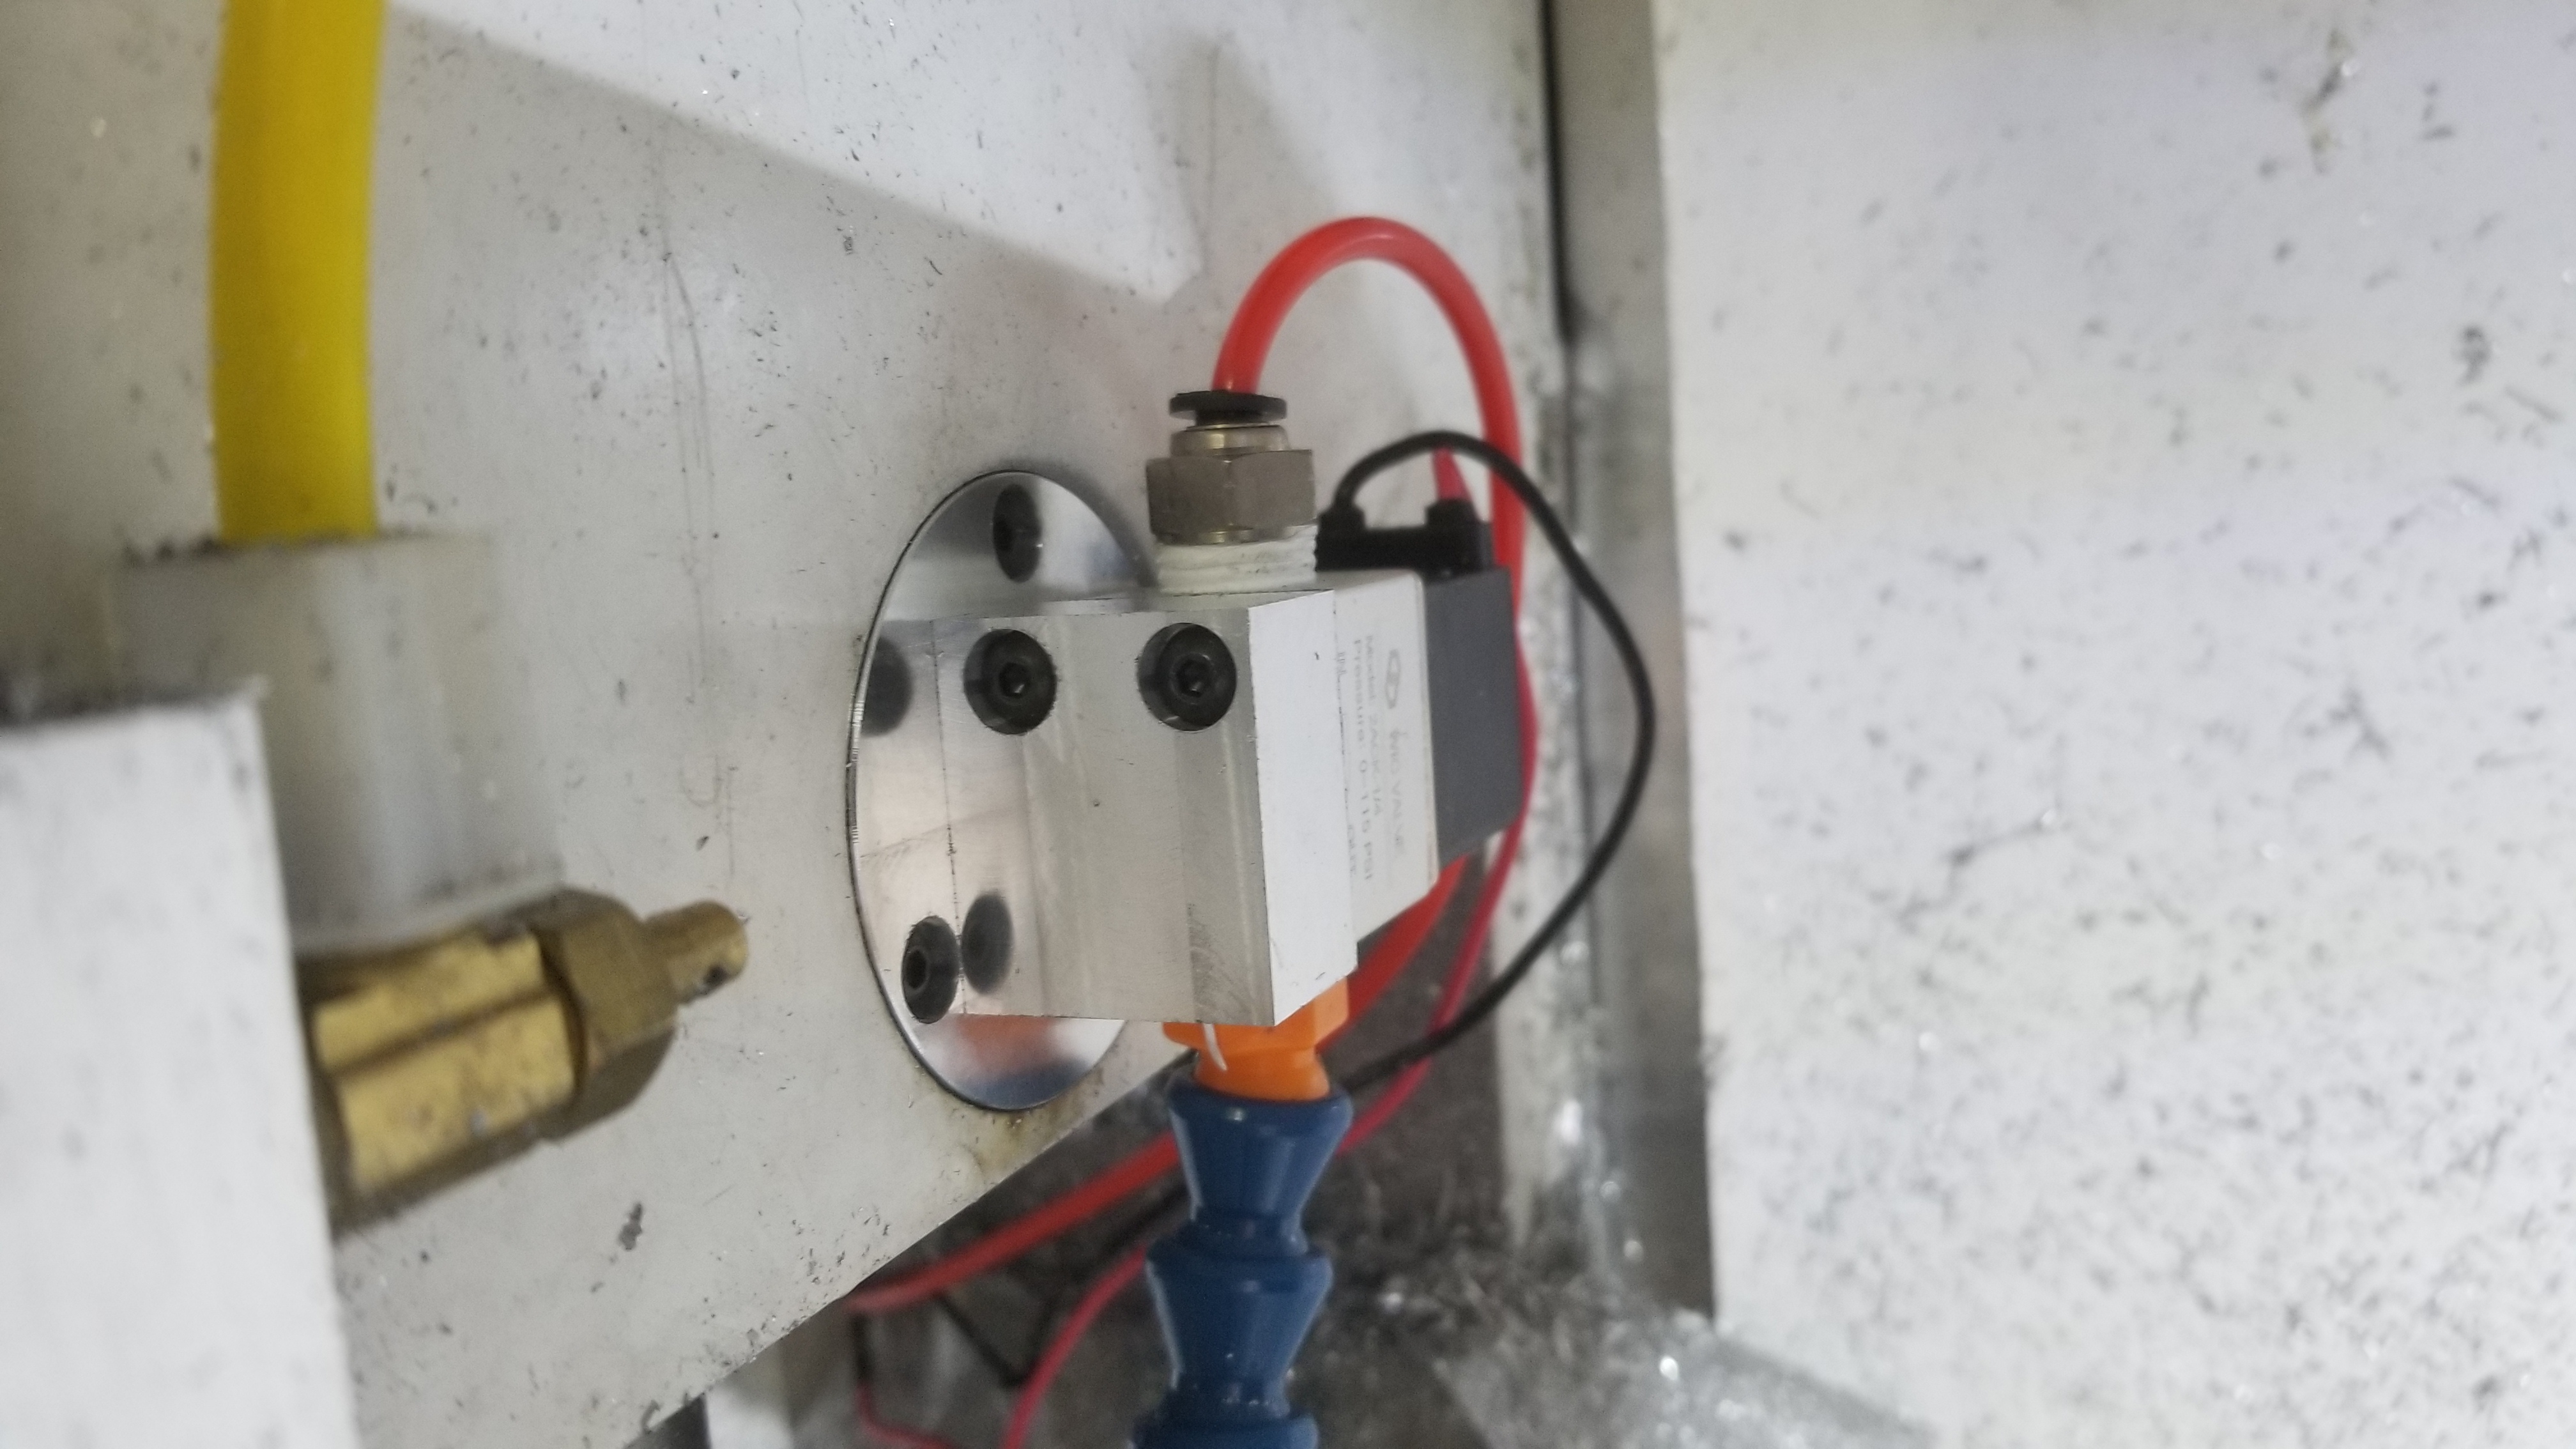
I got the tool changer mounted up. I ended up ditching the gearbox because the motion was utter garbage, and the motor has plenty of torque on its own. The spring loaded tool fingers are working as expected, and when I set the tool change height, it grabs to tool groove just fine.

I am now working on controlling it. I am using an arduino to control the tool changer, and it will communicate with the machine controller through the serial port. I am planning to a few different sensors to keep it working right, and a switching relay to prevent it from actuating when the head is down or the spindle is on. I am also thinking I will put an accelerometer on the tool platter, so that if a tool gets caught, it can send an E-stop signal to prevent the head from either crashing down on the tool changer or pulling it up. There is enough play that it can bend a fair bit before anything would be in danger of breaking.

It still needs some work, but it is cool to see it mounted and moving!

 
Nice progress! I really like that it doesn't stop at each tool, that will really speed things up!

PZ
 
Unfortunately, there has not been a ton of progress in the last few months. I have been using the machine to actually make stuff rather than just working on the machine.

I got started on the new enclosure and it is going about as I expected given that I have no experience working with sheet metal and minimal experience welding (I have welded one other time, and it went poorly, but got the job done). The enclosure uses 1.5" square tube for the stand and 18 guage sheet metal for the rest of the body. It will have a chip tray right below the machine that will allow the coolant to drain and it will slide out to be emptied. I keep thinking about a chip auger, but at the moment there is no plan to add one. I don't think it is really needed, but I think it would be super cool to have one and never have to worry about the chips. I am planning to have a wash down setting for the coolant, so when I switch a solenoid, the coolant will flow to a few parts of the enclosure and spray down the mill. Again, not really needed but I think it will be really cool. With the machine still in the other enclosure, I don't have a ton of room to work on it, so I had to stack things along the walls to make room. The insulation panels normally aren't there, but I ran AC to the garage and the door is insulated. A few of them fell out when the door was opened.

Here is the enclosure as it was a few days ago. The welds aren't great, but so far they are holding. I have added the two back panels already, but no pictures of that. The right side of the machine is pretty square, but the left side is noticeably off. I am happy with it though and won't go through redoing the whole thing. I used a few harbor freight tools to make it work. Their FCAW welder, pneumatic sheet metal shears, seamer, and grinder. I also have the chip chute and tray made, but I am still grinding them and making sure they won't leak.

uGFqp66.jpg


9me7Io3.jpg


I also made a little thingadoo that holds an air solenoid to the side of the head for the air blast coolant. It also plugs up the hole were the quill handle used to be. Two birds with one piece of metal! The wiring and air line will be routed better once the enclosure is done. I am planning to add a sheet metal guard to the head and the wire will run through a cable track.

2ZlTSPH.jpg


ghWIVW8.jpg


3rgjSSO.jpg


Slow progress, but it is still progress. Currently working on redisigning the electronics box, replacing some of the connectors, rewiring to clean everything up, etc. I am getting close to finished with the design for the control panel which will probably come before the enclosure is finished.
 
Looking great! Remember, you're supposed to be using this, not just building :)
 
Getting close to the end with the new enclosure. I have finished up most of the weld work, got the front opening all framed up, got new sliding rails for the doors, resized the doors from the old enclosure for use on the new one, mounted the doors, siliconed the corners where there was no sheet metal overlap, fabricated the chip tray, and I am now working on cleaning it up and getting it ready for paint. A few places will need body filler, but I am hoping the end result will look pretty good. I am planning to add the flood coolant tank and plumbing after painting everything and getting the machine moved over. The paint on the mill is looking pretty rough in some places, so the machine will also get a fresh coat along with the enclosure. I am planning to do the machine and lower part of the enclosure in gray and the upper and inside parts of the enclosure in white. I am picking white mostly because it will keep things bright inside.

Here is the enclosure almost as it stands now. There is a little chip chute to funnel the chips into the tray which will sit on tracks below it.
REF8me6.jpg


Here is a look at the inside looking down. The tape is there to help get nicer edges from the silicon. You can see the chip tray below and the chip chute as well.
UmGLhE9.jpg


Here is another view of the chip tray down below. The tray will sit on sliders so it will be up a little bit higher. The gap should be about an inch, so hopefully it will manage to contain the majority of the chips.
3tXtDdj.jpg


Just another look at everything. The doors mount to the .25" steel bars running across the top and bottom. Half inch steel square tube frames up the left and right side of the opening to stiffen everything up a bit and get rid of the sharp edge from the sheet metal. I am planning to add a piece of sheet metal folded over the bottom edge of the opening to protect that as well.
96wVdPW.jpg


I got a bunch of new connectors and such for the new electronics box as well. The number of connectors needed really adds up quick... I am hoping it will be worth it when I don't need to deal with the complete birds nest of wires running every which direction currently.

Right now I am thinking the control panel will be mounted up on the front right, then a tool rack and accessory rack will be mounted to the left side. I got the casters in recently, so those will also soon be added to the frame.

I thought I had pictures of the doors, but it looks like I do not. I will be sure to take some and add them. The door frames are made of aluminum and the windows are acrylic. I will be making some handles soon similar to the ones on the new tormach enclosures. There is still plenty of work to go. Need to figure out the automatic lubrication for the machine, way covers, motor covers (and waterproofing for flood coolant), control panel, head cover, spindle pulleys, air routing and control, and touch probe. I am sure that list will grow before I finish...
 
I got the enclosure all bondoed up and primed. I had the darndest time getting my little HVLP touch up gun to spray the primer well, so I ordered a full size HVLP gun which made short work of priming. Amazing what using the right tool for the job does... less work and better results. I also got one of those sand paper flapper wheels and that cleaned up welds and edges without digging in and making more trouble the way a regular grinding wheel was.

Here it is all primed up. The top will be white, then the bottom will be gray. I will added some sheet metal around the base to clean it up at some point. I will also be adding an edge guard to the bottom of the opening to keep it from getting dinged up and cutting me. You can also see pretty well how the rear opening isn't squared up right. The pieces I will add to close the gap between the mill column and enclosure should hide that completely, so I didn't bother trying to figure out how to correct it.
RWkbmTd.jpg


Another angle. You can see some of the sheet metal seams on the inside.
azFxaDX.jpg


Chip tray primed up as well. I spent a long time welding up all of the edges to hopefully keep it water tight for when I start using flood coolant. I will add a drain to it when that happens. I am still toying with the idea of adding a chip auger so I don't have to bother emptying it. It would be overkill and unnecessary, but it would be cool and convenient, which is a good enough reason for me.
XPZMIRB.jpg


Here are the door frames. I was planning to paint these as well, but while cleaning up the surface, I really liked the brushed metal look. Unfortunately, there are a few dings here and there (door material was from the scrapyard), so I may end up painting it to hide those blemishes. I tried using my metal brake to snap the window acrylic, but that didn't go so great. The edges are very jagged and there are a few cracks, but those are mostly hidden in the frame, so I will likely use them for a while.
wdQTjse.jpg


I am thinking the first job for the machine once it is in its new enclosure will be finishing up the parts kits. I have done a large chunk of the work on these and I tell ya, small scale production is fun! Trying new things and thinking of ways to speed up the process is very satisfying. So who wants a parts kit?
tHMACi0.jpg


Pt7RdlQ.jpg


oLz8Le3.jpg
 
Wow. That enclosure is looking nice! Parts kits are too! With all the grumbling about ArizonaVideo not providing kits on schedule, you should be able to sell those babies!

PZ
 
Back
Top