- Joined
- Feb 14, 2020
- Messages
- 166
Hey all,
Just found the community a few weeks ago and the guidance has been top notch. My short story is I've always been fascinated with the manufacturing process (I actually own an IT Engineering firm....boring). After about 9 million episodes of How It's Made on YouTube, I landed on machining videos. Specifically, This Old Tony. I had a fair amount of carpentry experience, but wanted to build things from metal. Anything and everything. I also wanted to weld. So that's where it began. First purchase was an old transformer TIG machine. I clocked about 50 hours of practice in the first month. Mild steel, stainless, and aluminum. Cool...now I'm an 'ok' welder.
Next was an auction where I was able to pick up a benchtop mill and a small 9x20 lathe. That was about 3 months ago. After 2 months and 3-4 week-long projects, I knew I wanted to go bigger. I saw a Bridgeport and a Jet 1340 lathe sitting in the dark basement of a food processing plant. They were in rough shape...I was hoping pictures made them look worse than they were. Yep, I was wrong. They're rust buckets. But generally all the moving parts were free.
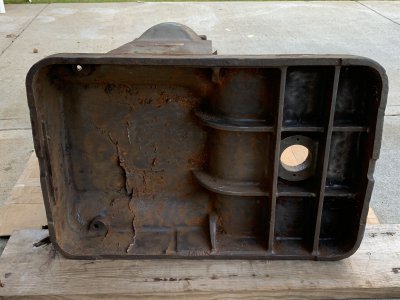
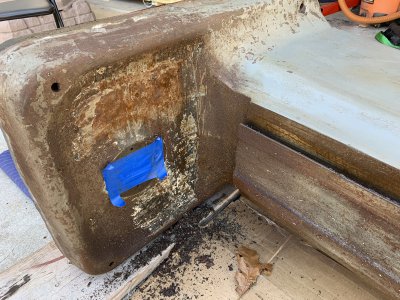
So I drove the 3 hours to the factory and had them set on my trailer, strapped them down tight, and hauled them back to Holly Springs, NC. I'm working out of my 2-car garage and the Bridgeport was sitting in the middle of it. So by virtue of not wanting to walk around it for a month, I decided it was going to be my first target. So here's the pictures of the machines as they sat:
 www.hobby-machinist.com
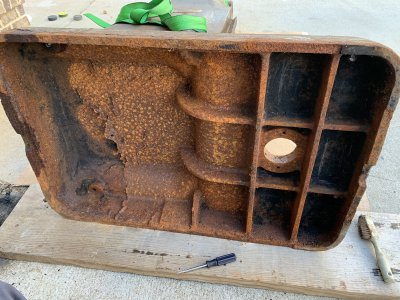
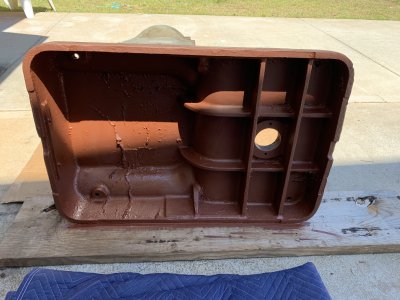
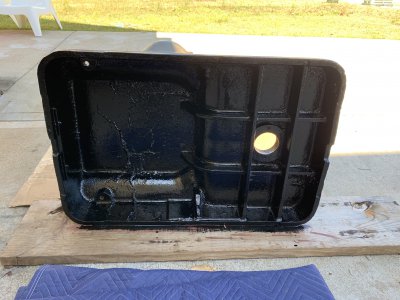
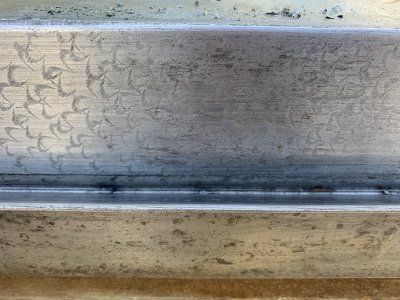
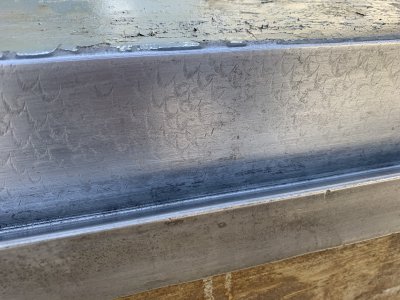
And here's some pictures (at the end of the thread) after everything was torn off and laid out.
www.hobby-machinist.com
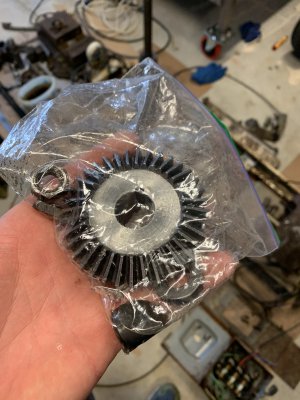
And now the re-finishing/re-building journey begins. I'll post in this thread as I move through that process.
Just found the community a few weeks ago and the guidance has been top notch. My short story is I've always been fascinated with the manufacturing process (I actually own an IT Engineering firm....boring). After about 9 million episodes of How It's Made on YouTube, I landed on machining videos. Specifically, This Old Tony. I had a fair amount of carpentry experience, but wanted to build things from metal. Anything and everything. I also wanted to weld. So that's where it began. First purchase was an old transformer TIG machine. I clocked about 50 hours of practice in the first month. Mild steel, stainless, and aluminum. Cool...now I'm an 'ok' welder.
Next was an auction where I was able to pick up a benchtop mill and a small 9x20 lathe. That was about 3 months ago. After 2 months and 3-4 week-long projects, I knew I wanted to go bigger. I saw a Bridgeport and a Jet 1340 lathe sitting in the dark basement of a food processing plant. They were in rough shape...I was hoping pictures made them look worse than they were. Yep, I was wrong. They're rust buckets. But generally all the moving parts were free.
So I drove the 3 hours to the factory and had them set on my trailer, strapped them down tight, and hauled them back to Holly Springs, NC. I'm working out of my 2-car garage and the Bridgeport was sitting in the middle of it. So by virtue of not wanting to walk around it for a month, I decided it was going to be my first target. So here's the pictures of the machines as they sat:
New Hobbyist with some TLC-required Machines
Hello everyone, After watching This Old Tony and Abom79 for about 200 hours on YouTube, I decided it was a hobby I would enjoy. So I jumped in head first. My current lathe and mill include an unknown make 9x20 lathe (only identifying marking says CF-918) and what I think is referred to as a...
www.hobby-machinist.com
And here's some pictures (at the end of the thread) after everything was torn off and laid out.
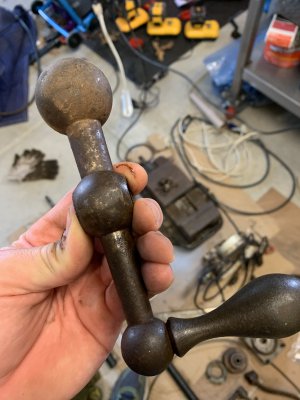
[Solved] Moving the Ram
EDIT: I was able to find the answer with a few quick youtube searches. I have a broken lever. Was just going to delete this thread but cant find the option to do that. Also found a bunch of content on freeing a stuck ram, which seems to be what I'll be doing for the next several days. Time...
www.hobby-machinist.com
And now the re-finishing/re-building journey begins. I'll post in this thread as I move through that process.