POTD- PROJECT OF THE DAY: What Did You Make In Your Shop Today?

Oh man... I would have never thought about using Bees wax for that... I use it only to treat the wenge wood handles in my espresso machine... and after doing so, I just need a few minutes alone for myself :D...

View attachment 458587

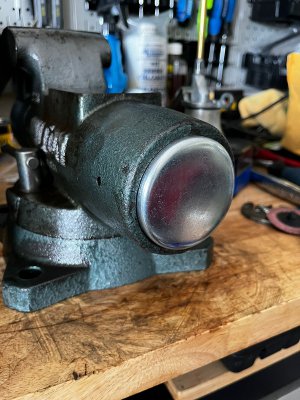
Back to the cap for the vise. I was able to buy a shallow freeze plug at the local NAPA... did all the transaction online and will pick it up tomorrow as they are closed today due to the hurricane.
TMI
 
My first mill project.

20230830_165458.jpg
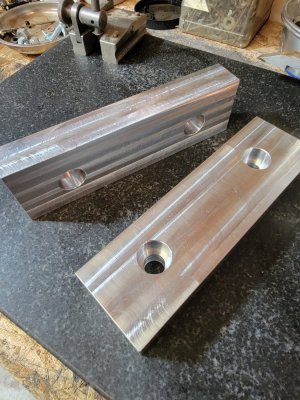
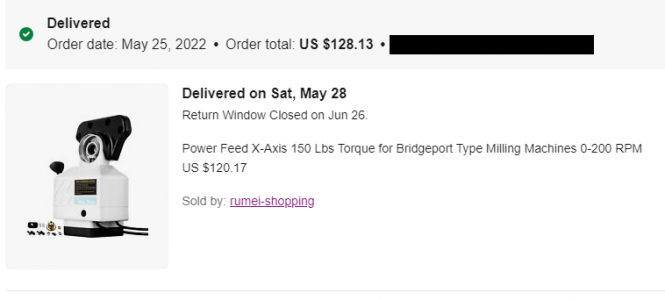
The Bridgeport I bought came with a 6" kurt vise but had no jaws. I just finished this set as my first project. I know the surface finish is less than desirable. I was experiment with speeds and feeds and getting to know the machine. I did all facing with a a 3/4 endmill. My final operation was the one laying flat and that came out buttery smooth other than the rough start. I think im definitely going to purchase a power feed after doing all of that by hand. The Vevor power feed seems to pretty good bang for your buck from the reviews ive seen.

16934401381516483369824030578235.jpg
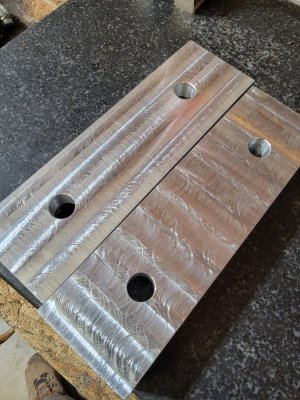
Heres the other side where I was definitely going too fast. They are actually pretty smooth to the touch just not visually appealing. I also did some gib adjustments about halfway through the process. Had 2-3 thou play in the x axis.

These will do for now. I think a fly cutter is definitely on my short list. May be my next project.
 
My first mill project.

View attachment 458620
The Bridgeport I bought came with a 6" kurt vise but had no jaws. I just finished this set as my first project. I know the surface finish is less than desirable. I was experiment with speeds and feeds and getting to know the machine. I did all facing with a a 3/4 endmill. My final operation was the one laying flat and that came out buttery smooth other than the rough start. I think im definitely going to purchase a power feed after doing all of that by hand. The Vevor power feed seems to pretty good bang for your buck from the reviews ive seen.

View attachment 458621
Heres the other side where I was definitely going too fast. They are actually pretty smooth to the touch just not visually appealing. I also did some gib adjustments about halfway through the process. Had 2-3 thou play in the x axis.

These will do for now. I think a fly cutter is definitely on my short list. May be my next project.
I have a vevor power feed for the X. I like it a lot. It wasn't expensive, and has worked real nice. Mine goes from 0 to a crawl, to real fast. so it's perfect. Lots of power too. I have forgotten too many times to release the lock and it powers through it without complaining. I wish it did complain, so I'd remember.
 
I have a vevor power feed for the X. I like it a lot. It wasn't expensive, and has worked real nice. Mine goes from 0 to a crawl, to real fast. so it's perfect. Lots of power too. I have forgotten too many times to release the lock and it powers through it without complaining. I wish it did complain, so I'd remember.
Do you have the 150 or 450 torque model?
 

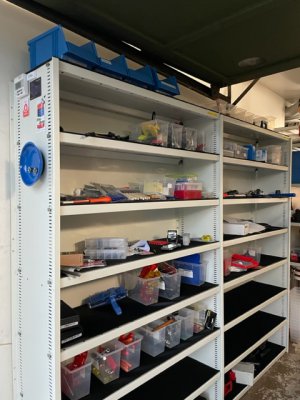
As the weather has been not so great lately, I've had some spare time to make the shop more functional so I finally got banging with this:
I will probably install a protective rubber mat under the boxes before loading them with stuff. A rubber mat not only protects the shelves from wear, but also eliminates the annoying metallic noise steel shelves make.

IMG_8713.jpeg
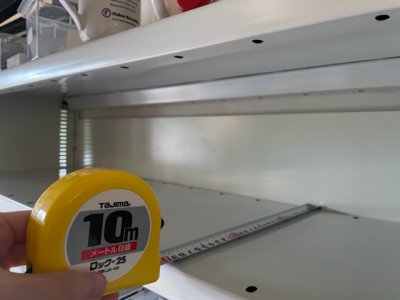
First I measured the shelves both width- and depth-wise. Bauhaus used to sell this ultra-fine grooved rubber mat by the meter and I thought to go and see if it's still available.

IMG_8715.jpeg
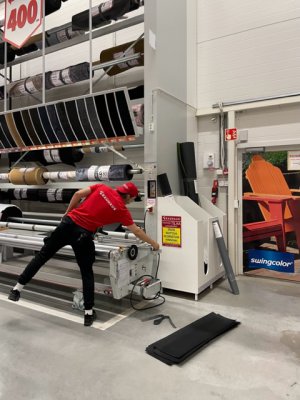
Luckily the mat was still available and this time they even agreed to cut it into correct length pieces for free! I only needed to slightly adjust the width myself, which was easy thanks to the grooves in the mat that functioned as cutting guides.

IMG_8745.jpeg
Before installing the freshly cut rubber mats I thoroughly cleaned the shelves. If there's dust between the mat and the shelf, the mat won't stay in place. There is some creasing from the storage, but hopefully it will even out over time. Thanks to the grooves, it almost feels as the boxes were sliding on rails :excitement: The odor from these mats tho':
I love the smell of volatile organic compounds in the morning.

IMG_8744.jpeg
While I was at it, I also adjusted the distribution of the shelves. For that I had to take everything out of the shelves and now it's a total mess. Organizing the shelves will be another POTD.
 
Last edited:
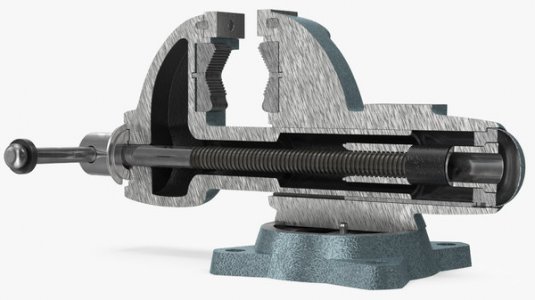
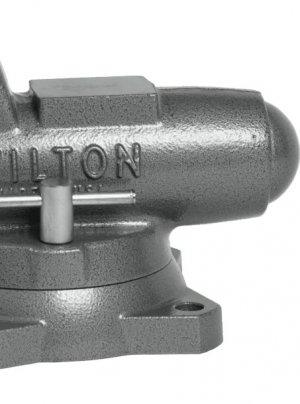
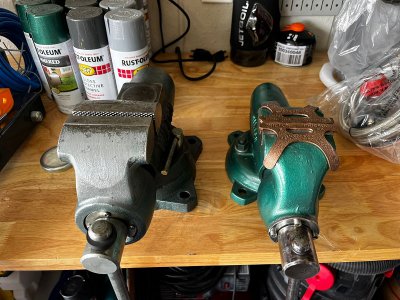
Vise is temporarily back together. The end cap, even if it is 2-1/2", the depth is not enough to clear the vise screw. This one sticks out. Seeing photos of this vise I can see that the end cap needs to be almost a cone shape to clear everything.

Wilton Vise Cutout.jpg

End cap2.jpg

Maybe I can make a spacer... will see how I tackle this...

WV-14.jpeg

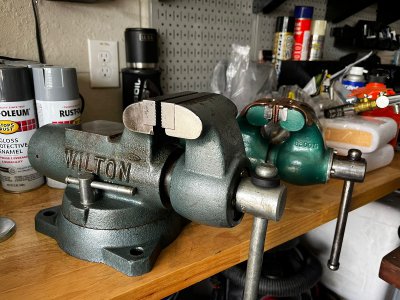
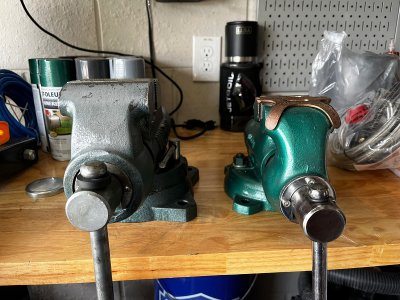
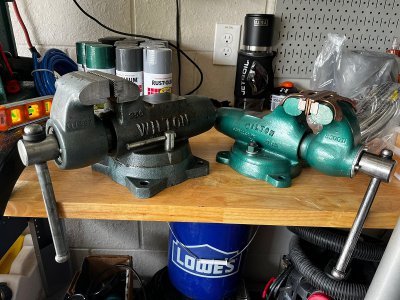
A few photos next to the 3" vise...

WV-15.jpeg
WV-16.jpeg
WV-17.jpeg
WV-18.jpeg
 
Last edited:
Back
Top