POTD- PROJECT OF THE DAY: What Did You Make In Your Shop Today?

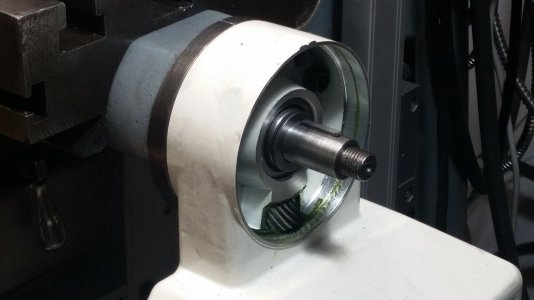
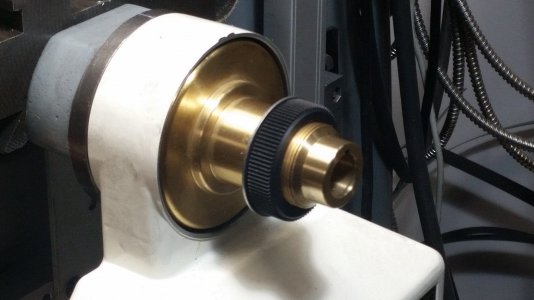
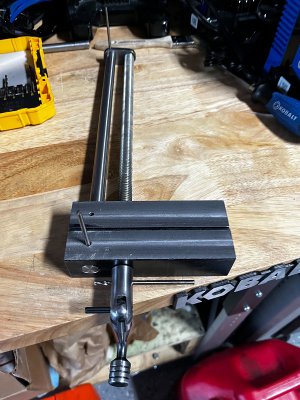
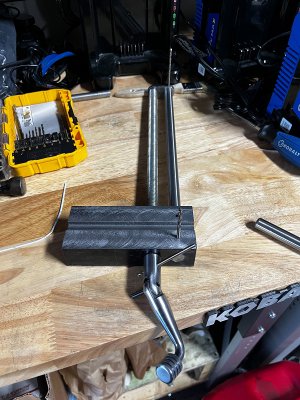
Need help.. if one of you has instructions for a Servo or Align , can you look up what they say about how to adjust the lash on the brass gear? I have got it so that I have just one slim shim past tight. Just so the brass gear just dislodges from full depth engagement.

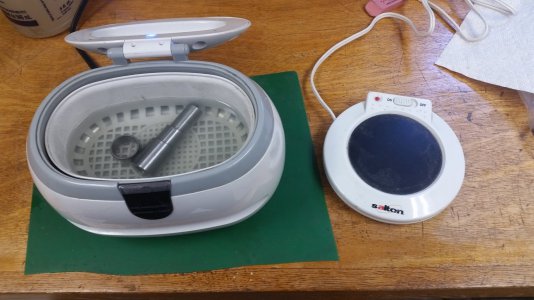
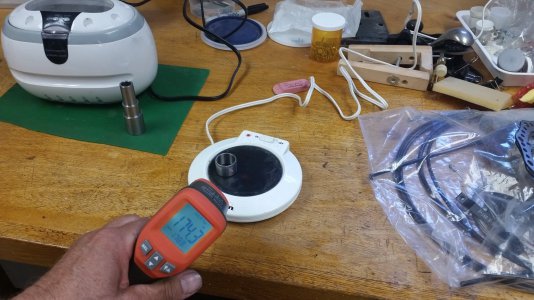
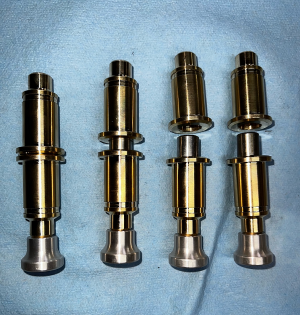
So I cleaned the parts in cleaner, then heated the bearing on a small hot plate until it reached about 172. It dropped on and in a few minutes was tight. The unit does work well at low power. I was worried, but I can put a lot of grip on the brass gear while it's running at slow and I can't stop or slow it.

One more thing to do, make an extension to the shaft that will allow a handle, and keep the whole thing tightened up.

Me likes... especially the rapid feed..
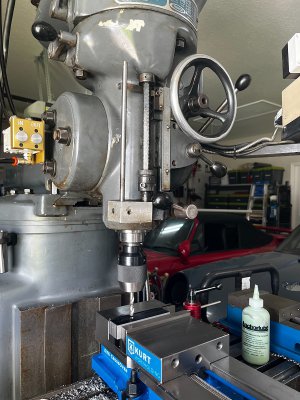
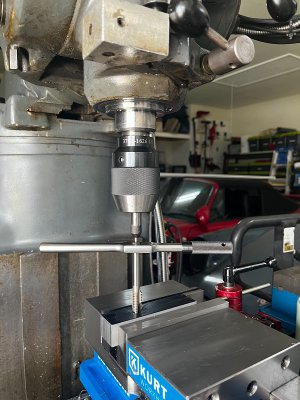
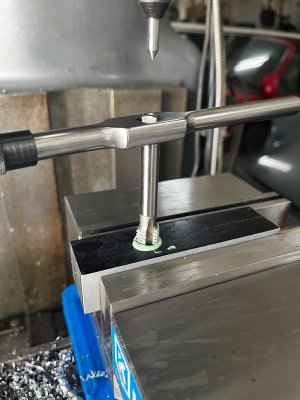
20220604_105524.jpg20220604_110043.jpg20220604_115336.jpg20220604_115448.jpg
 
Quick release hinges for a truck box door.

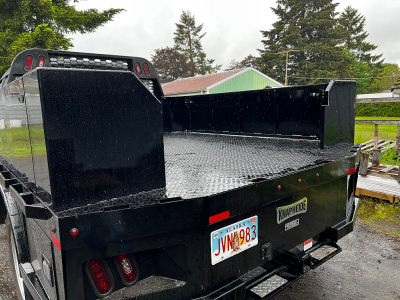
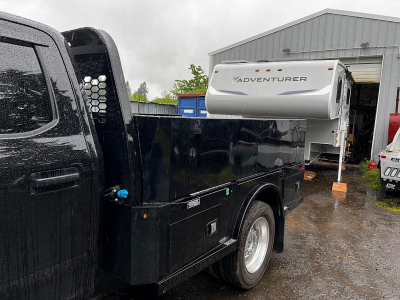
One of the product lines that we sell is flat beds and related custom storage boxes for truck campers. We have the boxes custom built to fit various camper/bed/truck combinations. https://www.stablecamper.com/copy-of-truck-camper-bed-kits

We are developing a new line of storage box that is a ''false wall'', in other words, the camper body becomes the inner wall in the box. According to our market research there is a market for this, so if the customers want it, we'll build it. :)

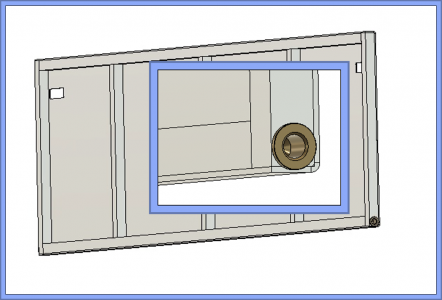
This post is specifically about the quick release hinge pins that we made yesterday.

Door
1654368112489.png

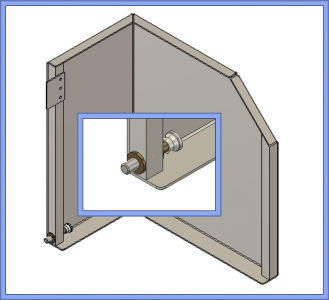
End Cap
1654368143904.png


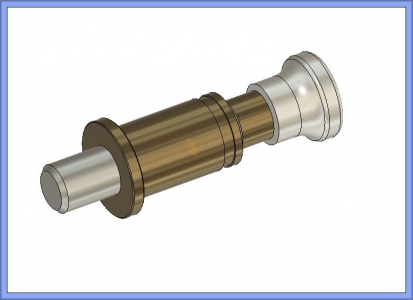
Quick Release Assy
1654368221896.png


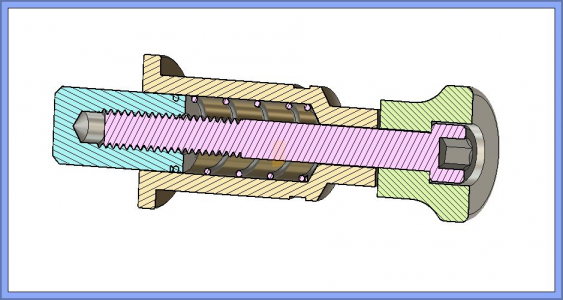
Plunger cut away view
1654368291525.png

Plunger pins are 303 SS, the body is bronze, the knobs are 6061 aluminum, and the screw is SS. We chose bronze for the body to try to prevent corrosion in the works since this is going to be somewhat exposed to the elements. We also built a set of these in aluminum that we'll have anodized and test those. The knobs were built earlier on the CNC lathe, and I hand built the pins on the manual lathe. These are going into a customer box set today.
1654368499099.png

Now for the fun part, a rare video of our Hardinge CNC lathe in action. Because we are turning bronze, we can get away without coolant and get a good video. Since this is a prototype run and I only needed 8 parts, I didn't optimize the tool paths which would speed things up dramatically. Run time on these is 4 minutes, I could probably get the run time under 3 minutes in real production.

 
I do not even know why I bother with the Grizzly G0704.... doing everything on the Wells-Index is so much easier! Once we move to Ocala and all the machines are in one place, I will be getting rid of the Grizzly G0704.... The small lathe is another thing... that one I will still keep. But if I find an old small lathe to replace it with, it too will be gone. I still have the hots for an old lathe (something like a South Bend 10, 9" Model A... or an Atlas)... but I digress....

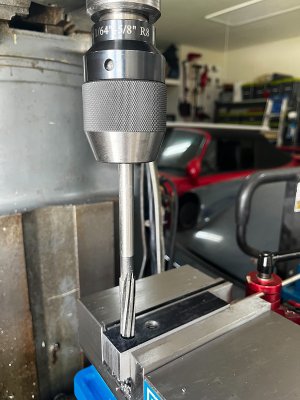
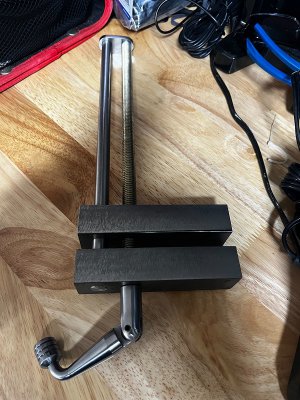
Made some progress with the float locking vise...

IMG_6113.jpeg
IMG_6114.jpeg
IMG_6115.jpeg

IMG_6116.jpeg
IMG_6117.jpeg
IMG_6120.jpeg

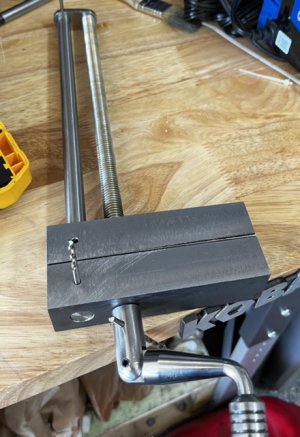
EDIT: All the holes for the pins are done… good thing because I was running out of 1/8” drill bits…

6271603E-E42D-4903-B5BA-D32E5A770A0D.jpeg
 
Last edited:
@JimDawson

They need serious pick-ups in AK. Looking good.

So, the long doors come off with the quick release hinge pins (from the other thread)?
How are the rear-most corner bits mounted to the bed? What I'm wondering is whether or not it's easy to return it to a flat bed when the camper is off.
 
Leave it to me to start with a vise that I would use on the left size and now forced to use it on the right side :face slap:

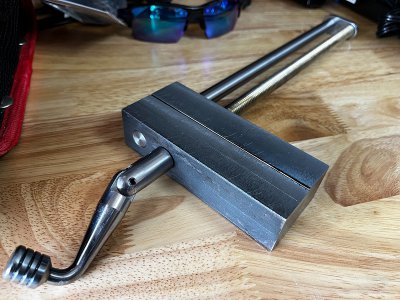
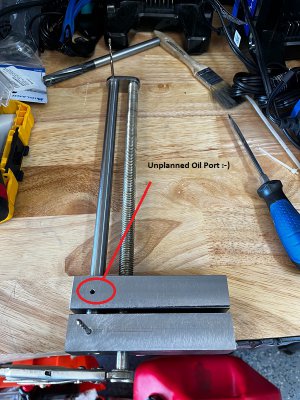
Oh... and I added an oil port... :confused 3: I second guessed myself and ended up drilling a hole without the need for it...

IMG_6122.jpeg

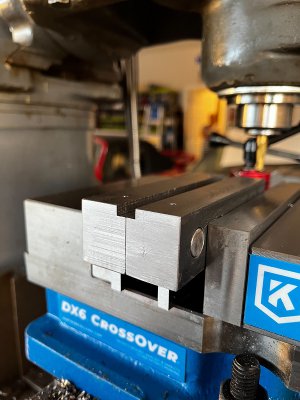
Then I proceeded to make the 3/8" slot.... Did I mark the correct side where I needed to make it???? NOOOOOOOOOOO!!!!! And never mind that I did not check that the parallels were seated correctly.... @#%#$%#$

IMG_6128.jpeg

So now I have to use it on the right side... Or make new jaws... Or make the slot on both sides... or.... or....

IMG_6131.jpeg

IMG_6130.jpeg

And now the wife is asking me why there are metal chips inside the house :dunno:.... that is it! I am getting a beer and then some wine...:beer mugs: I am done for the day...
 
Last edited:
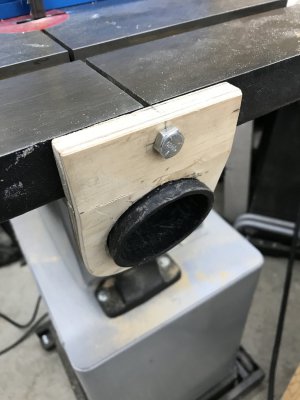
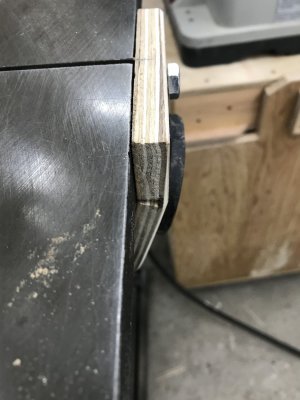
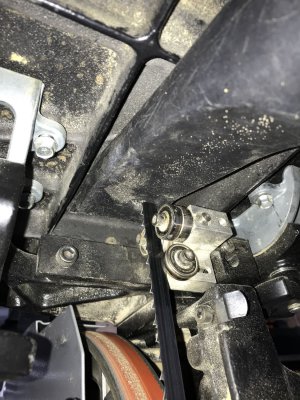
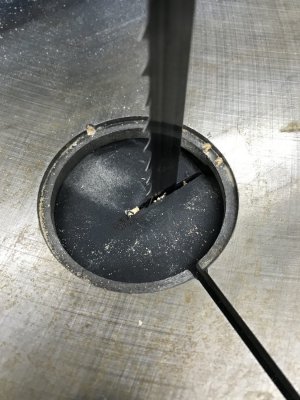
Whipped up a dust collection fitting for my new bandsaw.
Leftover shop vac attachment, three rare earth magnets, a cut down 3/8 bolt (that's the metal work part :)
) some scrap ply and epoxy.
I didn't take a pic but I epoxied the magets into the end of the shop vac attachment so it would stick to the underside of the table.
Works fantastic!
Pics tell the story.
1654389632946.jpeg

IMG_8361.jpg

IMG_8364.jpg

IMG_8365.jpg
 
Leave it to me to start with a vise that I would use on the left size and now forced to use it on the right side :face slap:

Oh... and I added an oil port... :confused 3: I second guessed myself and ended up drilling a hole without the need for it...

View attachment 409084

Then I proceeded to make the 3/8" slot.... Did I mark the correct side where I needed to make it???? NOOOOOOOOOOO!!!!! And never mind that I did not check that the parallels were seated correctly.... @#%#$%#$

View attachment 409085

So now I have to use it on the right side... Or make new jaws... Or make the slot on both sides... or.... or....

View attachment 409086

View attachment 409087

I am getting a beer and then some wine... I am done for the day...
That's a needed oil port. Looks good don't sweat it.
 
Back
Top