Power Hammer Project

7018 will be the rod.
Today, received the pillow block bearings for the jackshaft, descaled the rod and test fit the bearings. Getting closer as more pieces show up.

Timken bearings wee $187 ea. while the Asian counter parts were $17. As much as I hated it, finances forced me to
buy the Asian version. Got 4 (one extra set). They come with grease nipples so keeping them wet should make them last a LONG time as the shaft and bearing are 3 times the spec'ed size. This is one heavy shaft for it's load! Me likey!


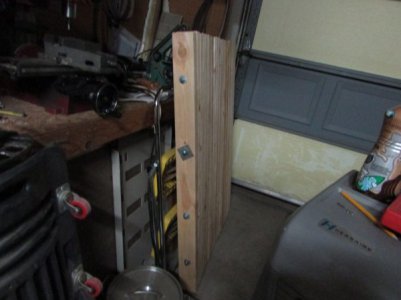
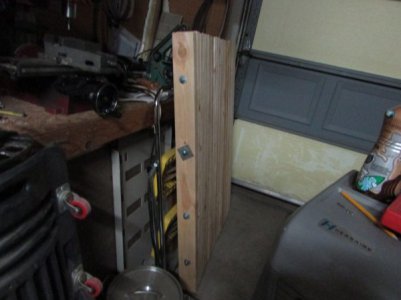
Also built wood base to absorb shock (to save the concrete and dampen noise). 48" X 36", held together with 4 3/8ths" all thread rods drawn down with the air impact.
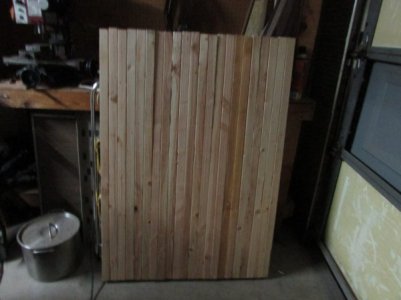
BaseFront.jpg

Will be made totally flat with belt sander for the steel base plate this whole contraption will be welded to.


Next will be female ended ball joint linkage ends (thanks Jim Dawson!) and some 3/4" all thread, (lefty and righty threads for the turnbuckle).
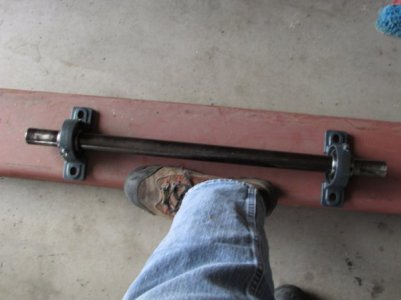
ShaftAndBeaarings.jpg

BaseSide.jpg

BaseSide.jpg
 
Last edited:
Update on welding. Talked to a trained SeaBees welder tonight (my nephew). He said, "due to the stress' and impact in the nature of this machine, I would start with a 6011 root pass (deeper penetration) and follow up with filler and cap passes of 7018. Love it... don't know why it didn't occur to me but that's where training and experience come into play!
 
Suggestion ...
Release the tension on the rods holding the base 2x4s together, place the "finished" machine on top, then re-tighten the rods. This should get you at least some ways down the path of evenness and flatness. Then take the machine off and have at it with a belt sander.

You might even want to put a layer of acoustic ceiling tile either between the machine and the wood, or the wood and the floor (or both?) If nothing else, this might make it just a bit quieter (and lead to fewer complaints from your neighbors) :)
 
Really had to fight making orders for final parts today... decided since I am hybridizing the plans for this, I better ponder all the angles. IE, do I want to drill lubrication points in the pipe pieces that act as pivots, or go with pins that have zerks on the end...? Threaded rod with turnbuckles or solid rod with hollow pipe in the middle? Next day or two I'll also acquire spring steel for the top, and get everything at the same time be it ordered or picked up.
 
Sorry for not posting to this thread for a bit but it hasn't gone dead. Got some orders in (WhooPeeee!) and have been working on cash generation! Haven't made much progress on this since last post but will be active again soon!
Bunch of guys over this Sat for a knife making demo... will hit them up for some input on a couple of issues. And still looking for a piece of 1/2" plate (~3' X 4') that I can afford.

Original woodbase construction I used large washers on the all thread to squeeze the 2X4s together... washers sucked right through the wood when I drew it up tight with the impact wrench. Fixed that today.
Piece of 3 ft by 1/4" by 2" mild steel strap. Cut my own 2" X 2" washers, drilled them in the mill and put them under the nuts. It's TIGHT now! Have 3 knives to make and ship, then should be able to get progress going again.

More as it comes!

Chris
 
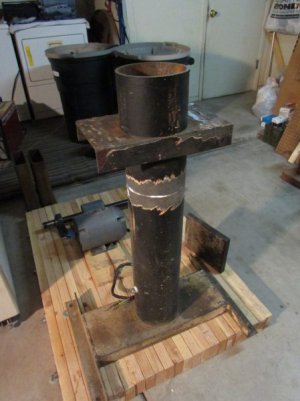
CutToHeight.jpg Finally got the anvil post cut to height today and the edges mostly beveled in preparation to weld. 6" piece cut out near the top so the thing will be the right working height. Rough layout on the base, though the stell plate it will all be welded to in not there yet. Also still need spare tire and it's bearings, the circular plate that will serve as the crank throw, the connecting rod and leaf spring for the top. Except for the base plate (heavy) the rest will be inexpensive.

On the top of the post will be a 1" thick plate welded to it. I'll drill and tap holes in it so I can have interchangeable dies for flat (shaping/squaring) or rounded for drawing out to length.
 
Don't know if you can still find one, but years ago, I went to a junkyard and extracted a front wheel spindle assembly from a Chrysler "K" car. It included the wheel mount with studs, a very good set of bearings, and the spindle, which ended in a flat, square plate. Very easy to mount.
 
Yeppers! That's exactly the kind of thing I'll be looking for this week!

Here's one... The connecting rod providing linkage between the hammer spring (up top) and the "crank throw" on the bottom. I'm thinking I could probably use a piece of heavy wall black pipe for this. Something available at just about any hardware store. Maybe 3/4"... maybe even 1/2" to save weight on this part that has to change direction a lot. Whudya think? As opposed to large all thread with turnbuckle... Pipe might be lighter and stronger...?
 
OK! You might even want use a couple tees on the ends of the pipe to connect it to whatever. (You can stop by and use my lathe to bore out the threads if needed.) Just be sure to get the right length of pipe. Note that Home Depot and other stores have pipe cutting/threading machines, so you can get whatever length you need.
 
Back
Top