Pratt & Whitney #3 benchtop miller

Thanks for that info. I had been searching for 4PNs with no luck, but already picked up two 3PNs.

In your picture I missed that you have a draw bar and what looks like a collet or Arbor. The 4PN collets have a 1 in diameter body and the 3PN has a body diameter of 0.65 in. What's the diameter of what you have there in the picture?
 
I went and double checked this morning, and .65 it is. This is something I should have checked a while back, and I am glad I missed a couple 4PN's from when I first got the machine. I had a feeling that there isn't much crossover between the two models, and this proves it.

I am wondering what the table dimensions are now, and whether the accessories will work for both.
 
I believe that the table is the same on both machines. I just measured my 3C table and it is 18 in long by 3-1/8 in wide. So that would mean things like vises and dividing heads should cross over.
 
Painters tape off:

So far, very happy with how it turned out. The main point was to get rid of the green, and bring it back inline with the original paint still on the knee. Is Krylon the most durable? No, but no rattle can paint is that durable, in my opinion. The Walker Turner DP I painted over ten years ago with it is still fine, so not too worried there. There are a few spots I am going to have to clean up with a razor, but over spray is easier to clean on machined surfaces than porous cast surfaces.


Couldn't resist putting the brass makers tag back on. Now it will sit for a week or so while I get it spot ready, clean up some parts, and wait for bits and bobs to arrive.


Small parts that have been in Evaporust, while other parts are still taking their bath:

And parts still to clean:
 
Hello fellow P&W #3 owner! I actually bought mine from DiscoDan a bit back.

a question for any others who have one, or its newer cousin the 3C: is arbor removal done in a normal way, and I mainly need to block up the spindle and free the collet bar? Or is there some special trick?
On the rear of the machine there was originally a pin that engaged with holes in the pulley in order to lock to spindle and allow for the arbor to be removed. It looks like someone filled in the hole for the pin on your machine, hopefully with something easily removed.
image3.jpeg
image1.jpeg

Second question: does anyone know of a good source of flat belt step pulleys?
Might not be the best way to go, but the pulley on my #3 is very close in size and step width/diameter to the countershaft flat belt pulley on a 10k southbend lathe. You may have to bore the hole out a bit to fit the shaft on the P&W though. And there is not enough material for the holes the original spindle lock mechanism needs. So you'd also have to attach something to the pulley to add enough material for that.
 
I was thinking a SB9 pully set would work, but right now I just want to get her going , and will move to that down the road. But thanks for confirming that this is the right idea. I am wondering if a Logan set might be a better/cheaper fit, so will have to look into that at some point also, but no rush, as I found a 4L step pully that would match what was on it when found, which will get me going on it.

But, here is where we are:

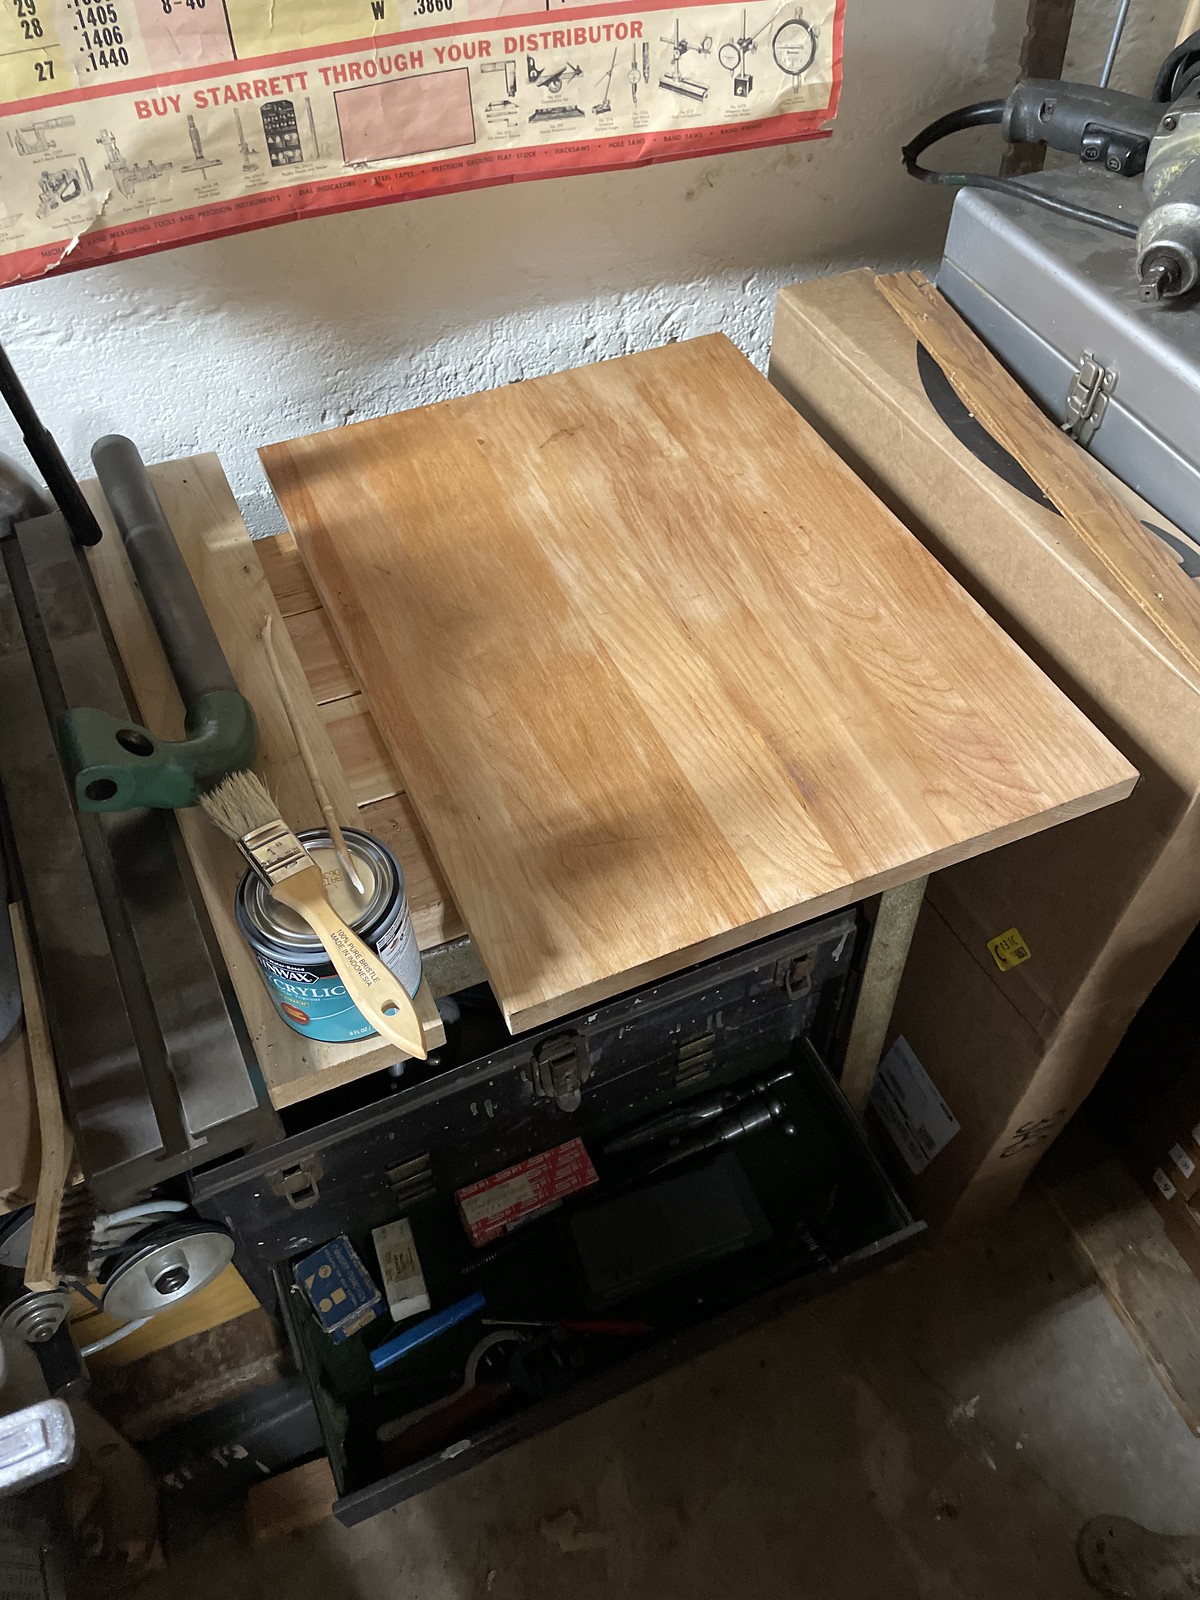
Getting the table tops, yes plural, poly coated. I am using two pieces of butcher block, as I couldn't find a single piece big enough at a price I was willing to pay that would work. Seriously, I am not going to pay as much for that as I paid for the mill! But I bolstered the two pieces on top of 2x4" and 2x8"s to strengthen and give me additional height. The base is from a Delta table saw/jointer combo I picked up for $20 at a garage sale, strong and good looking with storage underneath. That is where my Grandfathers Kennedy sits now.


A bunch of stuff has arrived to finish this project off, but, as with every McMaster Carr order I place, I find three things that I need to order the next day. In this case, T nuts and longer mounting screws than my local Ace has. Right now I have place holder screws in to help locate the machine, but I need to upgrade those.


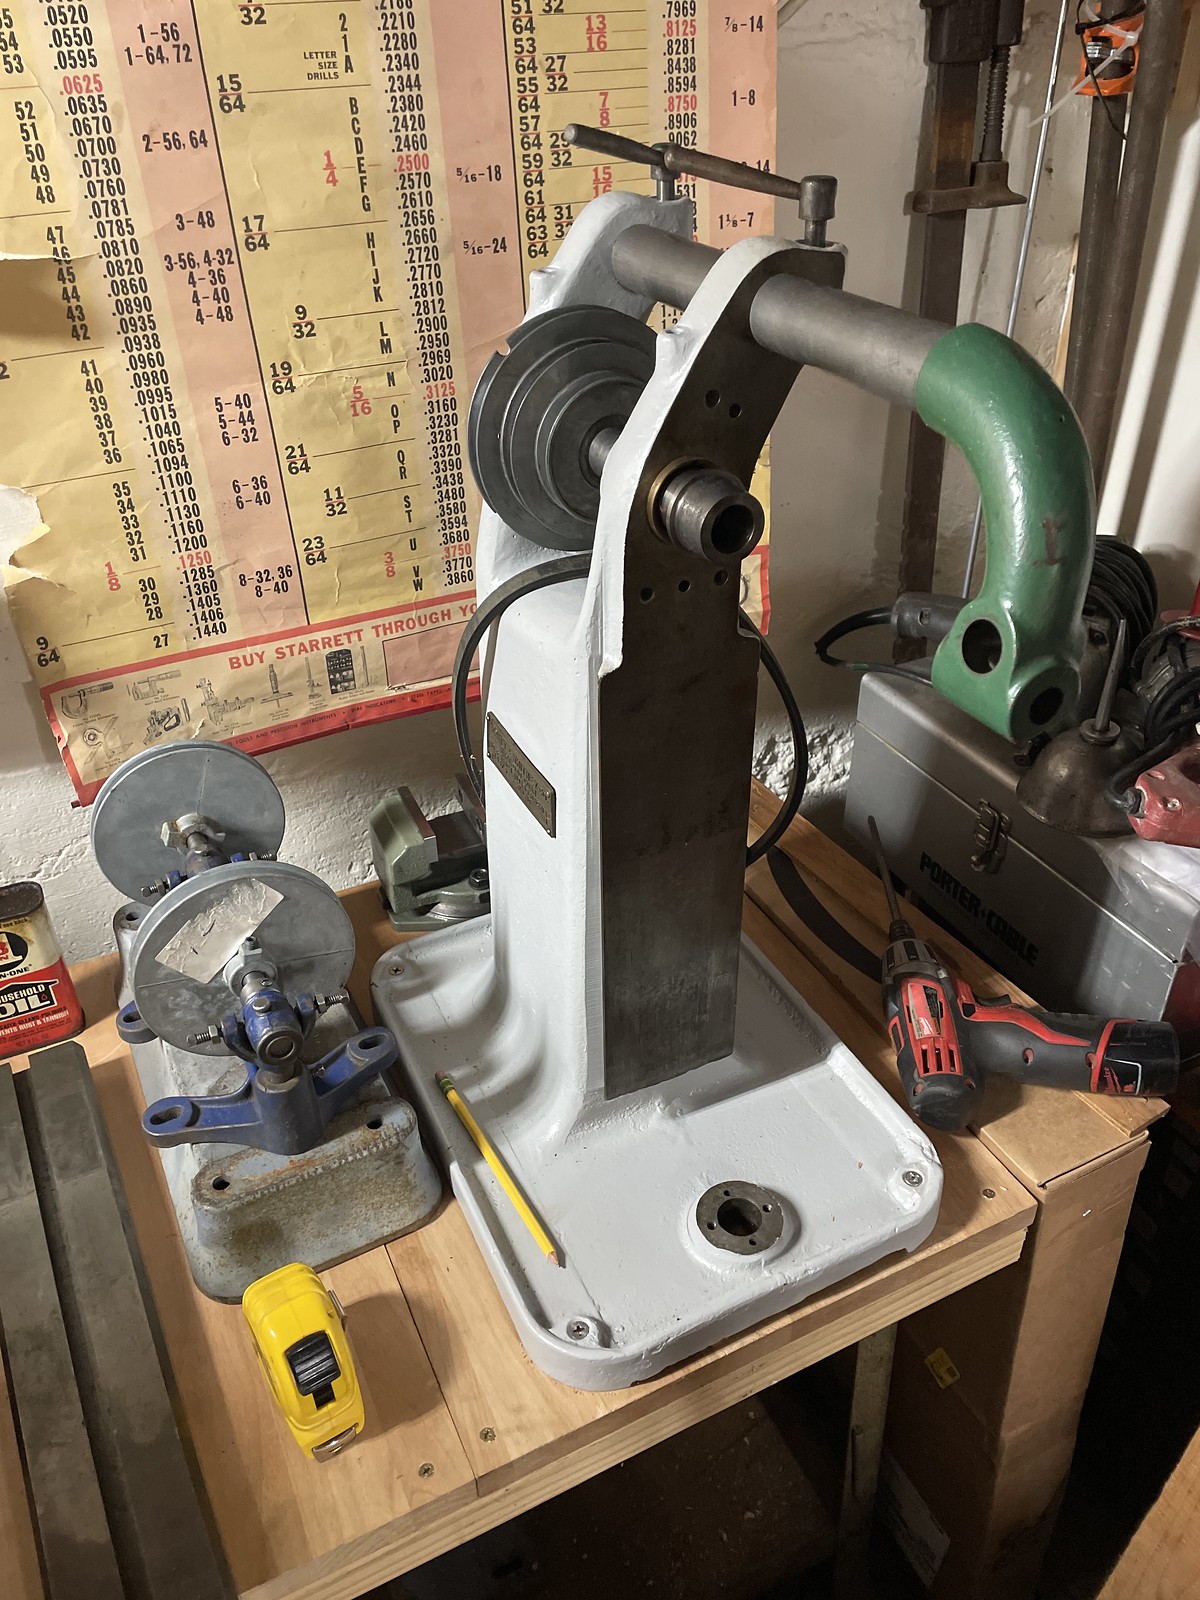
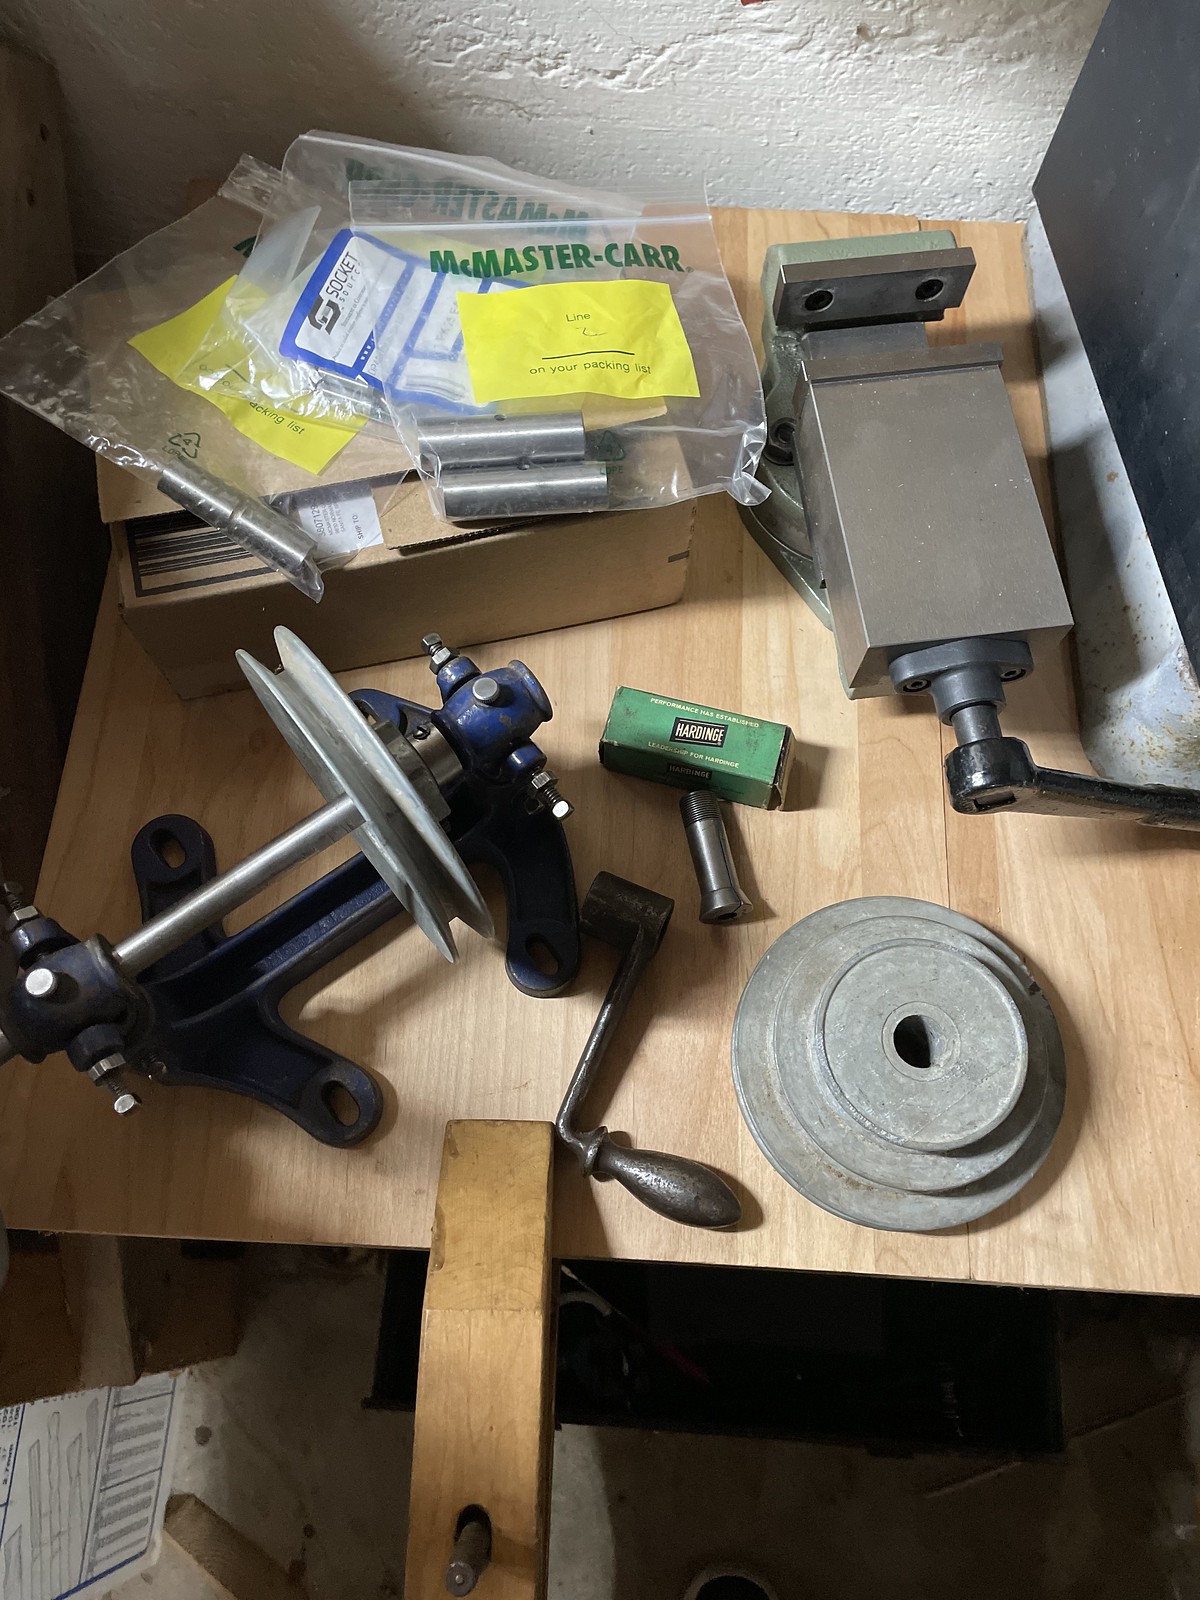
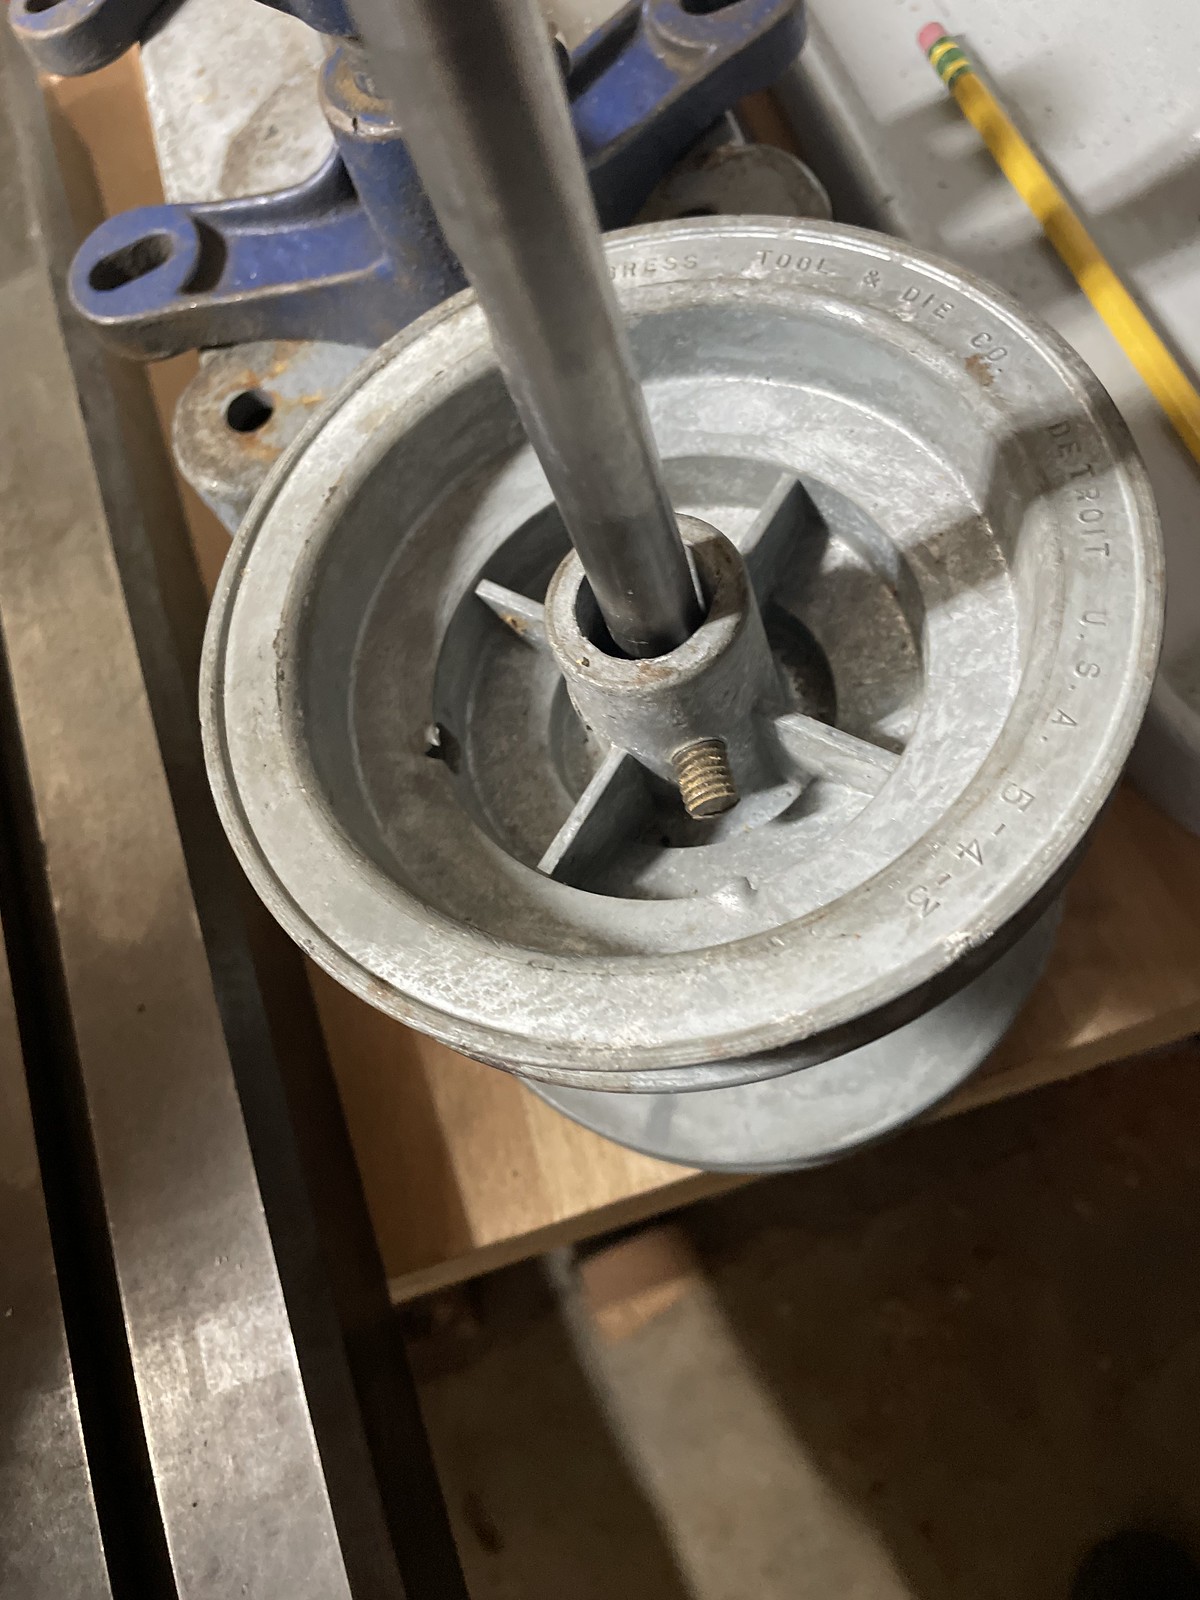
And here it is in place. Now to find the right height for the counter shaft assembly, which is off of some equally old Craftsman (not sure what, I will have to ask my friend Brian, as he is an expert on all things C-man.) The counter shaft is going to be raised higher than I like, but as the machine was originally set up for some sort of overhead line shaft I don't have much choice. Of course, I am going to have to make a bushing for the cone pulley that mounts on it, because nothing is ever simple:


Oh well, that will be tomorrows project.
 
So, here is where we are now:

Knee is assembled and installed. Which was a bit of a Chinese puzzle, but, in short, it needs to be put together as a complete unit and then installed on the base assembly.

First, when you are installing the Y axis parts, you need to make sure that the cross feed nut is installed at the same time, and it can only be put in from below, coming up through the rear of the knee casting:


Also, the gibs for that slide can only be easily installed from beneath, as they are wedges that are adjustable at the ends via screws (not sure what the two treaded holes are for on the right side of the pic, as they do not seem to be for anything.)

The X-axis has the same issue, and it also best put together upside down.

Another thing to remember, every part is sided, you cannot just put things together, but have to work out what direction they need to face. Only the two buttons that allow the X-table to swivel are marked with which side they go on, but that still doesn't tell you how each individual pieces should face. So there is a lot of trial and error. Not hard, but time consuming.

Next step, cleaning up the automatic oilers.
 
I found a little time last night to get some things done, mainly the oilers:


Of course, filthy, and with the remains of the green paint that had been covering the machine. So, disassembly, cleaning, and make sure the felt inside was in good shape to hold oil, and pipe cleaner used to wick oil onto the spindle was replaced with a fresh one.


Here they are, cleaned and reinstalled. One of them has a pretty bad crack in the glass, so, while it will work for a while, it is another thing to order from McMaster-Carr. I also reinstalled the spindle, as you can see.


Collets? I think I have that covered. Not too sure what I am going to do with them, or how I want to store them, but I will be getting rid of the duplicates, at least that should lighten the load.
 
Back
Top