- Joined
- Jan 2, 2014
- Messages
- 8,852
I went to the local store on Saturday to pick up a few groceries we needed.
It had just started snowing hard but I wanted to get things we needed for meals that day.
It was snowing hard enough on the way there that it was building up on the side windows, so one at a time I lowered them about half way and raised them again just to create a section of windows that I could see thru. Three windows went fine, but one (of course the drivers door) got stuck down. When I stopped at the store I tried pulling the glass up as I hit the button but it would not go higher than about four inches from the top frame.
I gave up on the window and got the groceries. By the time I came out there was already a 1-1/2 inch pile of snow on the arm rest inside that door. I drove home and got a tarp tied over the vehicle. Once the snow let up a little I moved it under some cover......
The garage (or really my workshop!) is too full of tools/machines to get a vehicle in, so I did my usual; roll a 2x2 into one edge of a tarp and screw that just above the work-shop roll-up door. I can then pull the vehicle up close and get in at least partially (depending on which vehicle and which tarp) under some cover. This allows me to open the roll-up door so I can move back and forth for tools without getting too wet.
So while @Mickri was planting an apple tree, this is where I was:
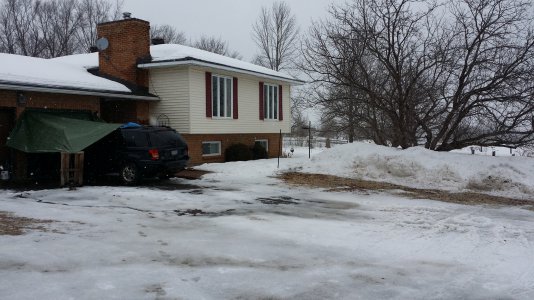
The vehicle is a 2004 Jeep Cherokee.
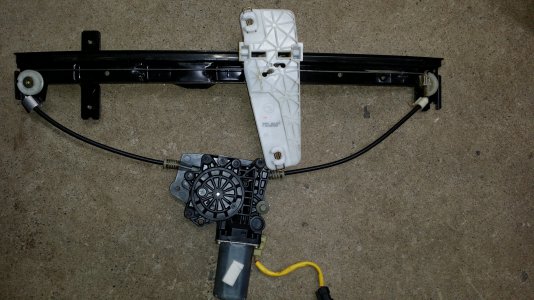
I got the "window regulator" part out of the door on Saturday:
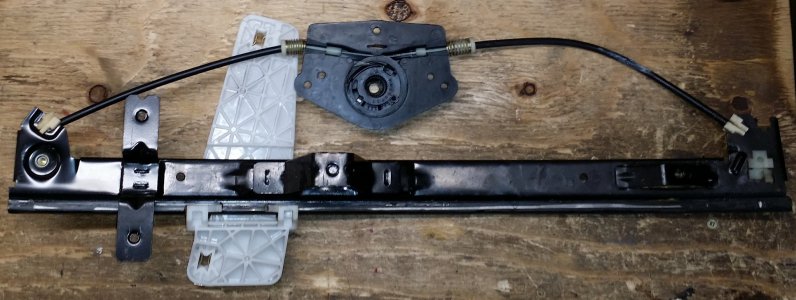
and immediately saw the spool where the cable winds was messed-up:
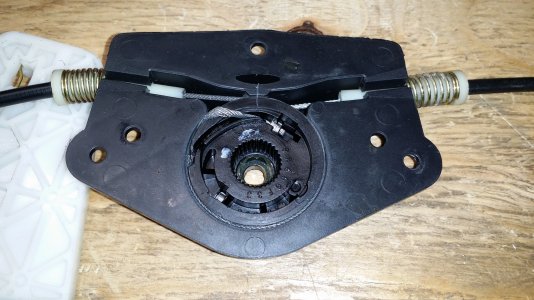
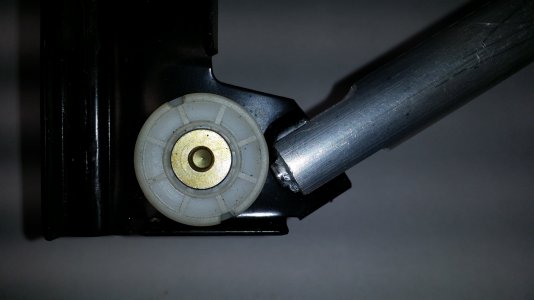
Not only was the piece of cable near one end out of the groove, the entire spool was "over-wound" with the now double-high wraps rubbing against the housing.
I did manage to pull the spool out, get it re-wrapped properly and reinstalled.....but no pictures as I didn't have enough hands.
I thought I was done..........but I was wrong!
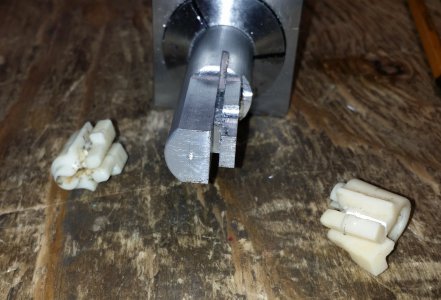
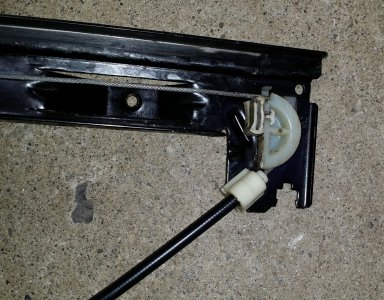
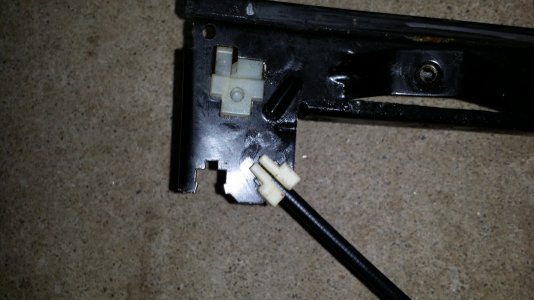
During re-assemble while routing the cable I found a plastic guide was broken.
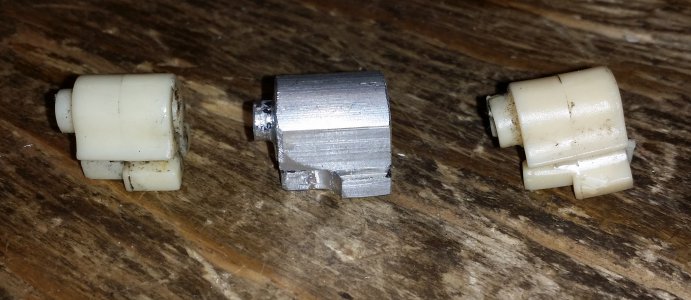
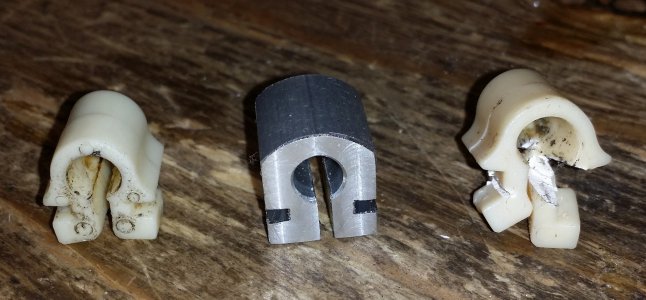
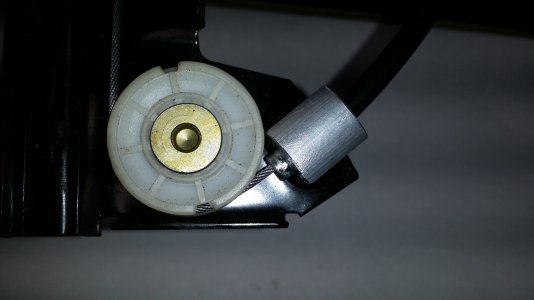
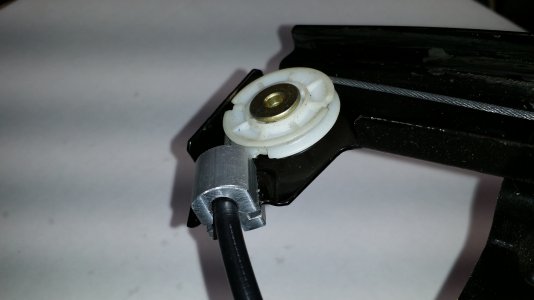
There is one of these guides at each end, they guide the cable onto the pulley, but also hold the black sheathing.
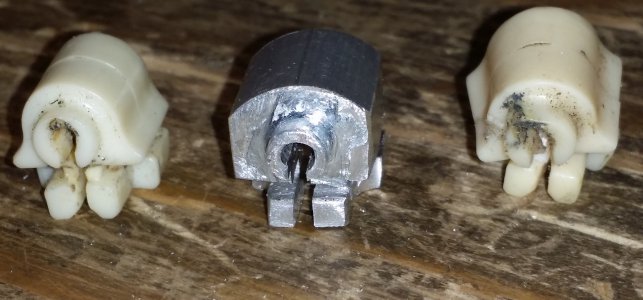
Front side:
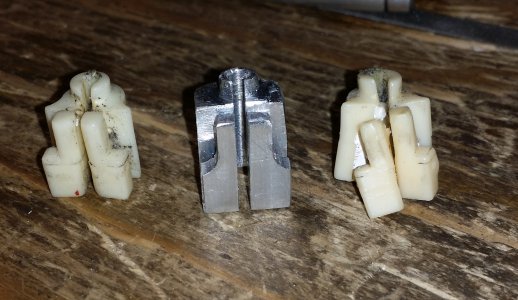
Back side:
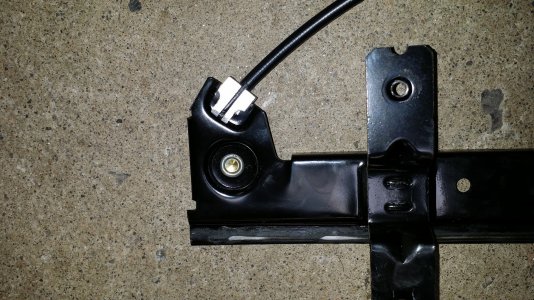
Here are shots of the good and bad guides:
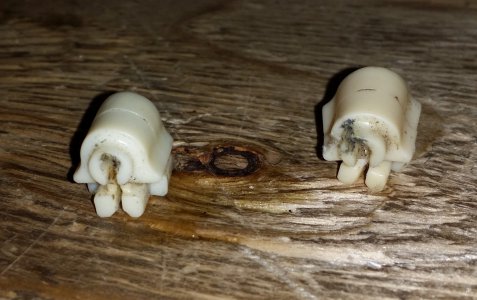
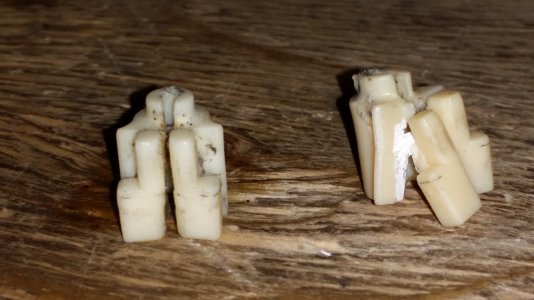
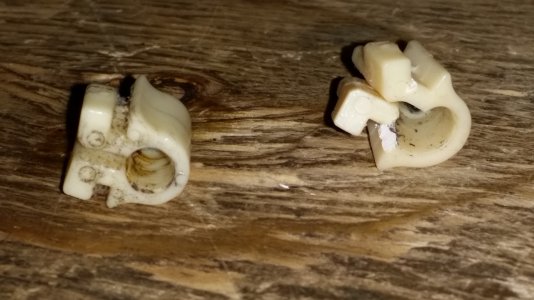
The broken one had tipped enough that the cable had cut into the "nozzle" end.
I now believe that the broken guide caused the cable to wind wrong on the spool.
I briefly thought about 3D-printing a replacement part, but quickly realized that PLA (most of my filament in stock ) is not likely strong enough for the task. The cable is kept taught by the springs near the spool, and that's a lot of force. Also I know PLA gets soft when hot....so surviving the summer in a black vehicle was questionable. The PLA visor mounts we printed for my son's car did not last the summer.
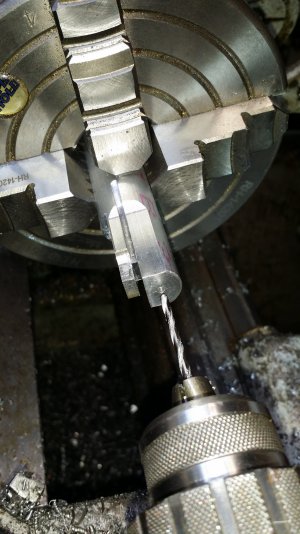
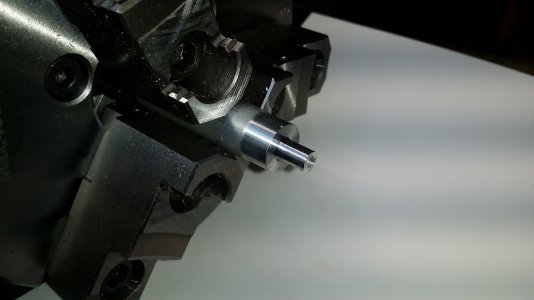
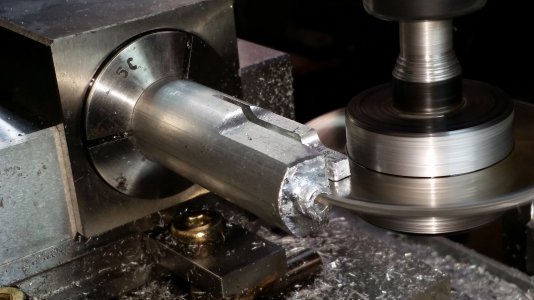
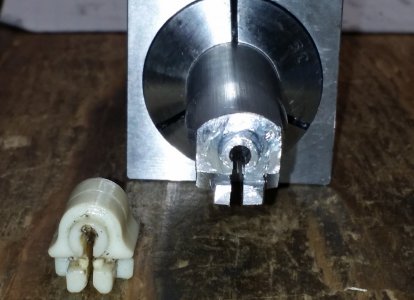
So I thought about building a replacement in aluminum.....
more to come......
-brino
It had just started snowing hard but I wanted to get things we needed for meals that day.
It was snowing hard enough on the way there that it was building up on the side windows, so one at a time I lowered them about half way and raised them again just to create a section of windows that I could see thru. Three windows went fine, but one (of course the drivers door) got stuck down. When I stopped at the store I tried pulling the glass up as I hit the button but it would not go higher than about four inches from the top frame.
I gave up on the window and got the groceries. By the time I came out there was already a 1-1/2 inch pile of snow on the arm rest inside that door. I drove home and got a tarp tied over the vehicle. Once the snow let up a little I moved it under some cover......
The garage (or really my workshop!) is too full of tools/machines to get a vehicle in, so I did my usual; roll a 2x2 into one edge of a tarp and screw that just above the work-shop roll-up door. I can then pull the vehicle up close and get in at least partially (depending on which vehicle and which tarp) under some cover. This allows me to open the roll-up door so I can move back and forth for tools without getting too wet.
So while @Mickri was planting an apple tree, this is where I was:

The vehicle is a 2004 Jeep Cherokee.
I got the "window regulator" part out of the door on Saturday:

and immediately saw the spool where the cable winds was messed-up:

Not only was the piece of cable near one end out of the groove, the entire spool was "over-wound" with the now double-high wraps rubbing against the housing.
I did manage to pull the spool out, get it re-wrapped properly and reinstalled.....but no pictures as I didn't have enough hands.
I thought I was done..........but I was wrong!
During re-assemble while routing the cable I found a plastic guide was broken.
There is one of these guides at each end, they guide the cable onto the pulley, but also hold the black sheathing.
Front side:

Back side:

Here are shots of the good and bad guides:


The broken one had tipped enough that the cable had cut into the "nozzle" end.
I now believe that the broken guide caused the cable to wind wrong on the spool.
I briefly thought about 3D-printing a replacement part, but quickly realized that PLA (most of my filament in stock ) is not likely strong enough for the task. The cable is kept taught by the springs near the spool, and that's a lot of force. Also I know PLA gets soft when hot....so surviving the summer in a black vehicle was questionable. The PLA visor mounts we printed for my son's car did not last the summer.
So I thought about building a replacement in aluminum.....
more to come......
-brino


