-
Welcome back Guest! Did you know you can mentor other members here at H-M? If not, please check out our Relaunch of Hobby Machinist Mentoring Program!
You are using an out of date browser. It may not display this or other websites correctly.
You should upgrade or use an alternative browser.
You should upgrade or use an alternative browser.
Returning Bench Centers to Service
- Thread starter Ulma Doctor
- Start date
- Joined
- Feb 2, 2013
- Messages
- 3,627
sorry for the mix up, i was reading and typing at the same timeI'm not C-Bag !I did locate the piece . I have it in the basement now and will get some pics taken this evening . I have to deliver a job in an hour but will be back on later .
- Joined
- Feb 2, 2013
- Messages
- 3,627
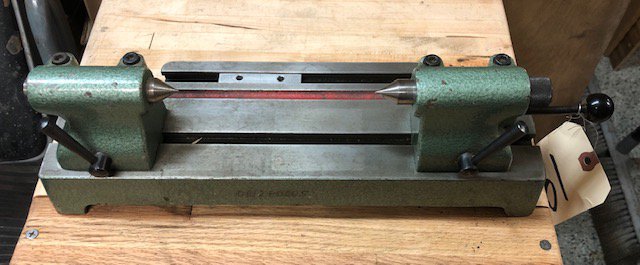
for the peanut gallery....
as a point of information, the dimensions for the import t-nut are as follows
.625" wide at the base, 7mm thick at the t section, 9.5mm wide at t section, .490" tall
as a point of information, the dimensions for the import t-nut are as follows
.625" wide at the base, 7mm thick at the t section, 9.5mm wide at t section, .490" tall
- Joined
- Feb 2, 2013
- Messages
- 3,627
Act: 2
after completing the t-nut,
i added a .625' length of 3/8"-16 tpi all-thread to the t-nut and added red loctite.
the stud is for attaching the mast to the bronze nut.
i constructed a nut and washer from 40mm Bronze stock
i turned the 40mm stock to 38.5mm in diameter
i drilled the center to 5mm to a depth of 35mm
i drilled again 5/16" to a depth of 15.2mm
i tapped the 5/16 bore to 3/8"-16tpi
i knurled the nut
i tapped the 5mm bore to M6x1.0
the nut was chamfered and parted off to 29mm long
i chamfered the threaded bores
i made a m6 x25mm studby removing the head from a M6 allen bolt
the M6 stud was inserted in the nut and red loctite'd in place, to retain the mast
The mast was reclaimed high quality 12mm hard chrome shaft from a decommissioned high speed wrapping machine
assembly could not have been easier!
the photographic evidence....

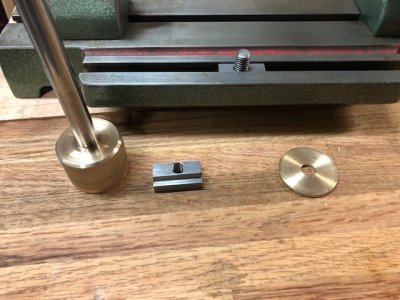
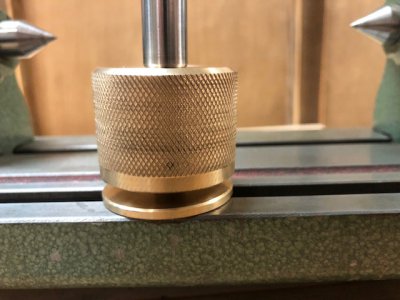
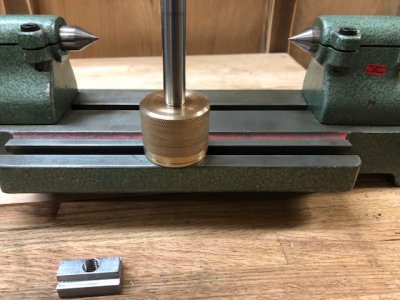
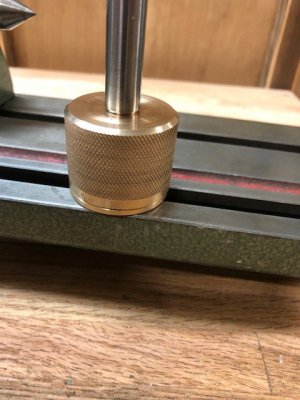
i made an extra t-nut, just in case
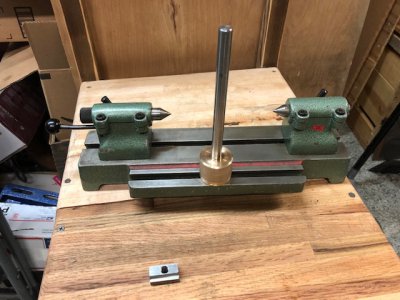
about 1/2 turn is all that is necessary to actuate the t-nut clamp.
so far the assembly is coming together very nicely!
Coming to a computer screen near you soon, Stand by for Act:3!!!!
after completing the t-nut,
i added a .625' length of 3/8"-16 tpi all-thread to the t-nut and added red loctite.
the stud is for attaching the mast to the bronze nut.
i constructed a nut and washer from 40mm Bronze stock
i turned the 40mm stock to 38.5mm in diameter
i drilled the center to 5mm to a depth of 35mm
i drilled again 5/16" to a depth of 15.2mm
i tapped the 5/16 bore to 3/8"-16tpi
i knurled the nut
i tapped the 5mm bore to M6x1.0
the nut was chamfered and parted off to 29mm long
i chamfered the threaded bores
i made a m6 x25mm studby removing the head from a M6 allen bolt
the M6 stud was inserted in the nut and red loctite'd in place, to retain the mast
The mast was reclaimed high quality 12mm hard chrome shaft from a decommissioned high speed wrapping machine
assembly could not have been easier!
the photographic evidence....


i made an extra t-nut, just in case

about 1/2 turn is all that is necessary to actuate the t-nut clamp.
so far the assembly is coming together very nicely!
Coming to a computer screen near you soon, Stand by for Act:3!!!!
- Joined
- Apr 28, 2014
- Messages
- 3,590
Hold on, I thought you went down the 3D-Printer rabbit hole. What this shop fab about?Act: 2
after completing the t-nut,
....trimmed
so far the assembly is coming together very nicely!
Coming to a computer screen near you soon, Stand by for Act:3!!!!
- Looks good.
- Joined
- Jan 2, 2014
- Messages
- 8,852
Hold on, I thought you went down the 3D-Printer rabbit hole. What this shop fab about?
Go ask Alice when she's ten feet tall.
-brino
- Joined
- Feb 2, 2013
- Messages
- 3,627
Act:3
since i got the t-nut, and mast squared away, i started work on the articulating clamps.
I offset drilled to 1/4", and parted, a piece of 40mm diameter x 50 mm length bronze for use as the clamps.
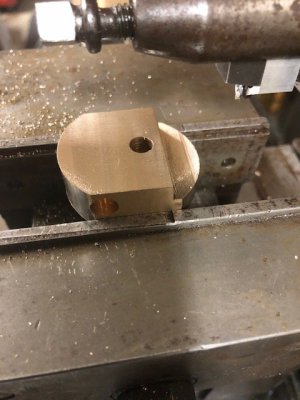
then i mounted the billet in the vise of the Ammco shaper and whacked some off the side
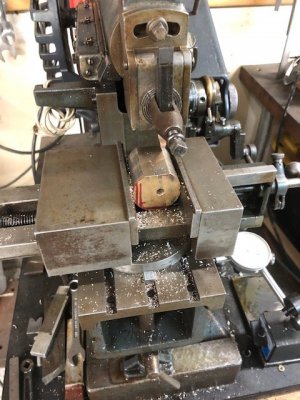
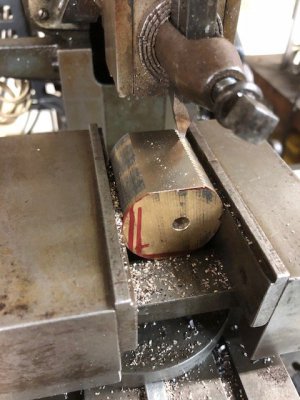
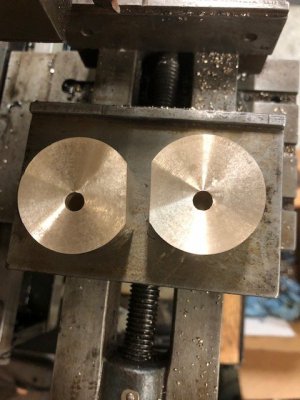
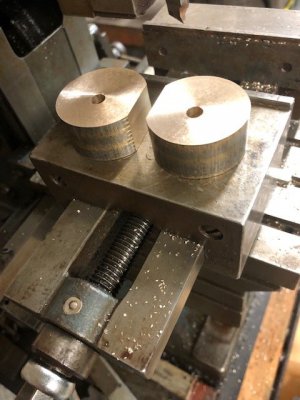
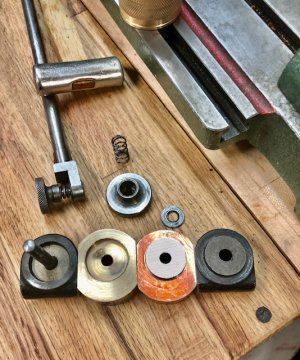
i mounted the first half of the clamp for the lathe operations
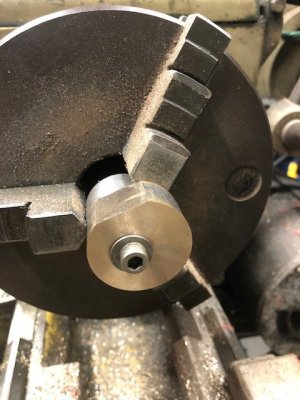
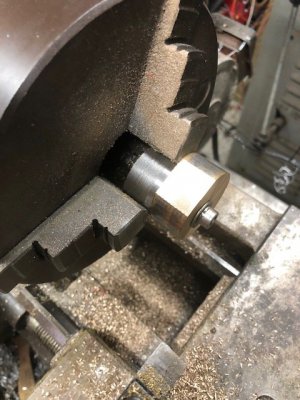
i started turning the central projection
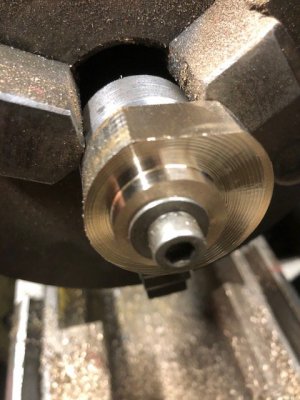
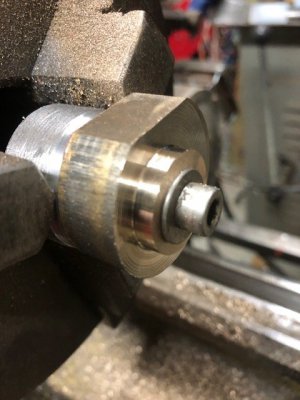
with the projection complete, a socket will be created in the adjacent clamp half.
utilizing a locktite'd 1/4" axle, i was able to start work on the socket, being careful to match intended faces
i drilled and pecked with facing tools to rough out the socket
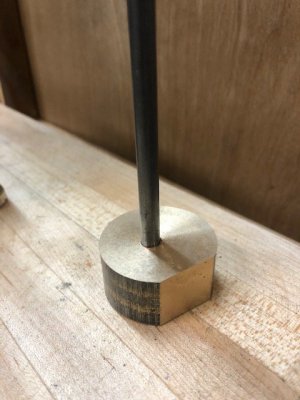
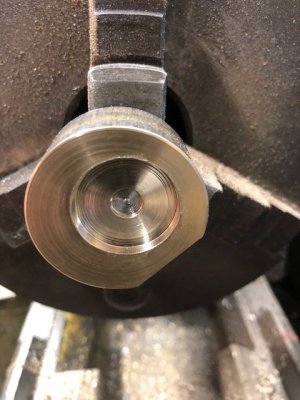
with the socket roughed out,
ACT:3 ends.
fear not, Act:4
shal cometh before the dawn
since i got the t-nut, and mast squared away, i started work on the articulating clamps.
I offset drilled to 1/4", and parted, a piece of 40mm diameter x 50 mm length bronze for use as the clamps.
then i mounted the billet in the vise of the Ammco shaper and whacked some off the side


i mounted the first half of the clamp for the lathe operations


i started turning the central projection


with the projection complete, a socket will be created in the adjacent clamp half.
utilizing a locktite'd 1/4" axle, i was able to start work on the socket, being careful to match intended faces
i drilled and pecked with facing tools to rough out the socket


with the socket roughed out,
ACT:3 ends.
fear not, Act:4
shal cometh before the dawn
- Joined
- Feb 2, 2013
- Messages
- 3,627
ACT:4
Since the roughing was completed in the lathe, it was time to move back to the Ammco 7" shaper.
I was toying around on a piece of 1.5" delrin on a 3" rotary table attached to the shaper's box.
i was able to start making a hexagonal piece.
this was merely a test to see if the rotary table could take the forces of the shaper.
while not ideal, it functioned
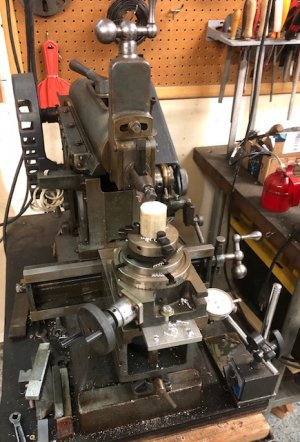
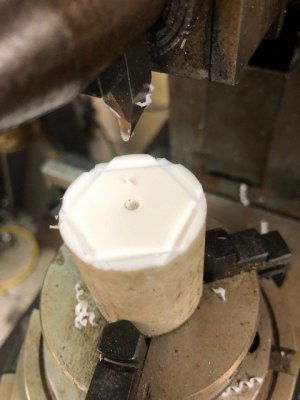
i used the shaper pallet i made a couple years ago, you can see it here:

 www.hobby-machinist.com
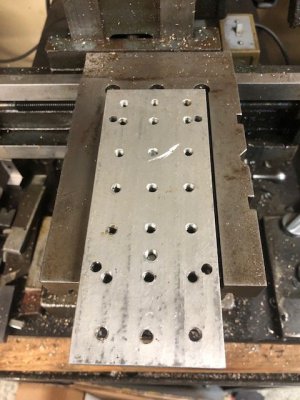
i had to drill an extra mounting hole in the pallet for mounting purposes.
(i usually hold the pallet in the vise, but didn't have the headspace to do so on this phase)
i mounted one half of the articulation joint i was creating on the rotary table and took some test cuts!
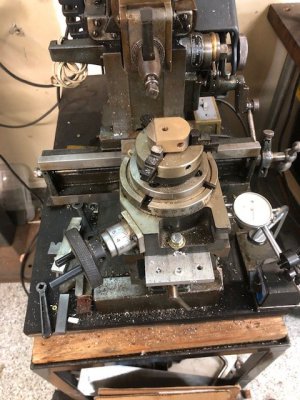
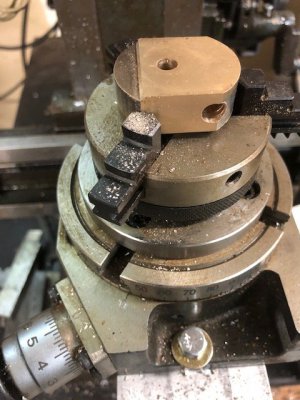
i found out i could only take light cuts when the part was oriented in this way.
the chuck started to loosen if i put any real pressure on the cut , (hence the blemish seen below)
so i turned the part 180° to prevent the problem.
as i started to shape the billet, i raised the part on a sheetmetal shim so i didn't run into the rotary table jaws.
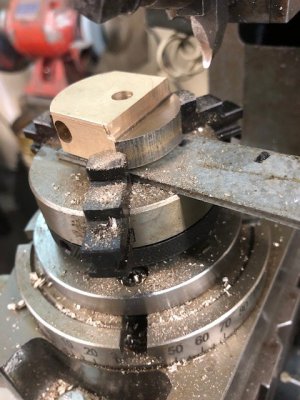
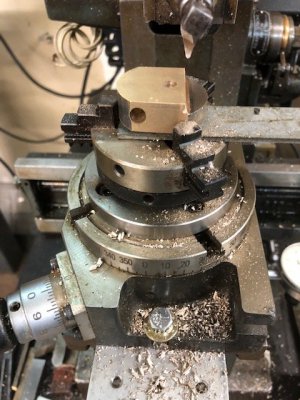
i changed to an insert finishing tool and made more progress, shaving off .005" per cut, then switched to a round-over tool to make the corner smooth
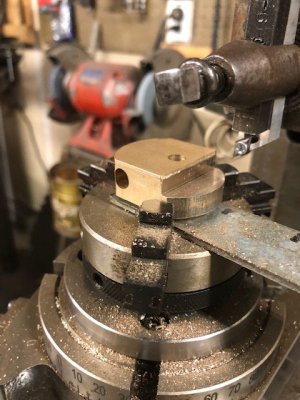
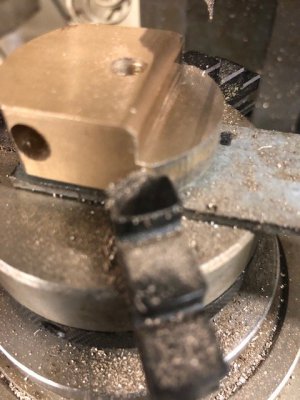
i switched the rotary table out and switched back to the finishing tool.
i mounted the articulation half again in the vise and took some finishing cuts!
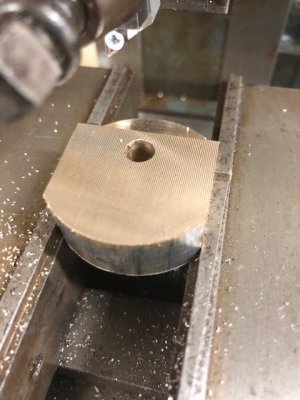
more to come.....
Since the roughing was completed in the lathe, it was time to move back to the Ammco 7" shaper.
I was toying around on a piece of 1.5" delrin on a 3" rotary table attached to the shaper's box.
i was able to start making a hexagonal piece.
this was merely a test to see if the rotary table could take the forces of the shaper.
while not ideal, it functioned


i used the shaper pallet i made a couple years ago, you can see it here:

Metal Shaper Clamping Pallet: Reclaimed Aluminum
I reclaimed some aluminum from a casting from a Hobart Meat Saw. the part is considered consumable by the manufacturer, so i get about 6 or 7 of these castings a year on average i have used the aluminum for all kinds of beating devices and press plates and spacers. this time a clamping pallet...
 www.hobby-machinist.com

i had to drill an extra mounting hole in the pallet for mounting purposes.
(i usually hold the pallet in the vise, but didn't have the headspace to do so on this phase)
i mounted one half of the articulation joint i was creating on the rotary table and took some test cuts!


i found out i could only take light cuts when the part was oriented in this way.
the chuck started to loosen if i put any real pressure on the cut
 , (hence the blemish seen below)
so i turned the part 180° to prevent the problem.
as i started to shape the billet, i raised the part on a sheetmetal shim so i didn't run into the rotary table jaws.


i changed to an insert finishing tool and made more progress, shaving off .005" per cut, then switched to a round-over tool to make the corner smooth


i switched the rotary table out and switched back to the finishing tool.
i mounted the articulation half again in the vise and took some finishing cuts!

more to come.....
- Joined
- Feb 2, 2013
- Messages
- 3,627


