- Joined
- Sep 22, 2019
- Messages
- 942

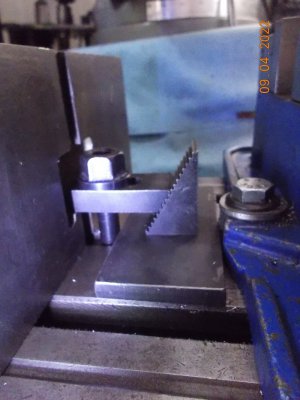
yes, it's acceptable.Is this the proper way to secure the base of an RT to the mill table?
Looks about the only way to me.
Hope to figure out a way to cut a radius on corners of some flat parts.
Can you expound on this?Most common way is to dial in the center hole, He does the RT spinning on the arbor. I tried it and he is right.
Does that mean the if the centre hole was trammed it would be a couple of thousandths out to the RT bearing?I was afraid you would ask that. Luckily he does it quite often. He did a whole video on the setup and how he does it, but I can't find it. It takes into acount slop in the RT. Here is a snapshot of the setup in a current video. Go to about 11 minutes to see a quick view. About 10 seconds. Unfortunately he is using a very old General mag base that is no longer available. I am making an adapter to bolt into the tee slot and hold a dedicated DTI to the spindle. By raising the spindle up, I can use it on the end mill. It does make a difference by a couple of thousands.
Thanks Chewy.It has been .001-.0015 off when I did it. In most cases it doesn't mean anything, but I do it to get better results. Allows me more wiggle room to have something else out a little bit and still hit my target. Do a couple of trial runs and see if it is worth it. I consistently end up with better then .002 tolerances on my work. That allows for better fitting and match ups. In production runs, tighter tolerances means higher cost. I'm not in production and doing extra steps like this only take about 5 minutes. And it is practice for the times you need to hit 1/2 thous precision. When I finish the adapter, it won't even take 5 minutes.