Sanding 304 Stainless

That finish looks beautiful. Glad you got it figured out!
 
I was pretty good about working on this project during my work week. Now it is the weekend & I will be able to spend at least 8 hours/day sanding stainless.

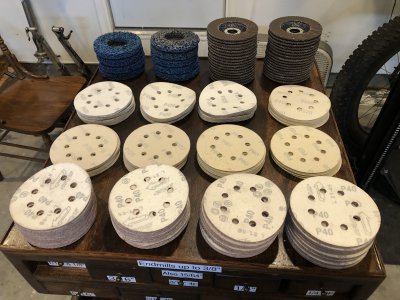
My brother paid for all of these. A lot of the abrasives that he bought are not shown, but it has gone above $300. There will be leftover abrasives (only flap discs & poly strip discs); I will be able to make use of the leftovers for my fun projects.

BD58304E-8F71-4BBC-AD14-A2B738B3AF0D.jpeg

I will post pictures of the (hopefully) interesting steps.

Although I am being paid for this job, I would much rather be (practice) stick welding on plate or pipe.

With the $1000 I got paid for drilling the holes, I spent $675 on Aloris tool holders, inserts & a parting insert holder, & $325 to pay down debt.

I might make about $600 (hopefully more) for all of this sanding, and I look forward to buying an extra acetylene cylinder (I only have one!), as well as a third oxygen cylinder, and an affordable dual cylinder cart. I do all of my mild steel cutting with an O/A torch because I have no money or space for a bandsaw, plasma cutter or cold saw.
 
Last edited:
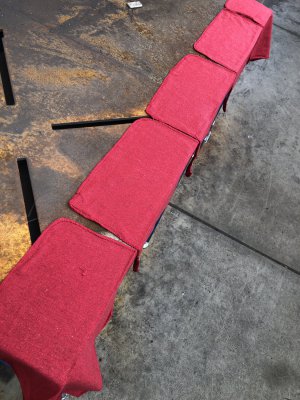
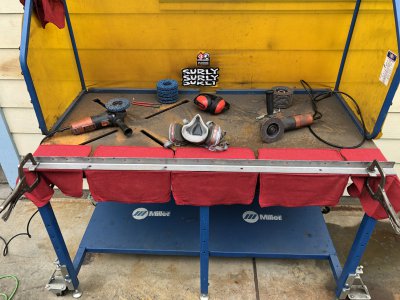
I put some rags down to protect the stainless from being contaminated/impregnated with any iron or iron oxide from the welding table. I didn’t have any wood to use.

9665D435-0A00-490A-B549-653CFEC00AC0.jpeg

86EA02F2-6B24-4A6F-A4F6-D639723C8F17.jpeg
 
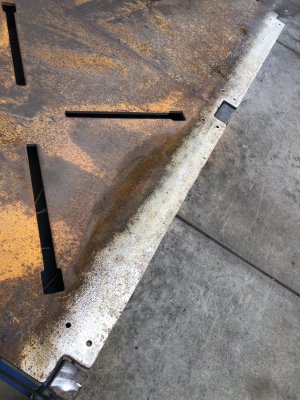
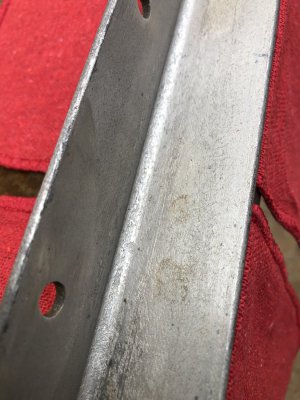
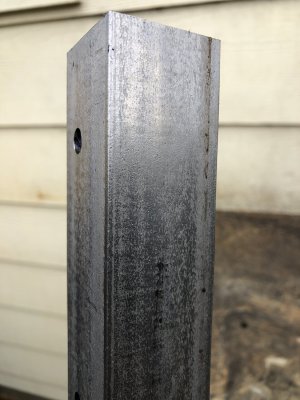
Here are pictures of the material wiped down with a dry cloth:

D334048D-21D4-4BB7-922C-89385B51CE73.jpeg

6BF37318-0949-4270-8605-828440DB8D85.jpeg
 
The material gets very hot after I work on it, so I need 2 work stations.

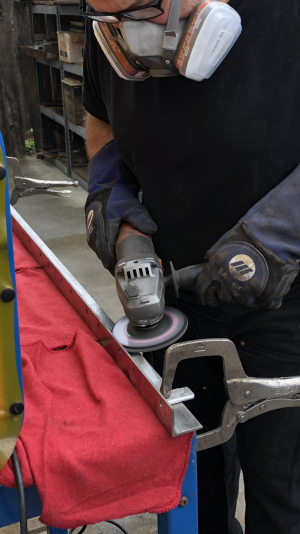
Here is the poly strip and flap disc workstation.

0C664E81-E274-480B-B7A6-C4903333FD68.jpeg

I start with the 40 (32?) grit blue poly-strip disc, & remove all that this abrasive is able to remove.

The 180 grit flap disc is the real hero of this story, as it gets rid of what I call the moonscape. Using the flap disc, I really need to try to keep the material as flat as possible.

The next step is a 50 grit belt on a 3/4 HP belt sander, & anywhere that is not flat is quickly seen. Any lack of flatness is problematic.

If you are thinking that I should use the belt sander to remove the moonscape, I tried and that definitely ain’t happenin’!
 
Order the Edge Lube I posted, you don’t know what you’re missing! Longer abrasive life and cooler parts.
 
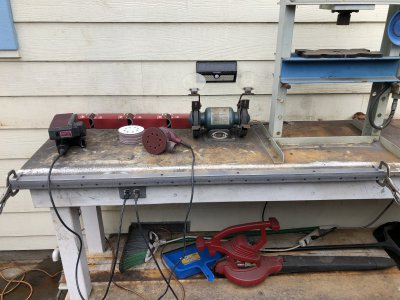
Here is the belt sander & orbital sander work station.

The best thing to do is use a 50 grit belt to get the whole thing flat after the “flap disc/moonscape removal” step. I do this for the inside of the angle.

However, I do not have enough 50 grit belts on hand, so I have to use the (weak sauce!) orbital sander with 40 grit on the outside of the angle.

2C294858-DF11-4A74-B7DC-311695008EA7.jpeg

Unfortunately, the hydraulic press is a little in the way, so I have to move the material down when I use the belt over there.
 
Order the Edge Lube I posted, you don’t know what you’re missing! Longer abrasive life and cooler parts.

I ordered it! The reason that I didn’t order it before is because at some point my brother is going to get irritated with me for spending so much money on this project.

C066B479-BA57-4829-BAD8-73AED9206F83.jpeg
 
Last edited:
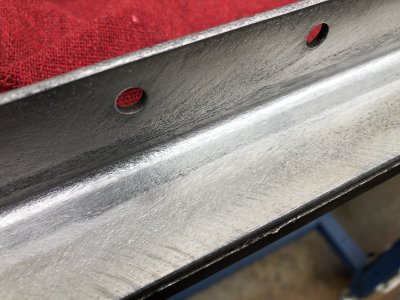
This is what it looks like after the poly-strip disc:

23A873F9-EA9F-414A-BE8B-85D047B570DA.jpeg

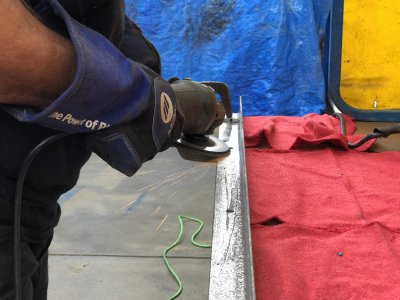
Here I am using a flap disc:

44872607-778C-4176-936D-3CC339CD7819.jpeg

42B9EA4E-6E69-4C03-BB37-47F141368198.png

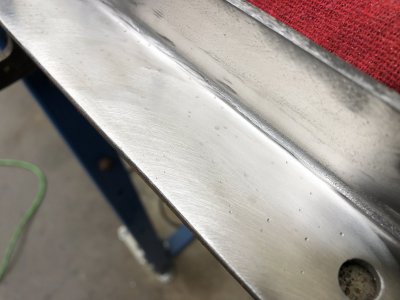
*The bottom* is what it looks like after the flap disc. It is sprinkling outside, so there are some water droplets on there.

73CA84B7-9B89-43FE-B39A-24965F5D1BBA.jpeg
 
Back
Top