SB Heavy 10 (10L) Rebuild - Model CL8187ZN

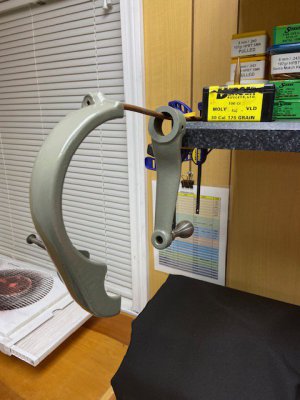
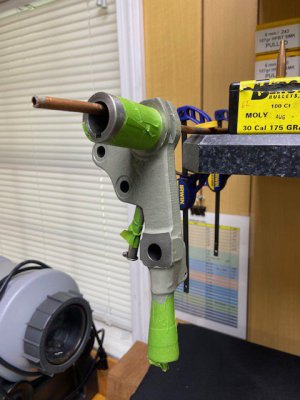
Getting ready for the drive...
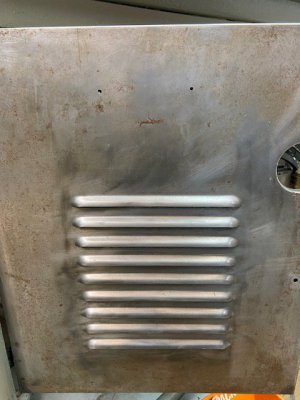
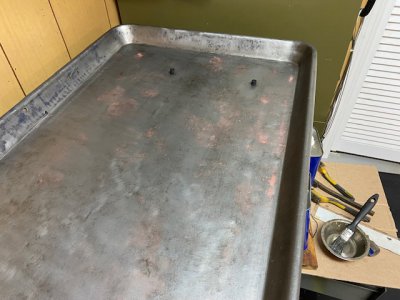
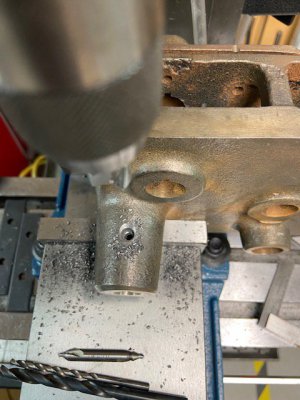
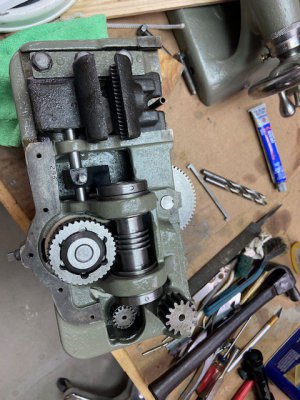
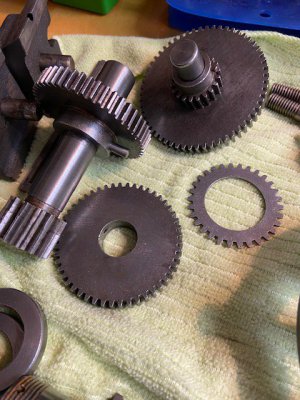
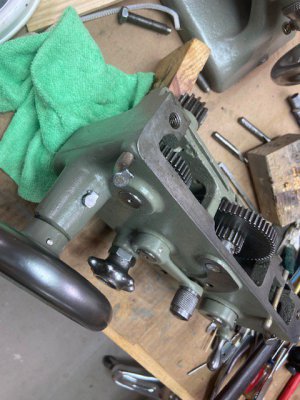
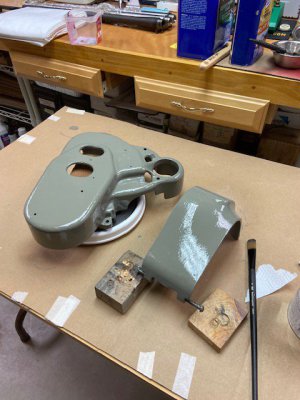
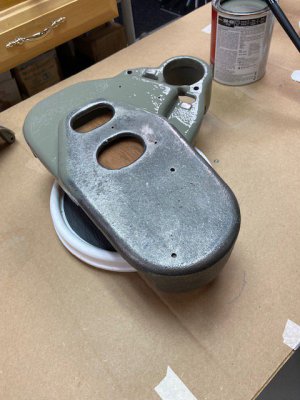
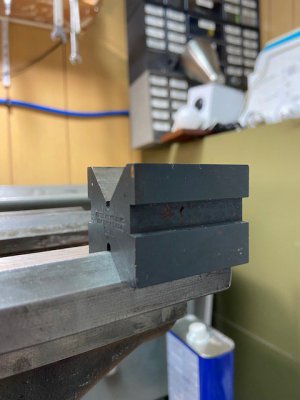
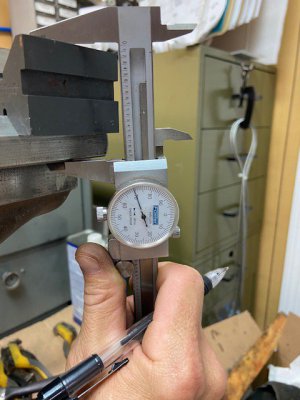
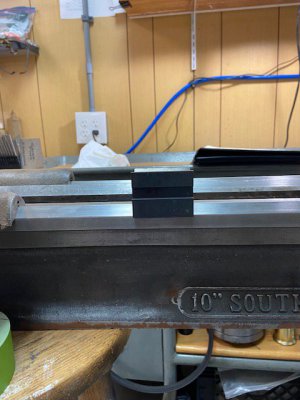
I spent a lot of time trying to "map" the bed rails so I had a base set of dimensions to go by in determining how thick a shim would need to be made for the gearbox, lead screw bearing support and rack gear. I did not want to use Moglice or Turcite. This turned out to be very important and saved me a lot of time. I used simple V blocks and measured to the underside of the rail. It gave me a baseline that ended up being incredibly close. I used a gauge pin that wass snug in the wiper screw hole on the saddle to get an idea of what that heights was and could compare it to when I got the saddle back. All these measurements when used in conjunction with the numbers from planing - I was within 1-2thou. of what the shim needed to be.
 

Attachments

  • IMG_0506.jpg
    IMG_0506.jpg
    62.4 KB · Views: 14
  • IMG_0508.jpg
    IMG_0508.jpg
    47.2 KB · Views: 14
  • IMG_0509.jpg
    IMG_0509.jpg
    62 KB · Views: 14
  • IMG_0510.jpg
    IMG_0510.jpg
    61.6 KB · Views: 14
  • IMG_0513.jpg
    IMG_0513.jpg
    92.3 KB · Views: 15
  • IMG_0514.jpg
    IMG_0514.jpg
    61.4 KB · Views: 17
Last edited:
I'm wondering how much of your lathe is really original. The tailstock is not. I also do not believe that bronze bearings were available on any machine made during the war, but instead the spindles ran on segmented CI bearings. This makes me think that your headstock is also not original.
I appreciate you pointing out what I observed.
My 1941 13” SB was war productio. It had two shift levers and the spindle bearings were cast iron, no brass!!
This one has the early gear box with later spindle bearings.
The project looks like a lot of fun.
 
After the HS - came the apron. Prior to starting this - I focused hard on striping the bed, saddle, cross slide & TS base. These parts were dropped off with Rees Acheson for him to plane and scrape. He is an absolute gem of a man. Pleasure to work with and is just overflowing with knowledge and experience. Below are some pics of these components in prep and getting ready for the trip. I found during this process that there were 5 layers of paint on the bed. Crazy. Striping the bed was a lot of work - the only thing worse was the bench/cabinet.
You are one of the very few that “rebuild” their machines properly. Love it!!
Most of the threads show a clean up and paint job on a 70 year old machine???
I’m one of your biggest fans!!
 
Threads like this are a pleasure to read.

My first lathe was a worn out SB 9". Sold it when moving across the country. More recently, when looking for a machine, there was a local guy with a 10L that was half way rebuilt. He had the bed ground/scraped, new drive system, but never got everything put back together. Problem was, he wanted over $2k for that mess. Reading this thread makes me want to see if he still has it (and has come down to earth on his price expectations).

Anyway, keep going! Looks like a really fun project!
 
While the bed, saddle & cross slide etc were at Rees' shop - I turned my focus on two more areas - the dreaded cabinet and the apron. The cabinet wasn't as bad as I thought it would be. Fairly easy to strip / prime and repaint. I used bondo & glaze to fill the dents & deep scratches before priming. The top drawer was fairly beat up and needed a bit more TLC. The drawer latches/locks were rebuilt and rekeyed. As a side note - all the painting done on the entire rebuild was with a brush - it was just less complicated and far easier than masking and spraying.
 

Attachments

  • IMG_0614.jpg
    IMG_0614.jpg
    91.6 KB · Views: 10
  • IMG_0613.jpg
    IMG_0613.jpg
    64.3 KB · Views: 10
  • IMG_0589.jpg
    IMG_0589.jpg
    79.9 KB · Views: 9
  • IMG_0588.jpg
    IMG_0588.jpg
    70.1 KB · Views: 9
  • IMG_0587.jpg
    IMG_0587.jpg
    102.3 KB · Views: 9
  • IMG_0586.jpg
    IMG_0586.jpg
    88.2 KB · Views: 9
Cabinet turned out pretty decent - I could have gone more in depth, but it would have been purely aesthetic. I was really after clean, straight & functional. All the drawer slides were cleaned, straightened, lubed and reassembled. Finished cabinet below....
New gaskets were cut from Fel-Pro Karropak sheets. The tailstock base originally had two 1" dia. gaskets underneath - didn't seem right to not support the entire base - so it got one big one. LOL All the badging was refinished - some were upgraded to brass vs the stamped steel plates. I wasn't going after an exact period correct restoration, but a solid good looking rebuild that ran right.
 

Attachments

  • IMG_0638.jpg
    IMG_0638.jpg
    95.9 KB · Views: 8
  • IMG_0612.jpg
    IMG_0612.jpg
    62.5 KB · Views: 8
The apron was dirty and needed some serious cleaning. There wasn''t a lot of swarf inside - just a lot of dirt / old lube / gunk etc. Inspection of the parts revealed that the worm gear had some significant wear (top one in the pic). However, the half nuts were in great shape. I was able to source a NOS worm gear, bushings pins & collars from SB Ted. The star knob clutch was rebuilt, NOS retention screw was added to replace the missing one. The one part I wanted to replace was the rack pinion gear - but I could never find one. Some day...

Edited to add: Didn’t mention the lead screw. It was in superb condition. Pic below
 

Attachments

  • IMG_0535.jpg
    IMG_0535.jpg
    84.2 KB · Views: 16
  • IMG_0533.jpg
    IMG_0533.jpg
    101.3 KB · Views: 14
  • IMG_0521.jpg
    IMG_0521.jpg
    144.5 KB · Views: 13
  • IMG_0520.jpg
    IMG_0520.jpg
    119.2 KB · Views: 12
  • IMG_0519.jpg
    IMG_0519.jpg
    122.2 KB · Views: 12
  • IMG_0518.jpg
    IMG_0518.jpg
    134 KB · Views: 12
  • IMG_0484.jpg
    IMG_0484.jpg
    105.2 KB · Views: 12
  • 71707817469__B7CD4C8C-5857-4F8D-8106-A8A394A5088D.jpg
    71707817469__B7CD4C8C-5857-4F8D-8106-A8A394A5088D.jpg
    78.3 KB · Views: 16
  • 71702530242__2F65859B-FB3A-4DB5-AD74-5B53E2CD67BA.jpeg
    71702530242__2F65859B-FB3A-4DB5-AD74-5B53E2CD67BA.jpeg
    184.9 KB · Views: 7
Last edited:
The apron was thoroughly cleaned (as were every part & assembly on the entire machine - every part went through a soak in Puple power / then a parts washer scrub, degreasing, drying and prime/paint. Small stuff additionally went through an ultrasonic cleaner too. The apron got new oil felts/wicks, gasket/sealer and I added the Gits oiler to the hand wheel shaft casting. Everything was painted inside and out - I learned a long time ago in building race engines that internal painted surfaces aid in oil flow and cleaning - so it got painted right or wrong. Additionally the Gits oil tube on the upper left was missing - this was sourced and installed.
Note in one pic, the TS clamp had an obvious repair - cracked in half & welded. That was replaced with a NOS item.
 

Attachments

  • IMG_0543.jpg
    IMG_0543.jpg
    126 KB · Views: 15
  • IMG_0542.jpg
    IMG_0542.jpg
    109 KB · Views: 13
  • IMG_0541.jpg
    IMG_0541.jpg
    97.5 KB · Views: 12
  • IMG_0540.jpg
    IMG_0540.jpg
    79.6 KB · Views: 11
  • IMG_0538.jpg
    IMG_0538.jpg
    88.2 KB · Views: 11
  • IMG_0537.jpg
    IMG_0537.jpg
    72.5 KB · Views: 11
  • IMG_0560.jpg
    IMG_0560.jpg
    97.4 KB · Views: 11
  • IMG_0559.jpg
    IMG_0559.jpg
    102.1 KB · Views: 12
  • IMG_0558.jpg
    IMG_0558.jpg
    98.8 KB · Views: 11
  • IMG_0557.jpg
    IMG_0557.jpg
    85.9 KB · Views: 11
  • IMG_0556.jpg
    IMG_0556.jpg
    90.1 KB · Views: 11
  • IMG_0545.jpg
    IMG_0545.jpg
    67.6 KB · Views: 11
  • IMG_0544.jpg
    IMG_0544.jpg
    90.5 KB · Views: 10
  • IMG_0561.jpg
    IMG_0561.jpg
    76.9 KB · Views: 16
Last edited:
While some parts were soaking or had paint drying, others were being stripped & clean and also painted - this really was an exercise in multi-tasking. Once parts had dried for a week - they had either refinished or repro data plates installed as required. As mentioned before - new drive screw for all those. A micrometer saddle stop was rebuilt. Any metal to metal assembly (no paint) was treated with Boeshield T9 - prevents any oxidation and basically seals the pores. Definitely aids in future disassembly. Bare handwheel surfaces or knobs were polished to a decent shine - no mirror handles. The cover hinge screws & jamb nuts were all replaced w/ SS pieces. Rubber bumpers and neoprene washers were used on the small access cover screws to reduce any rattle or hum.
 

Attachments

  • IMG_0227.jpg
    IMG_0227.jpg
    67.5 KB · Views: 10
  • IMG_0226.jpg
    IMG_0226.jpg
    74.6 KB · Views: 9
  • IMG_0225.jpg
    IMG_0225.jpg
    64 KB · Views: 8
  • IMG_0224.jpg
    IMG_0224.jpg
    72.9 KB · Views: 9
  • IMG_0223.jpg
    IMG_0223.jpg
    63.6 KB · Views: 8
  • IMG_0458.jpg
    IMG_0458.jpg
    59.3 KB · Views: 7
  • IMG_0457.jpg
    IMG_0457.jpg
    69.2 KB · Views: 7
  • IMG_0456.jpg
    IMG_0456.jpg
    146.7 KB · Views: 7
  • IMG_0451.jpg
    IMG_0451.jpg
    74 KB · Views: 7
  • IMG_0450.jpg
    IMG_0450.jpg
    77.6 KB · Views: 7
  • IMG_0228.jpg
    IMG_0228.jpg
    58.4 KB · Views: 7
  • IMG_0482.jpg
    IMG_0482.jpg
    90.3 KB · Views: 10
  • IMG_0637.jpg
    IMG_0637.jpg
    84.2 KB · Views: 11
Last edited:
Back
Top