Shape-rite 8" shaper

orjo

Active User
Registered
Joined
Jan 29, 2014
Messages
64
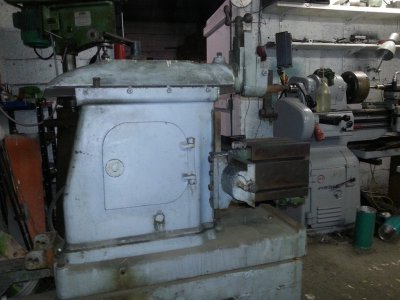
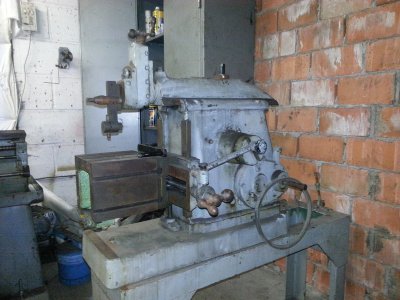
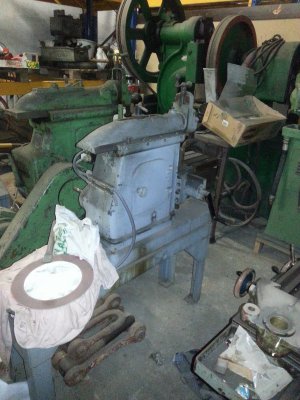
Earlier this year I bought me a shaper. At first I did know what brand it was but after some intensive search on the net I discovered that is was a Shape-rite 8”.
2015-01-10 09.56.55.jpg2015-01-10 16.51.26.jpg2015-01-10 16.51.42.jpg


As you can see there are some parts missing, the motor for instance and a plate behind the arm, and the drive pulleys


On the net I found an engine ¾ hors power 380 volt 3 phase for 20 Eur ( 25$) The same guy had a step pulley which I could use and has about the same measurements as on the pictures I found on the net. The hole however is to large for the axle so I need to make a bushing for it.


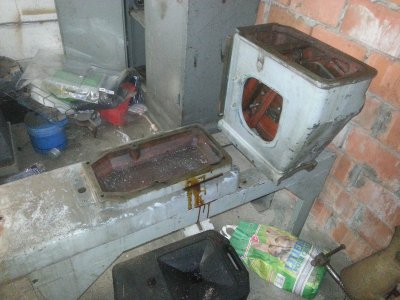
Today I've taken everything apart except a few axles which will be removed at a later day.
2015-02-08 15.34.16.jpg2015-02-08 15.34.23.jpg


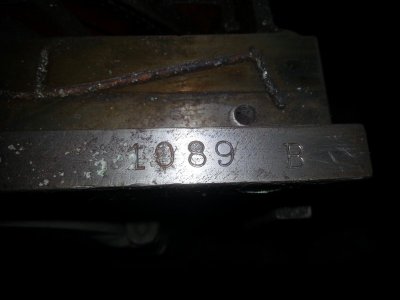
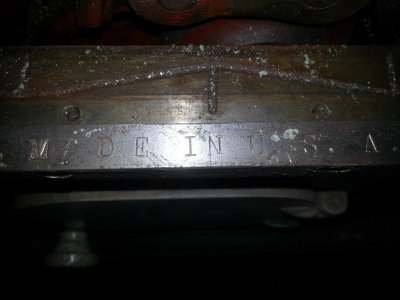
Buy cleaning some of the ways I discovered the following markings “ Made in U.S.A 1089 B”
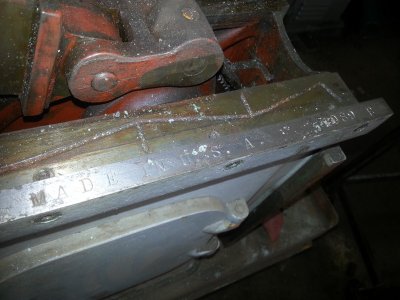
2015-02-08 14.22.05.jpg2015-02-08 14.22.49.jpg2015-02-08 14.22.56.jpg


This is my new project for the next few weeks.

2015-01-10 09.56.55.jpg 2015-02-08 15.34.16.jpg 2015-02-08 15.34.23.jpg 2015-02-08 14.22.05.jpg 2015-02-08 14.22.49.jpg 2015-02-08 14.22.56.jpg 2015-01-10 16.51.26.jpg 2015-01-10 16.51.42.jpg
 
:thumbsup2:
Really cool shaper!!!
I look forward to seeing your project progress!

i want a shaper, i don't need one, but i still want one :nuts:

mike:nuts:
 
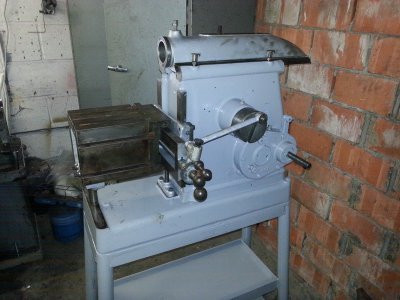
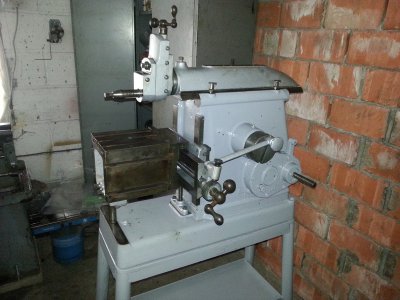
This weekend I did some work on the shaper.
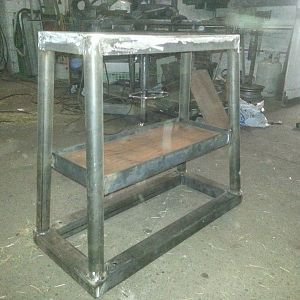
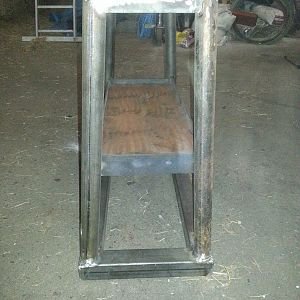
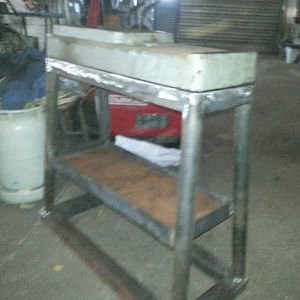
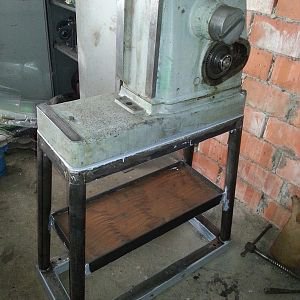
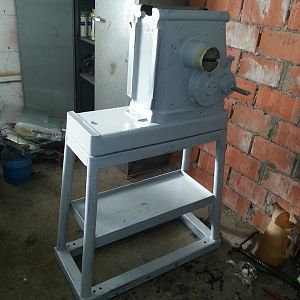
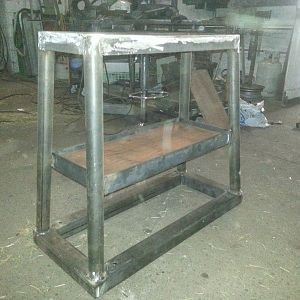
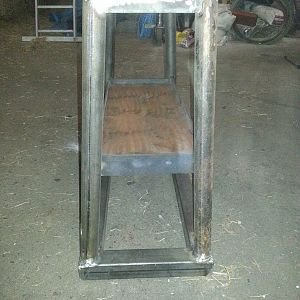
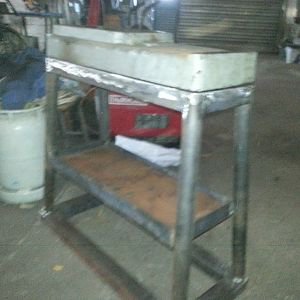
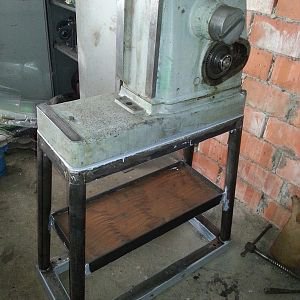
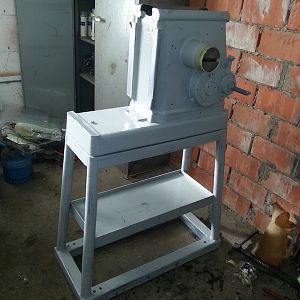
I first made a new stand for it from some metal i had laying around.
52916-fc06a213b9e7b99ce4ac57314e476584.jpg
52915-86a7da4037cddd2253254299574cd158.jpg
52917-eca00abecacfe005d09ad4bf3ac5c28a.jpg
Next I cleaned The base of the shaper. The dear inside was not disassembled because it was in good shape.
The gearbox was cleaned and mounted again using the old gasket and some gasket-sealer.
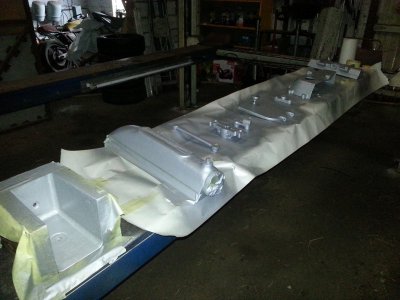
Next I cleaned the outside with a good degreaser taped the parts that not need to be painted and painted everything in a light gray Hammerite paint.
It will need a second coat but that would probably go on tomorrow.
52918-4f9fb2407596dedfa1f63c40ac467aa7.jpg
52919-5c23ef32011f544a2074e8a0b719612d.jpg

Next weekend I will post my progress.

52916-fc06a213b9e7b99ce4ac57314e476584.jpg

52915-86a7da4037cddd2253254299574cd158.jpg

52917-eca00abecacfe005d09ad4bf3ac5c28a.jpg

52918-4f9fb2407596dedfa1f63c40ac467aa7.jpg

52919-5c23ef32011f544a2074e8a0b719612d.jpg
 
I have one of these, I'm on hiatus scraping it's ram. People who are used to a 7 inch Aamco or SB7 or Atlas have no idea how massive these are, the helical gearing all through, the bull gear is 1 1/4" wide, this is more of an industrial machine that makes the others seem like toys by comparison. I have 4 shapers, a SB7, a Logan, a casting kit that I haven't started, and the Havir Shape-Rite.
I'm curious, what did you not like about the original base?
partsproduction
 
The base that came with the machine was a construction that did not give enough stability to the machine and it was to low for me.
 
I've being busy again this weekend.
First I cleaned different parts of the shaper mostly surface rust and old grease and oil.
Then the parts are taped and painted with a spraying can. This is faster then apply the paint with a brush.
The next day when the paint was dry I started to mount as many parts as possible.
Finally everything was mounted again. The parts that came of during assembly I oiled the ways and moving parts.

So now its time to make some parts that are missing.
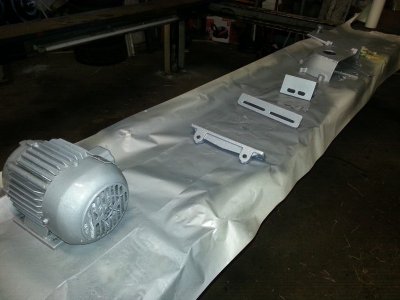
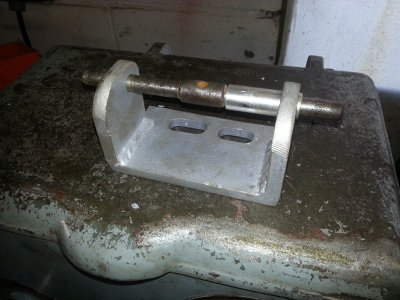
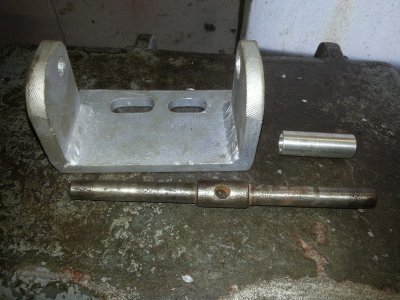
First I've cleaned the engine and the plate it was mounted on. They will be used again. The bracket that was on the machine where the engine needs to be bolted to was altered. I slotted the mounting holes with my mill. I want to be able to move the bracket around a little when aligning the engine and pulleys.
Al these parts are painted now and the weekend came to an end.

We will continue next week.2015-02-20 15.27.51.jpg 2015-02-21 16.51.40.jpg 2015-02-22 14.03.30.jpg 2015-02-22 16.55.16.jpg
 
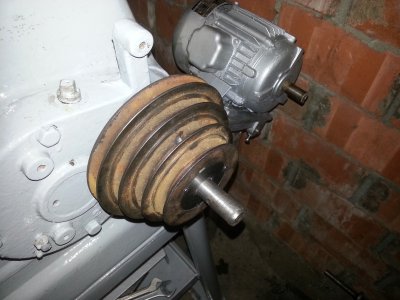
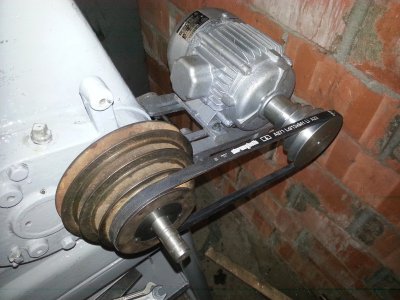
This week I finally got the pulleys and motor installed.
Here is what I did.
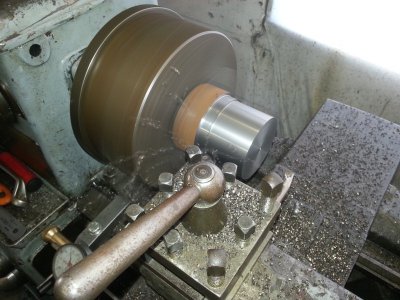
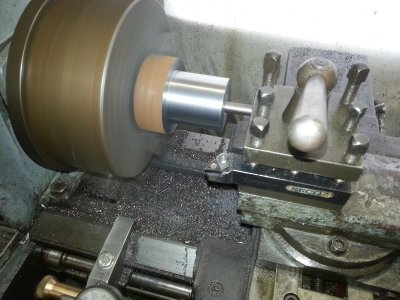
I first made the bracket complete this means that I had to turn a small bushing in order to get the axle mounted in the bracket. Th axle as a thicker part in the middle which has to go trough the hole of the bracket.
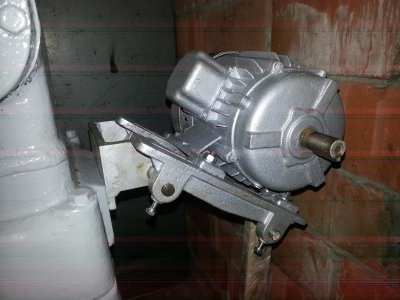
Next I mounted the engine to the original cradle for the engine and mounted it with the bracket to the shaper.
On-site I mounted the engine so that it aligns withe the axle of the gearbox.

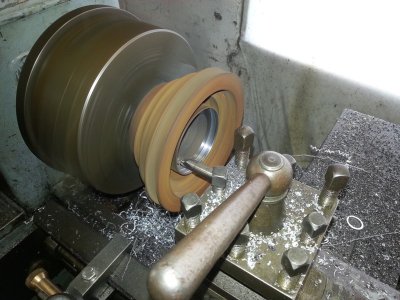
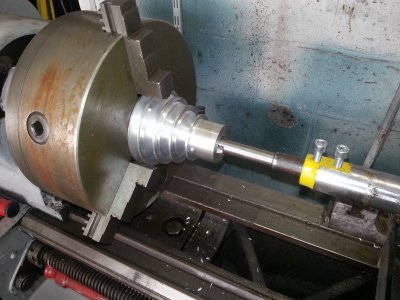
Then we started on the pulley that was bought together with the engine. The back was cut back so it would fit deeper over the transmission axle. Next we mad a bushing that has a press fit in the pulley and secured it with 3 small screws.
A hole was drilled and threated with M8 for a press vise to block the pulley on the axle.

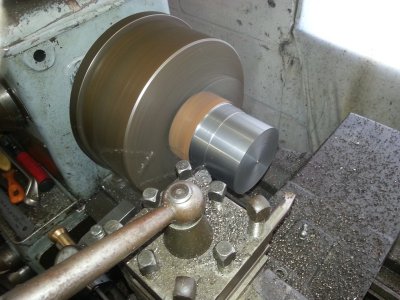
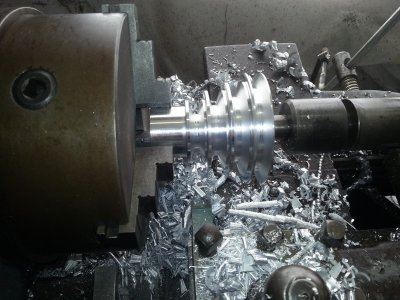
Now I was able to measure the alignment with the motor, calculate the needed pulley and turned it from a block of aluminum. The v-grooves where cut and a key-way was cut in the hole for mounting on the axle of the motor.
If you look closely you can see that the hole in the pulley is not drilled completely through.
That was done to give it more beef to get more weight on the engine to tension the belt.
In order to cut the key-way in a blind hole I drilled a hole of 6 mm at the end of the axle and cut just to that hole.
2015-03-01 09.54.19.jpg 2015-03-01 09.54.39.jpg 2015-03-01 11.02.54.jpg 2015-03-01 11.17.35.jpg 2015-03-01 11.43.46.jpg 2015-03-01 11.44.55.jpg 2015-03-01 12.31.23.jpg 2015-03-01 13.27.44.jpg 2015-03-01 14.55.09.jpg 2015-03-01 15.31.05.jpg 2015-03-01 16.05.01.jpg
 
Last edited:
:thumbsup2:
Really cool shaper!!!
I look forward to seeing your project progress!

i want a shaper, i don't need one, but i still want one :nuts:

mike:nuts:
Ya don't need one? and once you get one; you won't leave it alone I have spoken !

Watch out I got me a vidio camara = As soon as I can figure the thing out I shall make
you a shaper believer
 
Back
Top