- Joined
- Jan 29, 2014
- Messages
- 64
Today I made some of the missing pieces for my shaper.
First I cut off a piece of metal from a block of 250 x250 x 60 mm with my Power Hacksaw.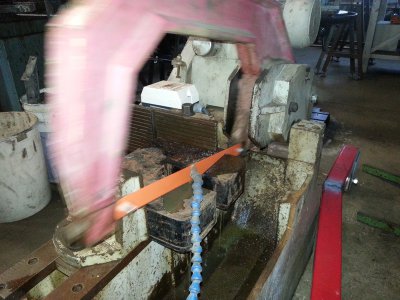
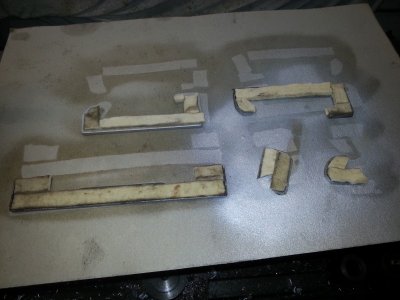
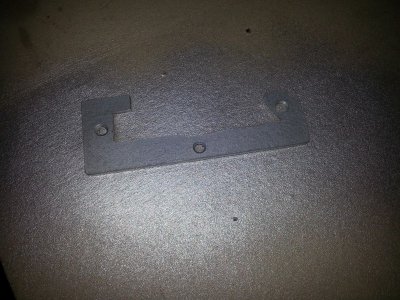
Meanwhile I cut a small cover for the way's from a piece of aluminum milled some recess in it for the felt.
This is the result.
Next I made a hand-wheel for turning the shaper by hand ( it was missing) The wheel itself i had laying around but the hole in it was to big so i turned a bushing pressed it in the wheel Drilled and tapped 2 hole with M5 threads and mounted it on the axle with 2 press-vises. Well I first mounted the pulley cover and then mounted the hand-wheel.
No the block is cut and i started milling it This will become the cover on top of the arm to hold it in position. The original mount is missing. It took me a few hours before the block was square then milled the slot and rounded it with the dividing head.
After that i drilled hole of 17 mm through it. With a bolt mounted in the hole I put it on the lathe and turned the taper.
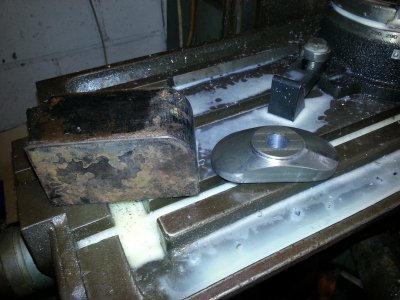
This is the block I used and the end result.
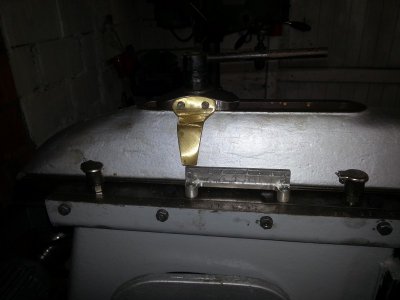
The picture below the clamp is mounted to the arm.
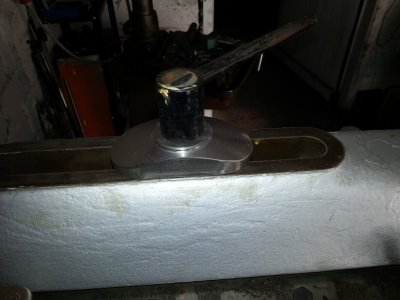
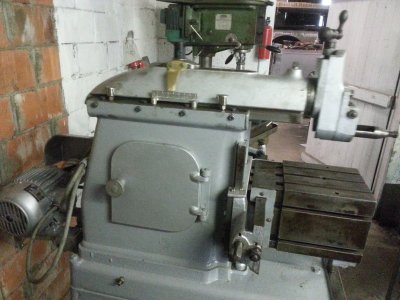
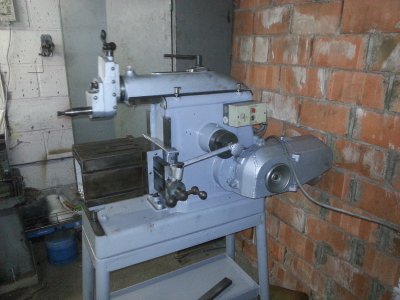
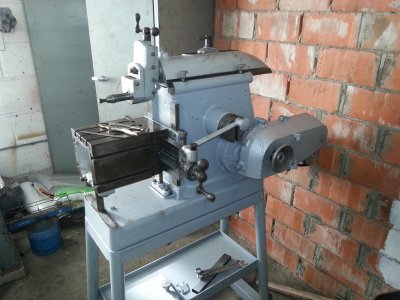
The next picture gives an overall look of the shaper.
Next time i will try to make the dial and the indicator plate for the travel of the arm.
First I cut off a piece of metal from a block of 250 x250 x 60 mm with my Power Hacksaw.

Meanwhile I cut a small cover for the way's from a piece of aluminum milled some recess in it for the felt.
This is the result.

Next I made a hand-wheel for turning the shaper by hand ( it was missing) The wheel itself i had laying around but the hole in it was to big so i turned a bushing pressed it in the wheel Drilled and tapped 2 hole with M5 threads and mounted it on the axle with 2 press-vises. Well I first mounted the pulley cover and then mounted the hand-wheel.
No the block is cut and i started milling it This will become the cover on top of the arm to hold it in position. The original mount is missing. It took me a few hours before the block was square then milled the slot and rounded it with the dividing head.
After that i drilled hole of 17 mm through it. With a bolt mounted in the hole I put it on the lathe and turned the taper.

This is the block I used and the end result.
The picture below the clamp is mounted to the arm.

The next picture gives an overall look of the shaper.

Next time i will try to make the dial and the indicator plate for the travel of the arm.


