Sheetmetal dreams.

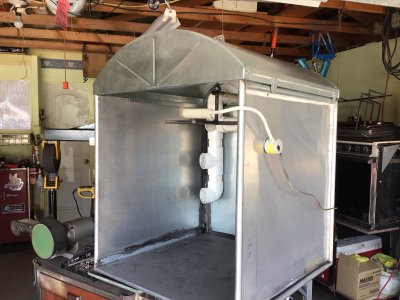
After getting my 3n1 and using it I started to see it’s many faults. But these are the faults many multipurpose machines have. That Jack of all trades and master of none syndrome.

I found out the original 3n1 the Chinese copied was I think Polish and it had all the same faults. One actually came up locally! That blew my mind but it was in a trashed state and they were asking over $500.

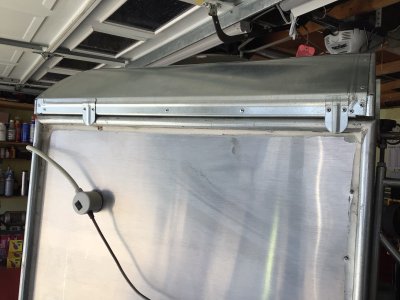
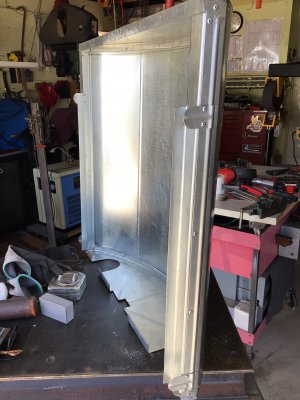
So I held on and found mine unused for $230. It needed everything adjusted and cleaned so I did the minimum instead of complete disassembly. Partially because I have so many disparate projects going on but also I get insight into a machine through use. if I’d had some vid or thread about how to mod and improve the machine I might have been able to just do all the mods that made sense. But most of what I’ve found was folks who either mildly disliked it or hated it. And often with no background, so without reasons I tend to ignore them.

I was hoping to find others who have modded and improved their 3n1’s here on HM but most got rid of theirs and bought “real” standalone shear, brake and slip rolls.

I would love to find others here who have decided the machine was good enough for what they do and their tips and tricks along with mods.
 
Got the skin rivets in and fabbed the Z pieces for the sides and got them riveted in. I also made 4 outside tabs to guide the hood for cleaning. Every run of powder coat I sweep out the inside of the mini booth then vac the whole thing. Including the PVC vac pickup which I unhook and lay down inside the booth and vac all the powder off it. So in order to unhook it I have to pull the hood 5-6” forward. If all that stuff isn’t completely vac’d it ends up setting over time because of exposure to sunlight. Everything slides as it should and next run I’ll find out if I need to make some stops.
 

Attachments

  • 3E9460A5-8B58-43AA-AF9E-D1D6101BB0D4.jpeg
    3E9460A5-8B58-43AA-AF9E-D1D6101BB0D4.jpeg
    1.6 MB · Views: 38
  • BF704164-0976-4DD6-9EF0-93B4F90E5384.jpeg
    BF704164-0976-4DD6-9EF0-93B4F90E5384.jpeg
    1.8 MB · Views: 38
  • 4CD67D45-2023-49C1-8E62-32740FBEEBBE.jpeg
    4CD67D45-2023-49C1-8E62-32740FBEEBBE.jpeg
    1.7 MB · Views: 34
  • 5843D320-BB45-4780-B174-BBC8CF665275.jpeg
    5843D320-BB45-4780-B174-BBC8CF665275.jpeg
    1 MB · Views: 37
Here’s some of the aircraft tools I’ve finally used. My box of different size cleco’s with the two different pliers I got with the set. These 3 are actually bucking bars for doing solid rivets but came in super handy for forming and bumping that the set of HF dollies couldn’t do. The cutouts in the two bucking bars were very handy for straightening sheet over the gaps. The odd shapes were handy too. The last two are for gauging radii. They came in handy for checking the radius when doing the hood skin. That way I didn’t have to keep pulling the skin out of the slip roll to check it on the bulkheads. I could also spot check along the radius as they rolled unevenly because of the beads. One is for concave and one of convex. I don’t know why they didn’t come with thumb screws to lock them in place. Those are on the todo list.
 

Attachments

  • 3667D705-A38C-46DB-8D5F-31FC8462FE3A.jpeg
    3667D705-A38C-46DB-8D5F-31FC8462FE3A.jpeg
    1.8 MB · Views: 27
  • F23340E0-CBBE-49FE-95F3-4503654C2400.jpeg
    F23340E0-CBBE-49FE-95F3-4503654C2400.jpeg
    1.7 MB · Views: 27
  • 033DDE6B-7814-48B9-9BBF-A1A83A5C5FAA.jpeg
    033DDE6B-7814-48B9-9BBF-A1A83A5C5FAA.jpeg
    1.7 MB · Views: 29
Last edited:
Excellent workmanship, you seem to use the bead roller more often, I like the stiffening beads on the tabs., well done.
 
Excellent workmanship, you seem to use the bead roller more often, I like the stiffening beads on the tabs., well done.
Thanks Ken. The beader is truly the tool I’ve come to love. It not only stiffens thin sheet I just love the esthetic. It breaks up the expanse of flat sheet and just adds a nice touch. And for small close stuff like those little tabs it requires not only running through the beader, it also needs some messing with the blade on the arbor press. And some detail work with hammer and dolly. All very satisfying:)
 
Tony, it looks to me like you "Sheet metal dreams" are coming true.

That is work to be proud of!

-brino
 
Tony, it looks to me like you "Sheet metal dreams" are coming true.

That is work to be proud of!

-brino
Thanks Brino. This is actually the first “real” sheetmetal project. There is only one way after getting a clue with vids and that is getting in there and get er done. I’ve been wanting to do this literally since buying a book by Ron Fournier on doing sheetmetal for race cars etc in the late 70’s. Yeah, my pic is in Wikipedia under slow….
 
you seem to use the bead roller more often,
Some of the old guys refer to the beader as a multi process machine like Ron Fournier. When you go through what all the dies can do that becomes clear. Like I can’t think of another machine that can make a rounded flange like the beader. I’ve yet to use them but the are different stepping dies that offset to make basically a flush joint for joining two pieces. It can also be used as a shear with the shearing dies. Not to mention the crazy stuff Lazze and Jere Kirkpatrick do with washers, spacers and urethane rolls to make embossing patterns.

Seeing all the different things you can do with different dies my first thought was I needed a lathe and a ball cutter because buying all those different dies is going to be expensive. My experience is I’m always falling into some crack that I need something that is either too expensive or nobody makes so I have to make it myself. I’m grateful the metal forming community on YouTube has been so generous with their knowledge. Ultimately they would like for you to take their classes but I do what I can to support them by subscribing, liking and buying them a cup of coffee like with Jere.

it’s also a fun learning tool to do stuff like those tabs where I butted up one bead to the other to make a T and to make the tab bead fit tight over the top of the hood bead. That took some work on the arbor press/hockey puck and some hammer and dollie work to flatten and form to get the fit. All that kind of stuff is good practice for future projects.
 
Last edited:
I did a run of powder coat with the new hood and it made a huge difference. The nature of powder coat is a delicate balance because you only need 2-3psi, just enough to stir the powder in the pot to make it effectively like smoke. Too much pressure and it blows the powder off the work and overcomes the electrical attraction. And wind swirling around in the booth blows the “smoke” away from the part and wastes powder and usually makes for too thin of a coating.

I knew it was needed and would help but my shop is more like a shotgun than a laser. It often takes a while to finish the last details and sometimes years to get the full vision and then execute. This had many tools and machines to acquire along with some virtual schooling. It paid off as without everything I would have been very frustrated and made some big pieces of trash.

I‘m on to making a sheetmetal tray mounted on my lathe for holding all my quick change tool holders.
 
Back
Top