Straddle knurler build, no mill required (we hope!)

WobblyHand

H-M Supporter - Diamond Member
H-M Lifetime Diamond Member
Joined
Dec 18, 2019
Messages
6,441
After pestering @mikey about knurling for rank beginners, reading about CamJack knurlers, and devouring other knurler works of art on this fine forum, I've decided to take the plunge and make a knurler for myself. This knurler is based on mikey's straddle knurler project with a little bit of a twist. I'm building it without a milling machine. Hope this thread will be useful for others, especially beginners who haven't built up their shop yet. Just to give you an idea, my shop consists of a 7x16 mini-lathe, a drill press, a 2x48 belt sander, an antique power hacksaw, and an assortment of hand tools. So you won't see much razzle dazzle machining, just some straightforward use what you have improvisation. So with that in mind, let's get started.
 
Good on you!
I’m also going to build one


Sent from my iPhone using Tapatalk
 
This should be fun! A file, judiciously used, can do very precise work. Looking forward to watching this.
 
Ordering material. I'm going to assume that you have already downloaded @mikey's pdf plans and have studied them a little. If you haven't the following might be a little confusing.

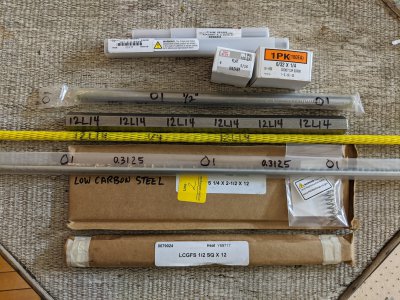
Well, w/o a mill, we have to buy some precision stock. Fortunately, it's not too expensive. The side plates and arms, which mikey milled need to be procured to dimension.

Since the side plates are 2.5 x 2 x 1/4", I ordered some tight tolerance low carbon steel bars, precision ground +/-0.003". McMaster has this in 2.0 and 2.5" widths. I chose the 2.5" width, and 1 foot long because I have non-knurler plans for the left-over piece. I will cut two pieces that are a little over 2" long from both ends. This will yield two pieces that have 5 machined surfaces. We can get away with one surface unmachined. To make the 6th edge sort of nice, the plan is to clamp them together and run that surface against a belt sander to a scribed line. If feeling ambitious some filing will happen.

For the arms, we can use 1/2" x 1/2" tight-tol low carbon steel bars. I ordered a foot, so I'll have 6" leftover. Enough for another knurler maybe? Or a backup for a mistake? Let's think positive, shall we?

The tension rod and tension nut are made from 12L14 stock, in 3/4" hex and 1/4" round respectively. I bought a foot of the hex and 3 feet of the rod.

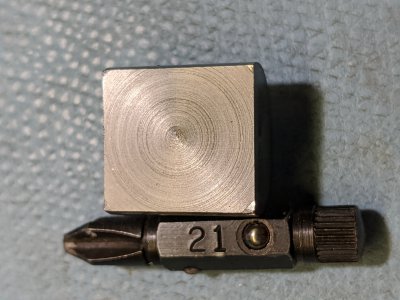
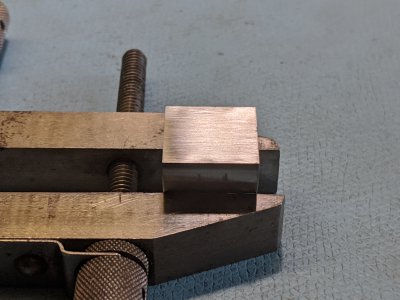
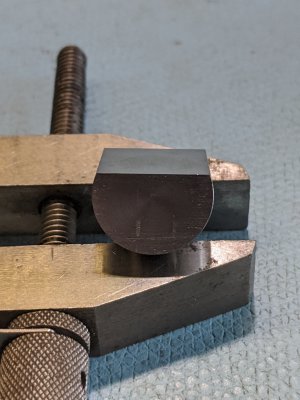
For the half moon pivots, the plan is to use 1/2" O-1 and machine the flats in my lathe. I did a prototype run, using a 4 jaw chuck and the surface came out pretty well. Only ordered a foot of this, trying not to go hog wild an buying too much stock. The arm pivots are 5/16" McMaster has tight tol O-1 with 3 feet being the minimum length you can buy.

Wheel pins. You can use 3/16" drill blanks if you like. Drill blanks are precision ground to tight tolerances. I happen to have some hardened O-1 in 3/16" both in undersize and oversize. So I didn't have to buy it.

Haven't figured out what hardware to use besides the stainless 6-32 x 0.25" SHCS and matching stainless washers. It looks like one needs #10 SHCS about 1" long, but we are a ways from assembling things just yet.

Like mikey, I have ordered knurling wheel sets from the Form Roll Die Corporation, in Worcester, MA. They have a website, but they are not set up for e-commerce. In anycase, they have been quite helpful. Purchased the beveled versions of the following.

1 pair EQS230 straight knurl pair, 30 TPI
1 EQR225 diamond, right, 25 TPI
1 EQL225 diamond, left, 25 TPI
1 EQR230 diamond, right, 30 TPI
1 EQL230 diamond, left, 30 TPI


Bought some tooling, reamers, and drills, per mikey's recommendations. I bought what was needed in my shop.

Yeah, so a slightly expensive day online. The stuff I could get on eBay will take a week to get here. McMaster has promised me delivery tomorrow! That's what I have for today.
 
Prototype cut on 5/8" O-1 after honing flat. Interrupted cut using TCGT carbide insert (made for aluminum!) caused a fractured tip. Oh well, I have lots of cheap inserts, they only cost $1 for 3 tips. Might try a different style insert the next time. Or use HSS.
IMG_20200427_220530.jpg
Cracked tip caused these gouges, c'est la vie. They cleaned up ok.
IMG_20200428_171530.jpg
Smooth as a baby's bottom.
IMG_20200428_171635.jpg
Side view showing jaw marks.
 
Got some material delivered today, still waiting for a few items. Mailman didn't even come to the house yesterday, so I walked the check for Form Rol down to a mailbox.
IMG_20200429_194808.jpg
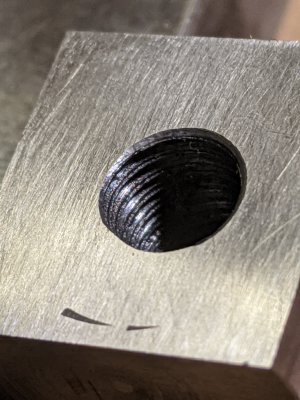
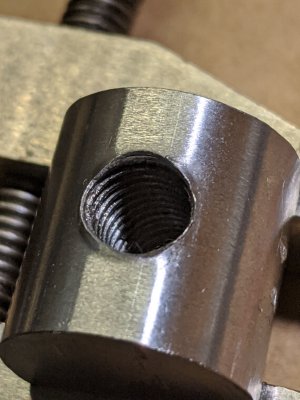
Tried drilling out the practice O1 and tapping it. I didn't bother to center it. For the real thing, I would have left it in the chuck after facing and just drilled and tapped it. Drilled with a #1 for a 1/4x28 tap. Used a HF cobalt drill with Tap Magic at a relatively low speed. Had to peck some to clear the chips, but it drilled ok. Tapping was a bit of a chore, especially since I was using a cheap import tap. But back and forth to clear the chips and eventually it was done. The threads aren't that clean, not sure if that's due to the 25 year old Chinese tap, or O-1. Going to have to replace that tap and die set with something better. For now, I'll source another tap. Tempted to get a spiral point tap, since the last one I got was so nice. (Worked unbelievably well on aluminum.) Not sure if how well one will hold up on O1.
IMG_20200429_205457.jpg
You can see the threads almost have a double cut. I don't think I recut them. They are not as bad on the back side, although there was a huge burr pushed up from the threading. Attempted to trim some of the burr, but as you can see it wasn't completely successful.
IMG_20200429_205945.jpg
How can one remove the burr (especially) on the lower left hand side of the hole?
 
You can try a zero flute countersink mounted in the chuck of your drill press, turned by hand and apply a lot of down pressure to cut below the hardened surface. It should cut ... I hope.
 
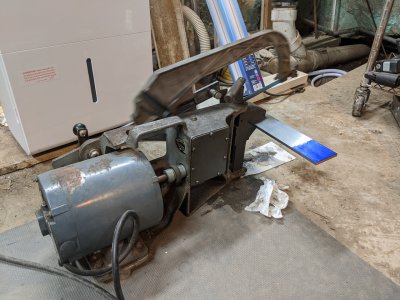
Rough cut the first pieces to size. Already have to adapt :). Ground stock is ground on 4 sides, not 6. Oh, well. Disaster nearly struck when my power hacksaw decided it was time to loosen the saw blade. Kind of made a mess of the cut, but fortunately it was not on the important side of the cut. I've never seen a hacksaw blade bend like that! Fortunately made it through the 4 cuts of the day.
MVIMG_20200430_142516_resized.jpg
Saw doesn't cut straight relative to the jaws. Need to fix that. I think there are two nuts at the bottom of the vise which control that.
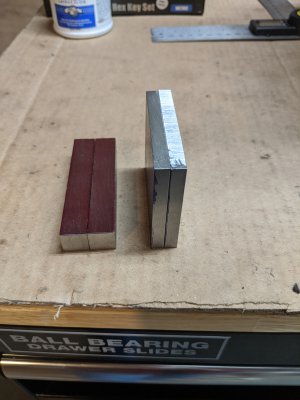
Here are the cuts. I used the belt sander to grind to the line on the arms. Probably hand file them to match. They grinds did come pretty square though, so I was happy about that.
IMG_20200430_151452.jpgIMG_20200430_151513.jpg
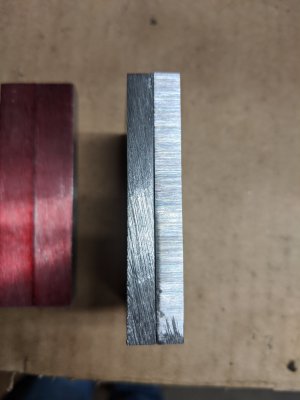
Have to clamp the plates and arms together (as pairs of like parts) so I can grind or file to match. The red arms are 0.0005" different in length, 3.032 and 3.0325 respectively. I'll file or grind off the sawed side of the arms (as received painted orange saw marks) to trim to 3.000" an pretty them up. The side plates need to be ground and filed to match on the side you see. The hacksawed piece on the left has a bow upwards, this is due to the sawblade misbehaving. I used the saw yesterday, and it was fine, don't know why today the blade loosened so much!
 
Back
Top