Thread Choice On Larger Diameter

I think I got it!
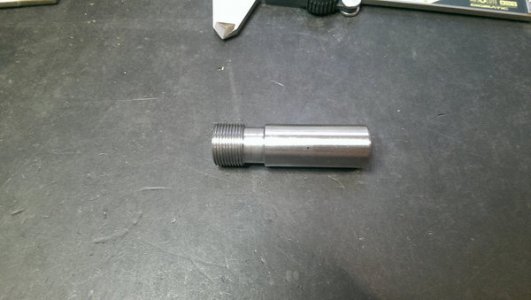
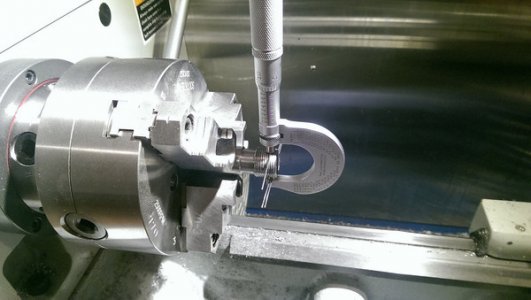
Remachined the plug using the original numbers with .038 DOC based on the compound. Using the 3 wire technique it mics out to .782

26523692644_54c8eb23b5_h.jpg

It should read .785 so I am slightly undersize. That is perfect in my book. I will use this plug as a reference for making my nuts for my articulated arm in another thread.

27129654325_8d99a65c68_h.jpg

Robert
 
Bob- You got me going nuts...

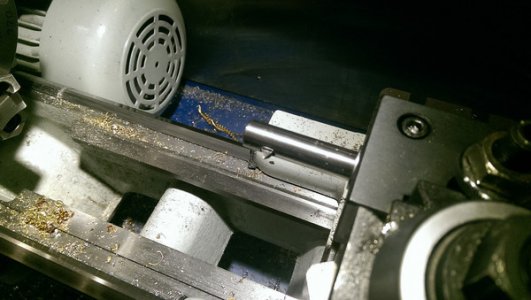
So using my new belt grinder I made an internal threading tool since I didn't own one:
26527486233_36850d2aba_h.jpg

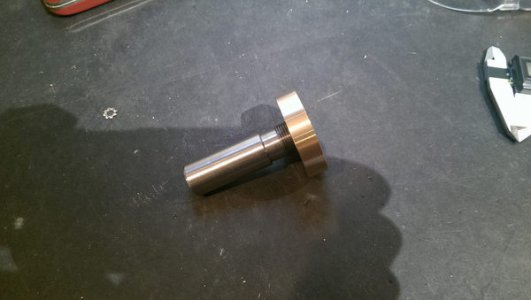
Then I made this gauge using brass.

27098317006_62eb201610_h.jpg

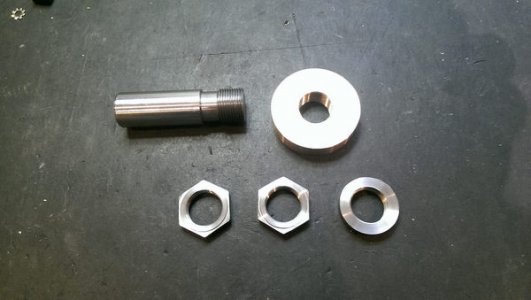
Then I decided I needed panel nuts too. These are 304. Pain to machine.

27101525836_644a3c26e7_h.jpg

The nuts are a little tight. I really with I had a standard to check these against since I am finding some variation in published measurements. I may cheat and buy a commercially made tap for future reference. How reliable is the 3 wire measurement technique? I assume it is within a couple thou.

Robert
 
Without trying to make this sound more confusing than it is, I'll just leave it at this. A ring gage never fits on a plug gage. The maximum book PD for a male thread is always less than the minimum book PD for a female thread. In order for things to gage out that way, the ring gage (made to fit the largest allowable male thread) has a PD smaller than the plug gage (made to fit the smallest allowable female thread). This means that the PD of the ring is smaller than the PD of the plug, preventing them from mating up.

Oh, and wire measurement of threads is very accurate. What catches people is that it only measures ONE element of the thread, and that is the Pitch Diameter. Nothing else. Every other thread element must be verified by some other method. I know of a whole batch of parts that were made using wires..... all perfect and were all as dead as could be. They were supposed to be LH. Never assume.
 
Tony- That makes perfect sense. Thanks for pointing that out. This is all fascinating and a great learning experience for me. I guess that brass gauge will have limited use then. I need to make another one in steel anyway. I'm not quite sure how to measure for an accurate ring gauge? I will have to do some research.
If my plug gauge mics as I detailed above, would you assume it is within spec?
Robert
 
Robert, I didn't do all the math or anything. I am spoiled to some software I have that spits all the details out, and will also give the specifics for making gages as well. In reality, and I hate to break it to you, but if you used the book PD for a "part" to make your plug, then it won't qualify as a gage either, really.

The best way for a work ring to be made in the shop (and by that I mean other than a hardened, ground and lapped ring) is to first make a plug......yes, make a plug, but make it according to the dimensions of the ring you are going to make. In reality, there are special plugs called "set plugs" that are oversized per working plugs, so useless for making parts, that are actually stepped. About half the length of the plug is a little larger than the rest. This is so that adjustable style ring gages can be set to a certain fit. Smooth and snug on part, but not to fit the rest. Kind of a go and no/go built on one plug. That's a little over-simplified, but that's the general idea. For most purposes, you want to use the set plug you make to gage the ring gage. In an extreme case, two set plugs would be made....one that you want to go, but snug, and another a few tenths larger than shouldn't go. You want to know if your rings gage is too large, right? But practically speaking, just one plug is made, and the ring gage is just machined to fit well. The error will be on the good side, and as long as you don't get wild with it, the ring will be serviceable for a long time. I would not use brass though.

So now you have a set plug to put away so you can check your soft work ring once in a while, and/or remake as it wears out, and a good work ring.

Maybe someday we need to have a good thread discussing thread gages and how they are made, and how we can make acceptable soft gages for use in the shop. It's good practice, although I know that most hobbyists just grab a nut or bolt. As I've said a few times before, I'm not a hobbyist. I do this for money, so I usually have a drawing to follow and my threads have to be "book-right"
 
I have seen the set plugs and how they are used to set an adjustable ring. I understand that my plug will not qualify as a gauge. I really didn't word my question very well. I am just hoping my plug is within spec for a threaded screw based on the measurements I made. I assume that it is.
The brass ring gauge was actually useful. It is a little generous in ID so when It fits on a shaft I know I am getting close and need to sneak up on the final OD.
R

Hey Tony-When you get a professional drawing specifying threads, how exactly are they specified? What notation is used and how it the tolerance expressed? Just curious.
Robert
 
Last edited:
Pretty simple on the notation, Robert. It would simply be a arrowhead leader to a text block with something like "1/2-13 UNC-2A" in it. If it's a blind hole, or there are special features, such as a blunt start, or Higbee cut, etc....that would be also associated with the thread size. And I don't mean necessarily a visible "box" or "block"....that's just a CAD expression.

That 1/2-13 UNC-2A says a lot. Basic size (1/2") TPI is 13, then the UN is Unified Standard, which gives all the details like the size limits on the major and minor diameter, the thread root radius, the crest radius or flat, the flank angle (60°) etc. All down to the lead error C just means "Coarse" as opposed to F or EF, or S (Special), J (Controlled Root Radius) etc. the 2 is the Class of fit, defining primarily the PD, but often the major and minor are altered as well. The "A" can be a "B" simply meaning external or internal. All that information is shortened to what you will see on the drawing......"1/2-13 UNC-2A"

That's the basics of it anyway. I'm probably forgetting something.
 
Tony- Got it. That all makes sense to me. I have learned more about threading than I imagined when I asked the original question. Thank you for your attention to this thread (pun intended.)
Now I know why people just use taps! I like that calculator above. It will get a lot of use now. I checked a couple of various threads with the 3 wire technique and I have the hang of it. Kind of fun. The hardest part is finding the wires after you drop them.
Robert
 
Writing technical stuff while taking pain meds leads to messy explanations. Check back and I'll see if I can't clean that up a bit. It's mostly right, but poorly written. I'll work on it.
 
Back
Top