- Joined
- Feb 2, 2013
- Messages
- 3,627
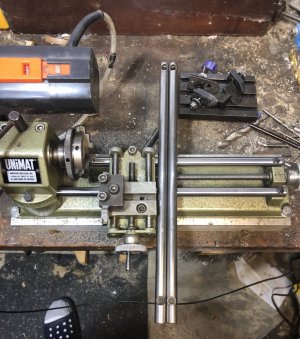
I bought a used Unimat SL1000 years ago and have used it well.
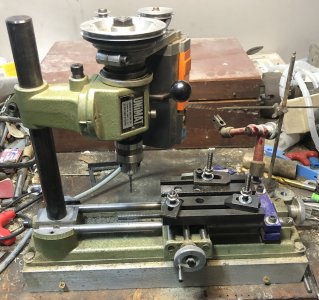
It was not perfect when I got it, but I used her anyway.
She has some dings on the cylindrical ways …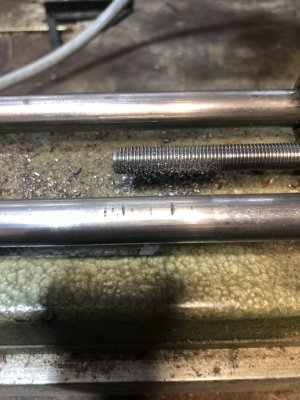
I decided to retrofit hard chrome shafts in place of the standard soft steel ways she came with.
There is another caveat, i’m going to use the same machine to machine the retrofit!
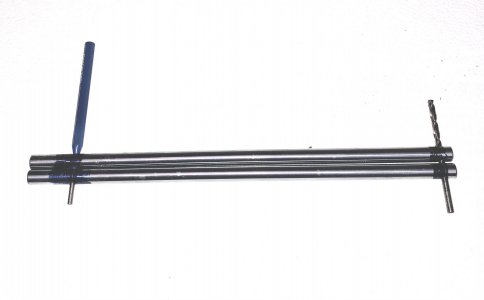
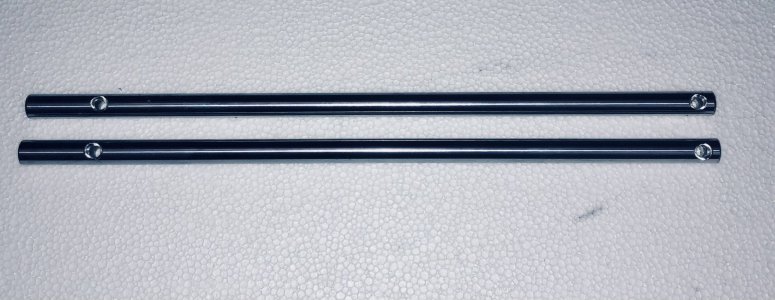
I started with 12mm chrome linear rail shaft. It was about 40mm longer than the original ways, but that doesn’t matter, they will extend further into the headstock and will not be noticed when the headstock is in lathe mode.
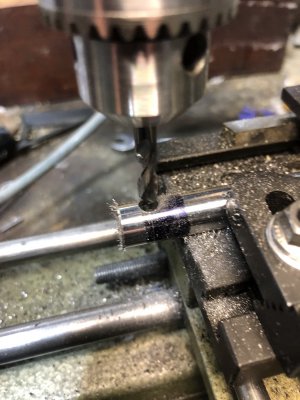
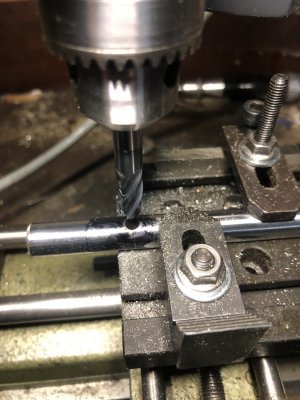
I laid out, the hole positions on both shafts and drilled pilot holes with 3mm 2flute carbide endmills , while being clamped to the milling table accessory
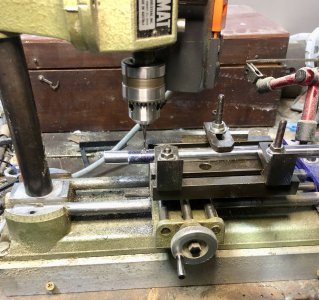
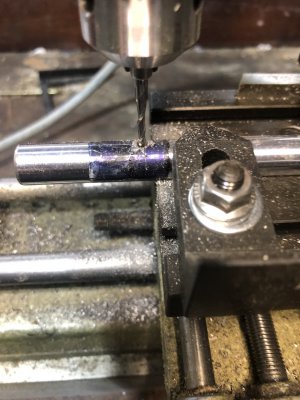
After 3 pilot holes, the first carbide endmill broke.
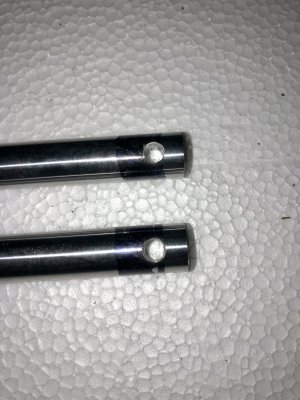
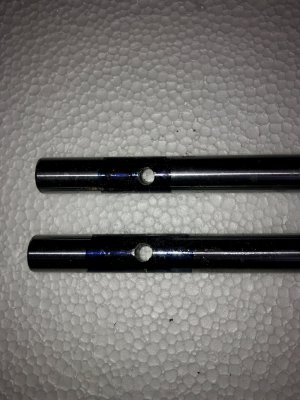
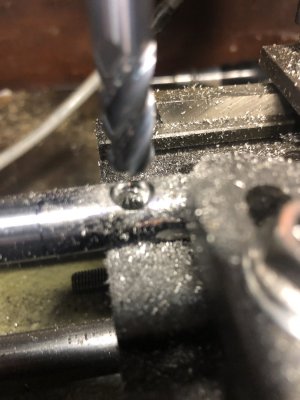
The last pilot hole broke 2 more before I punched through the hard chrome and shaft.
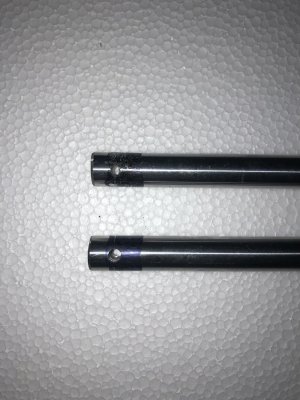
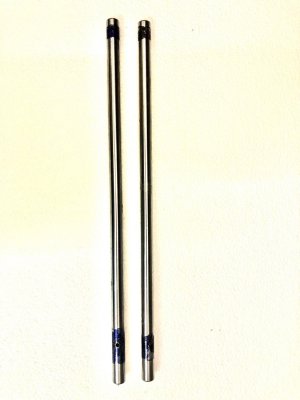
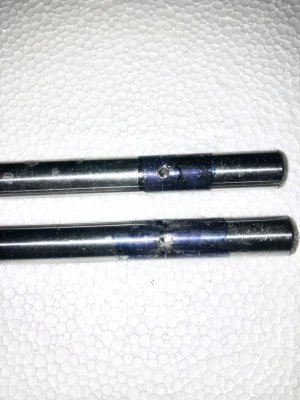
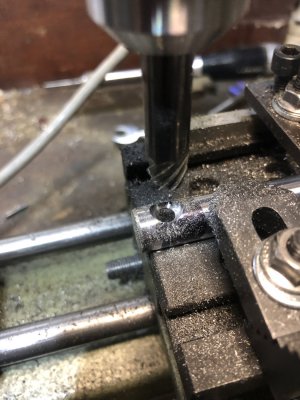
The next act will be expanding the holes to 5mm and countersinking the holes for the oval head retaining screws!
More to come….

It was not perfect when I got it, but I used her anyway.
She has some dings on the cylindrical ways …

I decided to retrofit hard chrome shafts in place of the standard soft steel ways she came with.
There is another caveat, i’m going to use the same machine to machine the retrofit!
I started with 12mm chrome linear rail shaft. It was about 40mm longer than the original ways, but that doesn’t matter, they will extend further into the headstock and will not be noticed when the headstock is in lathe mode.
I laid out, the hole positions on both shafts and drilled pilot holes with 3mm 2flute carbide endmills , while being clamped to the milling table accessory


After 3 pilot holes, the first carbide endmill broke.
The last pilot hole broke 2 more before I punched through the hard chrome and shaft.


The next act will be expanding the holes to 5mm and countersinking the holes for the oval head retaining screws!
More to come….


