- Joined
- Jul 26, 2013
- Messages
- 584
Thanks for your encouragement, fellas... 
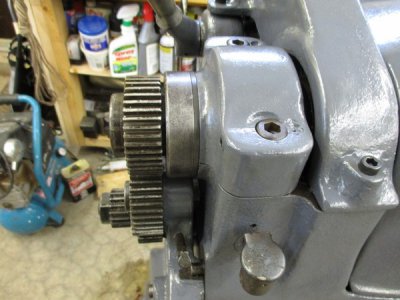
I managed to get most of the apron apart with little effort, including the dreaded taper pins, but now I am stuck on one part, the right hand worm collar. It took lots of heat and penetrating oil to get the left one off, but now that I have lost the leverage of having both collars to work against each other, I am fighting to get the right one off.
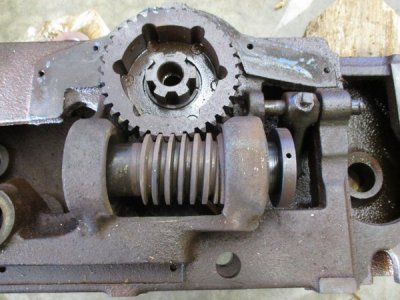
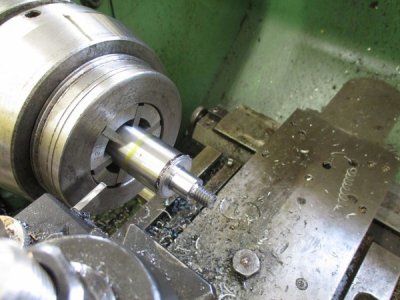
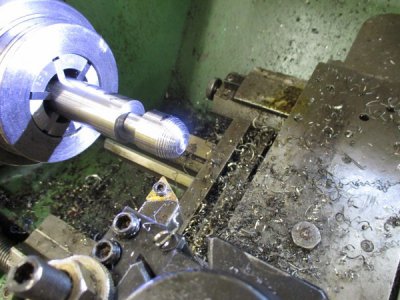
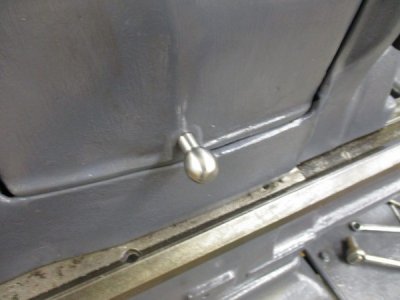
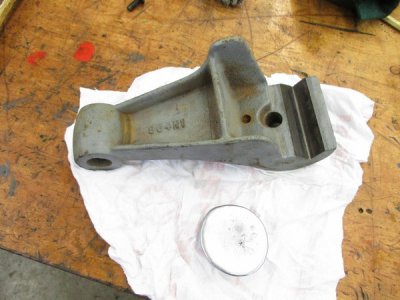
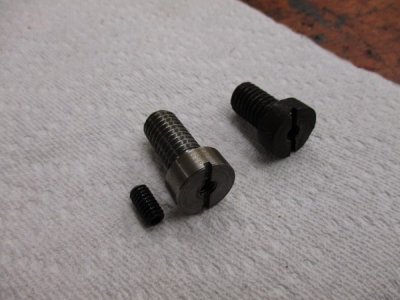
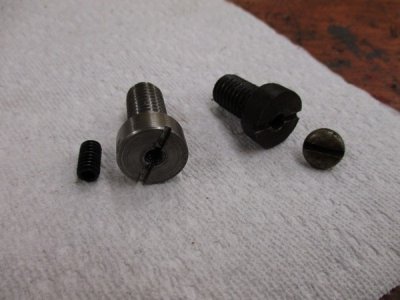
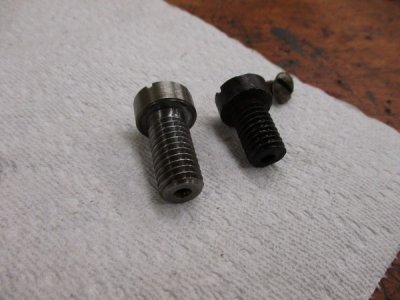
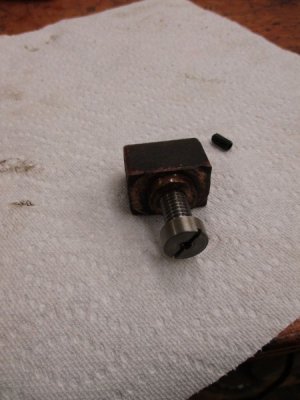
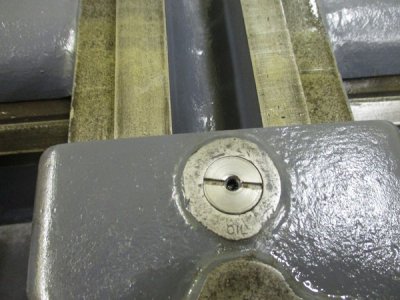
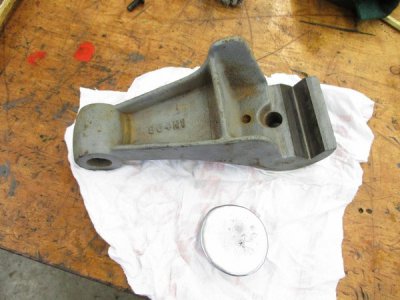
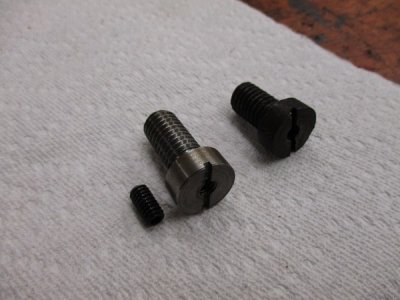
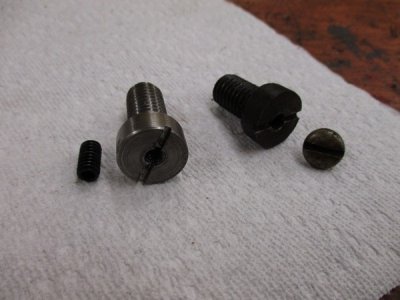
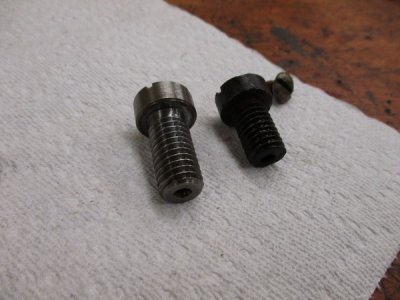
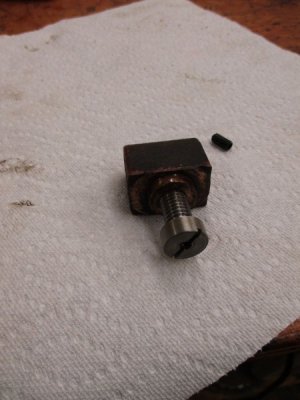
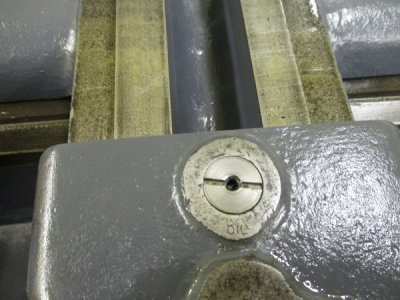
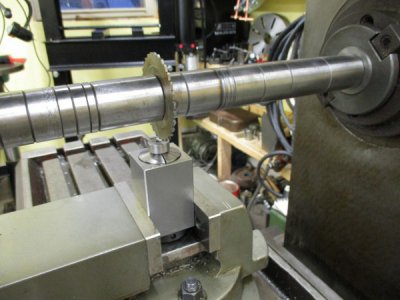
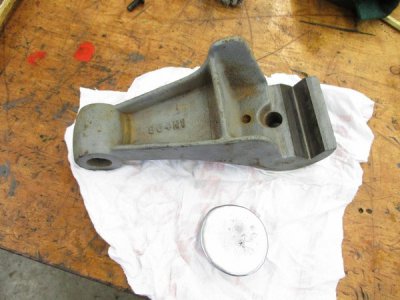
I continue to work on it daily, with heat and penetrating oil. We shall see. In the meantime, I am working on painting and cleaning other parts ahead of time. Even the simplest of parts have their inherent problems, due to the "outdoor" neglect that this lathe has seen, like the cone pulley cover. One of the adjusting screws had been hack sawed off and welded to the nut, and the other one looked like it came from the bottom of the ocean, and would not budge out of the nut, so I ended up making two new ones.
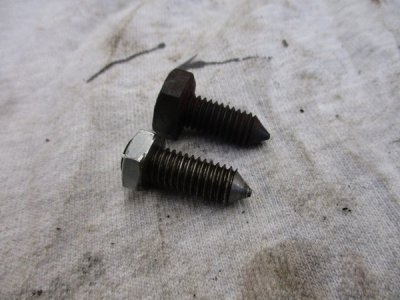
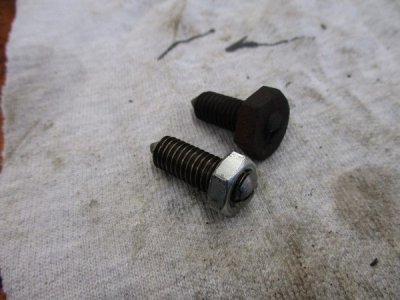
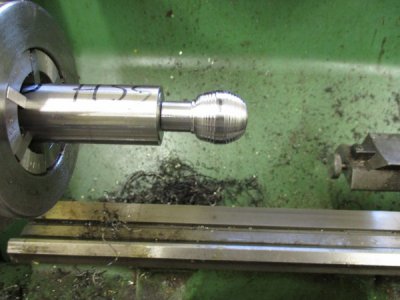
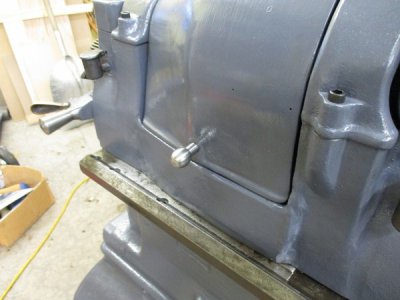
I just used some "allthread" that I had and turned and faced a couple of nuts to thin them to resemble the originals. They aren't as wide as the originals, but the location of these is all but hidden from view. Now I can set the cone pulley cover side to side for a nice and even gap to the other guards. Not a big job, but it just goes to show you just how very difficult this lathe is to work on. Next, I have to make a cone pulley cover knob, where mine was just an old bolt.
Thanks for looking in...
Brian
I managed to get most of the apron apart with little effort, including the dreaded taper pins, but now I am stuck on one part, the right hand worm collar. It took lots of heat and penetrating oil to get the left one off, but now that I have lost the leverage of having both collars to work against each other, I am fighting to get the right one off.

I continue to work on it daily, with heat and penetrating oil. We shall see. In the meantime, I am working on painting and cleaning other parts ahead of time. Even the simplest of parts have their inherent problems, due to the "outdoor" neglect that this lathe has seen, like the cone pulley cover. One of the adjusting screws had been hack sawed off and welded to the nut, and the other one looked like it came from the bottom of the ocean, and would not budge out of the nut, so I ended up making two new ones.


I just used some "allthread" that I had and turned and faced a couple of nuts to thin them to resemble the originals. They aren't as wide as the originals, but the location of these is all but hidden from view. Now I can set the cone pulley cover side to side for a nice and even gap to the other guards. Not a big job, but it just goes to show you just how very difficult this lathe is to work on. Next, I have to make a cone pulley cover knob, where mine was just an old bolt.
Thanks for looking in...
Brian


