Your lathes & benches

Wow, very nice hman; I bet it was tough to get rid of it after all that work. The knee action caster plates are very clever. It looks like you even had a place for a roll of toilet paper. I assume that is to be used after those “near misses” we all have from time to time.
Well, that, too. But I was inspired by the sonar room scenes in Hunt for Red October :)
As for the caster plates - I've started work on a detailed article for Home Shop Machinist/Machinist's Workshop. Hope to get it done before summer. Glad you like them.
 
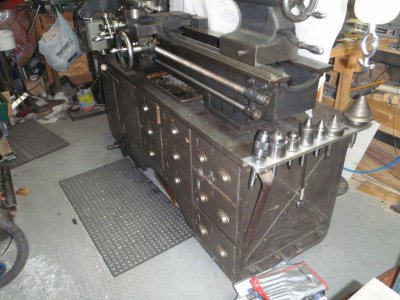
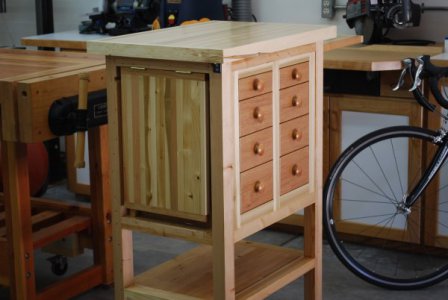
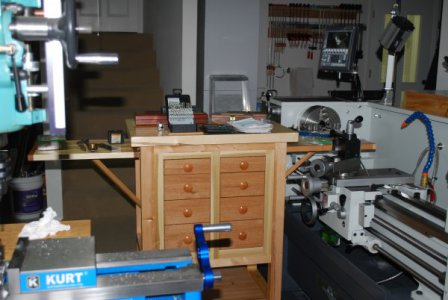
The Storebro Bruk came mounted on a solid wood cabinet, braced with metal straps. The nine drawers hold a lot of tooling. The left-hand cupboard hides the motor and transmission and the right-hand one holds the 4-jaw chuck and the faceplate (both around 10 1/2"). Since then, I added a shelf unit as a back-board, which holds a lot of small tooling and has the DRO head mounted on it.PC261168a.jpg
 
Last edited:
Fanman -

It must have taken me a couple of minutes until my eyes/brain were able to figure out that your backsplash is actually flat. I somehow got a strong optical illusion that made it look dished ... about 6" deep.

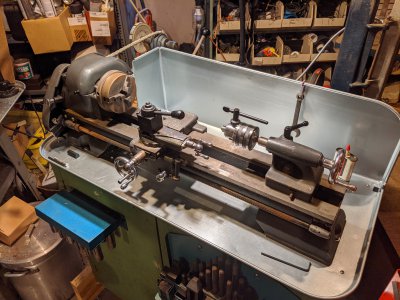
It may not quite be an illusion. The back half is notched and bent up to form the backskplash, but on the headstock end it's cut out to clear the drive belt and bent back in about 6" behind the chuck to keep swarf out of the motor. I'll try to get a better picture later.
 
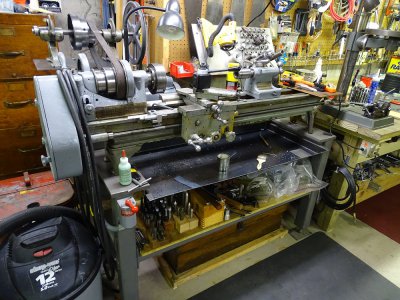
Here's what I did to my Seneca Falls Star #20 lathe. The machine is listed as a "benchtop" model, so I built a stand from 3" square tubing for legs, and 2" square tubing as spreader bars. I just laid plywood on the spreaders to form a shelf. The bags on the right side of the shelf contain chucks. I probably have around a dozen or so for this lathe. I keep them in the bags to keep them clean. I also made a "collet rack" for the 2A ccollets. As you can see it now holds far more than it was originally intended to.

DSC09998A.jpg

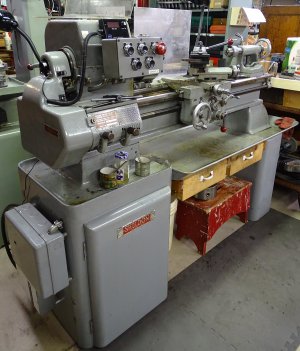
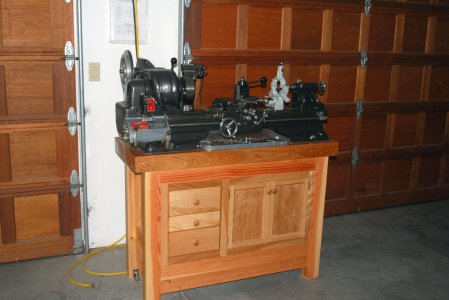
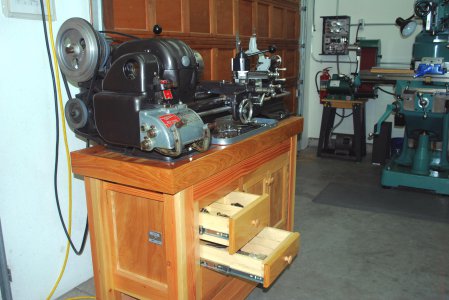
Here's my 13" Sheldon. When I purchased it about 4 years ago the previous owner had already installed the drawers. They work fine, but I doubt they are coolant proof since the tracks are held in place by flat head screws through the pan.

You can't see it from this angle, but there are also 3 shelves in the right pedestal. There are 4 additional chucks, a couple face plates, and a drive plate stored on the shelves. I have to move the cart with the surface plate and tooling to access the door on the pedestal.

DSC00013A.jpg
 
IMG_7820.JPG
IMG_7821.JPG
IMG_7822.JPG

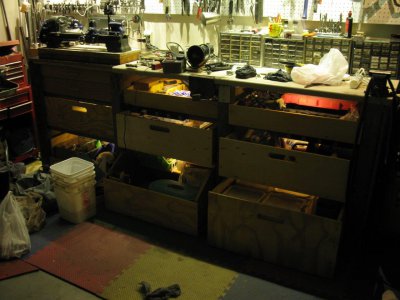
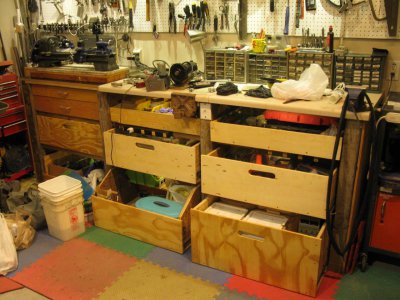
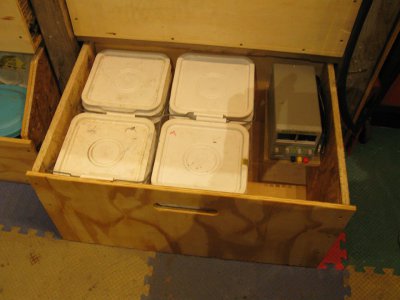
here's mine. Was still organising stuff at that point, so it was a bit messy. Have my measuring stuff and drills/ taps in the 2 drawers under the lathe, electronics and handtools in the 2 drawers under the vise on the right, my anodising gear in the bottom right draw and the others are for metal stock and other bits'n'pieces. Made out of scavenged fence posts, 2x4s, plywood and kitchen countertops. The slides are 100lb rated ones I got from Amazon for $60/10pr.
 
This is all great input and really helpful to me, greatly appreciated!
 
FWIW, I have a bench for my Atlas lathe designed like the ones Atlas used to sell. It is made from 2x4's and has three drawers and a cabinet for storage.

And I have a roll-around desk/storage thing that I made from the crate that my other lathe was shipped in. It has a number of drawers and three work surfaces.

Here is the Atlas bench:
Atlas QC-42 Bench.jpg
DSC_0106.JPG

Here is the role-around thing. It has two drop leaves for work surfaces in addition to the top.
Stand Up desk with Drop Leaves (2) (2).JPG
Stand Up Desk in Use (1).JPG
 
Here's a couple of better pictures of mine. I just lucked out that the green cabinet was such a perfect size:

IMG_20200201_143445.jpg

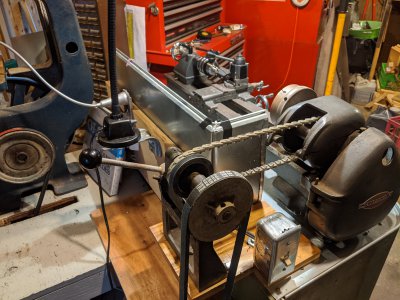
There's a piece of plywood attached to the back of the cabinet to support the backsplash. The plywood supporting the jackshaft is attached to the top of the cabinet. The gray bandsaw stand isn't attached to the lathe, except for the thin piece of plywood that helps keep chips off the lathe motor

IMG_20200201_144303.jpg

(The black electrical tape on the pan is hopefully holding the RTV in place that I finally got around to putting on the corner seams, taking pictures shamed me into it.)
 
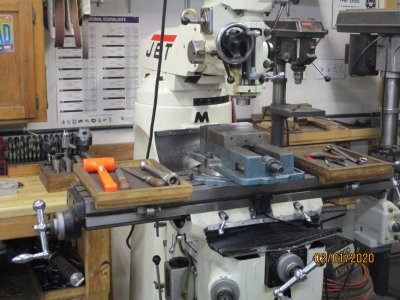
Here's what I did for my mill, they collect chips, but that's what I have a shop-vac for. I store my collets in a wooden block, I've found that if you sandwich a piece of lumber between two pieces of plywood it will give you the thickness you need , and won't warp,
 

Attachments

  • IMG_0867.JPG
    IMG_0867.JPG
    4.8 MB · Views: 61
Back
Top