2015 POTD Thread Archive

David, I know exactly how you feel as I went through the same routine many years ago. Changing to fine thread allen key set screws will cure or at least reduce your headaches. You will/might still have to redo the tailstock alignment when you do a longer or shorter bar or have more or less extension of the tailstock ram.
 
Thanks John .
I hadn't considered the length of the tail stock ram sticking out would making much difference . But now , on thinking about how it's usually slopping around in the bore unless I lock it up , I can see it's imperative to have three or four different lengths of test bars to try and compensate things a bit .


I guess 3 , 6 , 9 , 12 & 15 inches long test bars should be sufficient for at least the next few months .

At least once they are made it will be a doddle to set things up , for I have used the QCTP's boring bar holder to carry a pair of precision roller bearings , one along the axis and the other at 90 degrees to it ( a single fabricated up piece of my engineering ) . So long as the bearing rotates with an angels kiss of contact with the test piece in the lathe it will be perfect .

Luckily I've just purchased & had delivered 6 mtrs of free cutting 35 mm dia. steel bar for my LPD's ( lathe playing day's ).

Now all I have to do is programme in some time slots to do them . Can't be tomorrow though , for I been invited to a pals to weld up a cattle crush crate ( metal arrived today along with mine ) so he can get started having his cows artificially inseminated by the AI specialist .
 
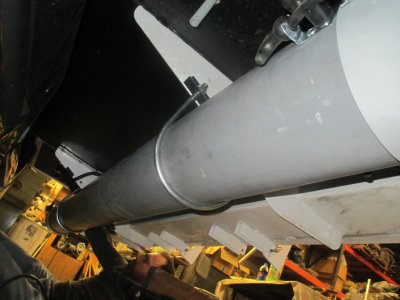
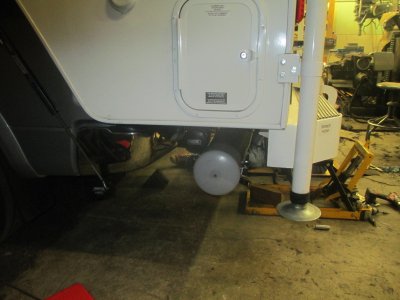
Here is a little project from last night. My son wanted to add a sewer pipe storage to his camper so he could use the lockable bumper storage for other stuff. Bought a length of 6 inch PVC conduit, and a couple of caps. Got a really good deal on the conduit because it had a cracked end and they threw in the caps a just above cost, so less than $50 for all of that. We bought conduit rather than PVC pipe because it comes in 10ft lengths as opposed to 21 foot lengths for pipe.

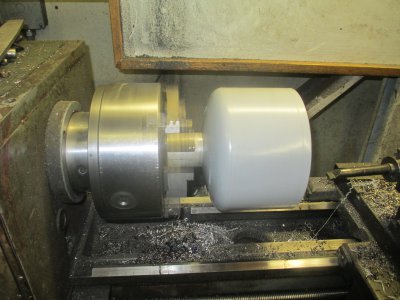
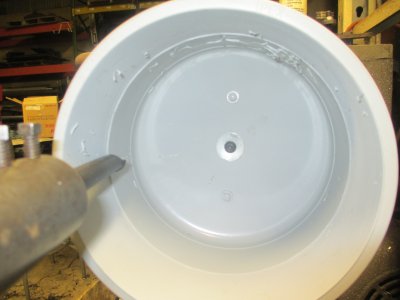
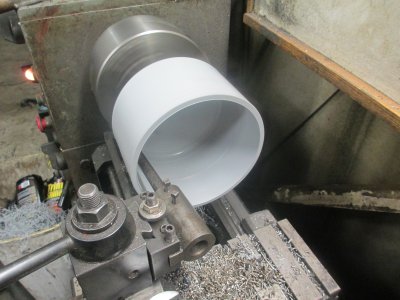
First we had to make the caps slip fit on the pipe. Chucked them in the lathe, and faced a flat on the end of the cap, then drilled a 0.250 hole for the screw. Then faced and drilled & tapped a chunk of 2 inch aluminum round stock as an arbor. Then bored out the taper inside the cap to get a nice slip fit on the pipe.

IMG_0477.jpg

It's not perfectly centered but close enough for this operation. Held in place with a single 1/4 - 20 screw and washer.

IMG_0479.jpg

and another view. Turning at 190 RPM, with a slow feed and about 0.010 DOC.

IMG_0480.jpg

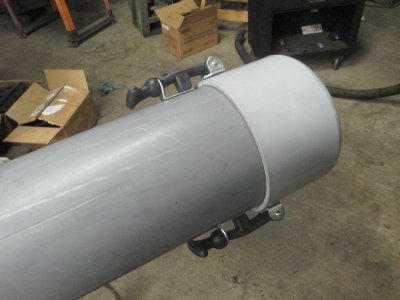
Then add the hood latches on each end

IMG_0488.jpg

Mounted under the back of the camper

IMG_0490.jpg

And another view

IMG_0491.jpg
 
I guess 3 , 6 , 9 , 12 & 15 inches long test bars should be sufficient for at least the next few months .

I wouldn't bother. Every time you make something you check diameters at each end and make the adjustments as you take the bar down to size. Take small amounts if you don't have much to remove and after a few cuts you should have it close. In other words you have a newly made test bar for every size of shaft you make as you make the part.
 
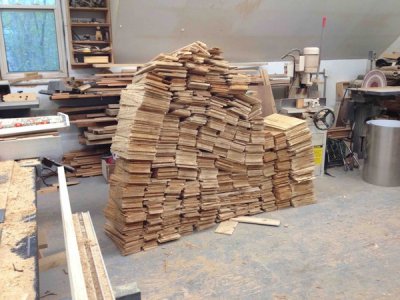
Got an order last night for 44 propellers. The little (6") take about 3 minutes per each, the large, 12" abut 8 minutes. This order goes to England. Off and on, all day today.

Wed production.jpg

Of course there's time cutting the blocks from planks, too.
 
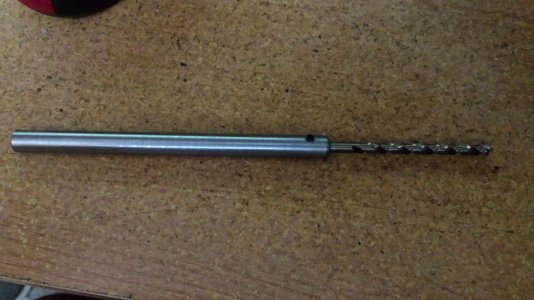
Well I need an extention for a 11/64 drill bit to drill holes in the bottom of an SS rail at work. With out it the chuck hits the side of the bracket I am drilling through. So a little shop magic and this is my quick fix. I'll try to remember some picks of the rail tomorrow.20150930_210059.jpg
 
Just a sharing a rookie project, a child's play for you guys.

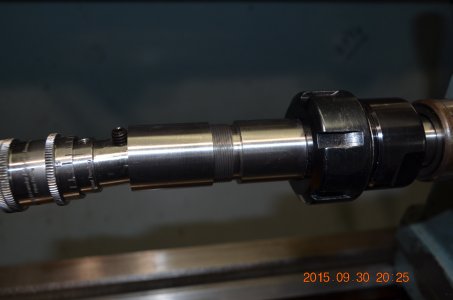
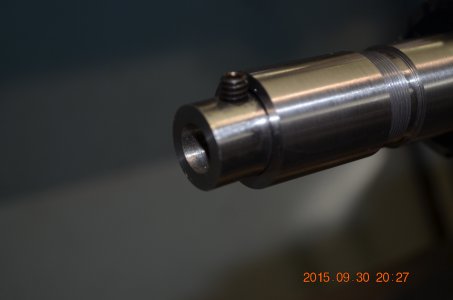
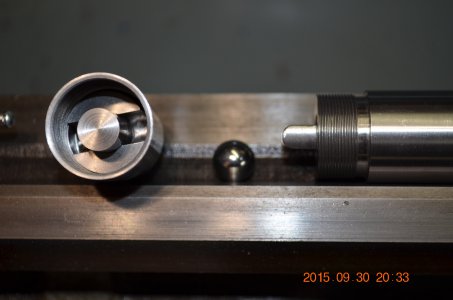
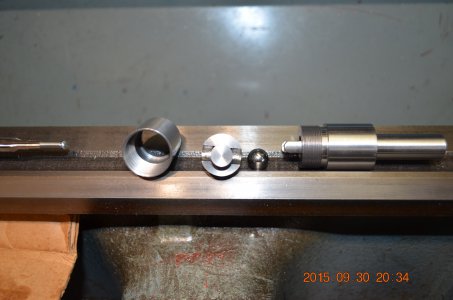
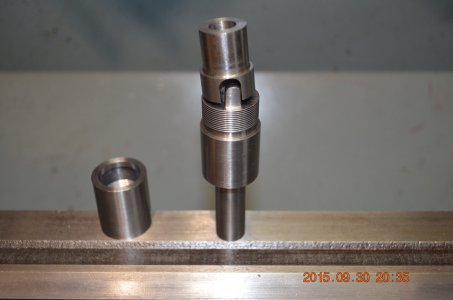
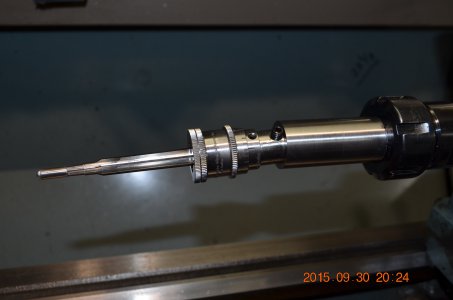
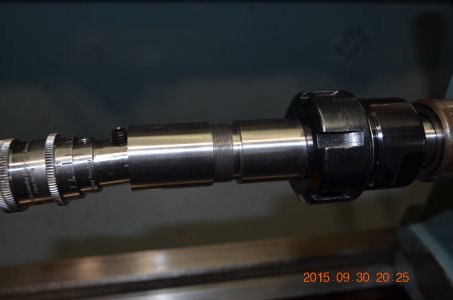
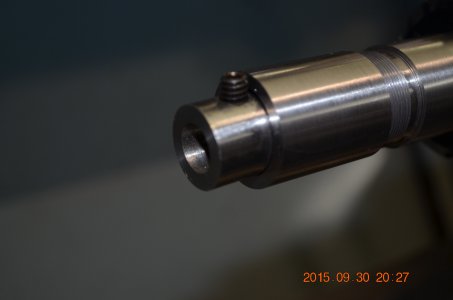
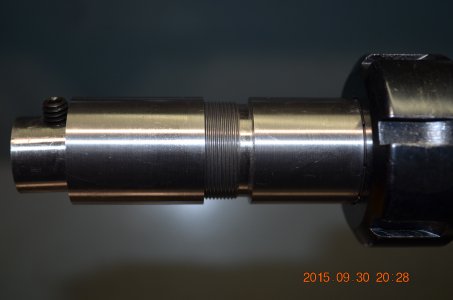
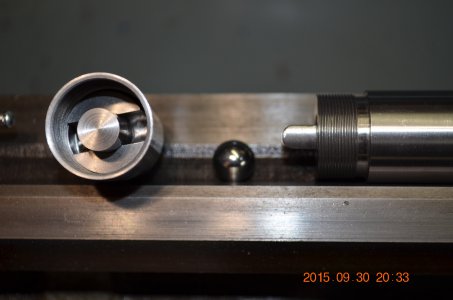
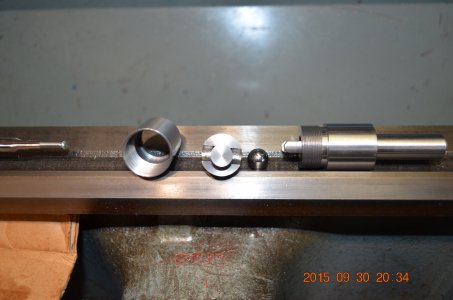
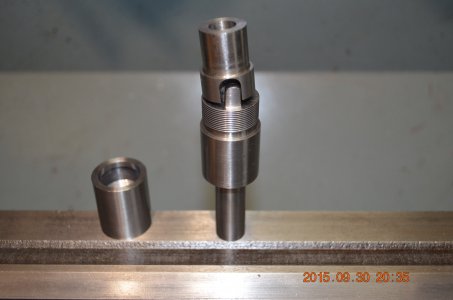
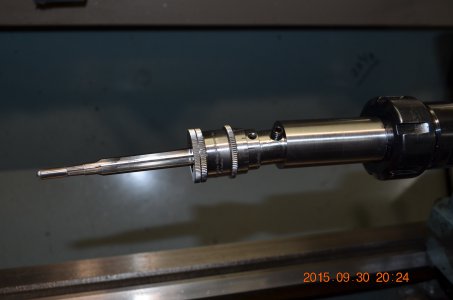
A few months ago I made a reamer pusher, but I did not like the idea of holding the reamer with one hand while cranking the tail stock. Today, I finished the coupled pusher, more like a floating reamer holder. The reamer holder will float at least 0.030 in all directions except fore and aft, it moves more, but no ill effect. Inside the pocket of the pusher is a 1/2 inch ball bearing that floats in the 0.530 hole and it is sandwiched between 2 flat surfaces, the floating .4375 stem from the holder and the stationary pusher stem.

Except for the solid pusher stem that is clamped in the collet, and the 7/16 reamer holder stem, both of which I turned down from a solid steel rod, the material used was a short .224 barrel stub. I made use of every bit of the material. I had to think through on what all machining I need to do on each set up so I don't waste any material and still have enough material left to chuck up on the next step.

The set screw (the only one I have) does not touch the shoulder, but it will be replaced with a much shorter one.

I have no idea how well it will work, have yet to try it. As far as strength and durability there was no effort done to take that into consideration, I was just trying to see if I could do it and whether the concept is feasible. I learned a lot, my first and only internal threading ever, I am quite pleased that I was able to screw the two sections together.

If this one works well, I may sell my JGS floating reamer holder. Though it is a massive piece, my observation it does not float enough.

The pictures tell the tale.


DSC_4067.JPG DSC_4068.JPG DSC_4072.JPG DSC_4080.JPG DSC_4082.JPG DSC_4083.JPG

DSC_4067.JPG DSC_4068.JPG DSC_4072.JPG DSC_4073.JPG DSC_4080.JPG DSC_4082.JPG DSC_4083.JPG
 
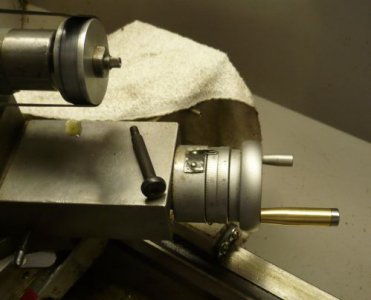
Rotating handle upgrade to the Birmingham. Did this over the weekend.
Using the Dumore TPG to sharpen some center punches, the fixed handle on the compound wasn't pleasant.
I found a shoulder bolt off a Jaguar engine that I had picked up at Pull-a-Part that just so happened to have
the same threads and made up a piece of brass for the rotating handle.
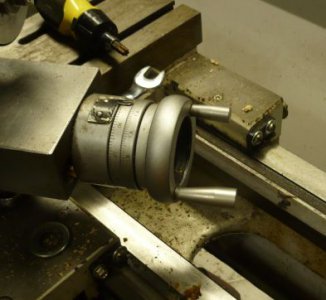
Turned out well and for once I didn't have to do it twice...
B-Handle_Before.jpg B-Handle_After.jpg
 
Built the shop 9 years ago, but never got the siding and soffit and facia finished. Had three walls done but haven't got around to the back till now. Have had squirrels entering the attic through the soffit at the back. The little buggers have ruined the insulation in the sloped part of the ceiling in the upstairs cabinet shop. That will be another repair latter on, will have to remove the drywall to reinstall the sloped part of the ceiling.
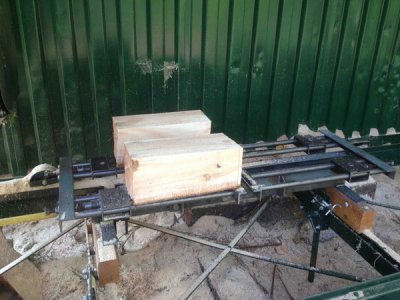
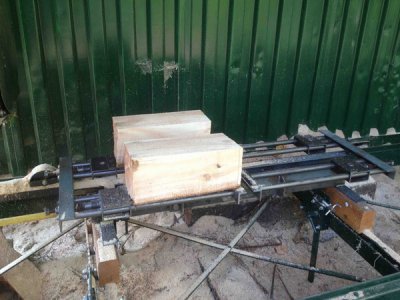
Made a shingle cutting attachment for the sawmill a couple of years back. It holds four blocks, giving four shingles at a time. The blocks tip back and forth with a cam to give the tapper.
IMG_0159.jpg

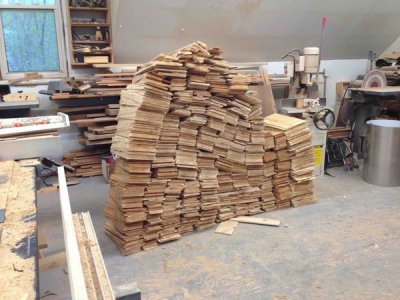
About half the shingles to do the back wall.

IMG_1882.jpg

The finished wall with squirrel evicting soffit and facia.

IMG_1896.jpg

The rim board down the side is for a future carport.

Greg

IMG_0159.jpg

IMG_1882.jpg

IMG_1896.jpg
 
The finished wall with squirrel evicting soffit and facia.

That looks fantastic! Nice job.

Made a shingle cutting attachment for the sawmill a couple of years back. It holds four blocks, giving four shingles at a time. The blocks tip back and forth with a cam to give the tapper.

I'd like to learn more about that, got any video of it in action?

-brino
 
Back
Top