2016 POTD Thread Archive

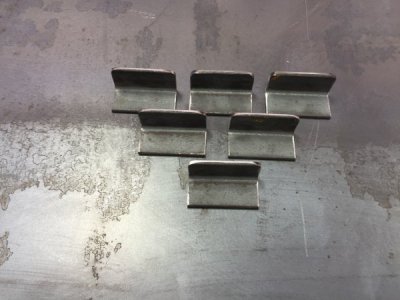
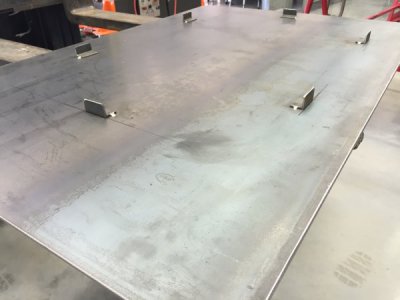
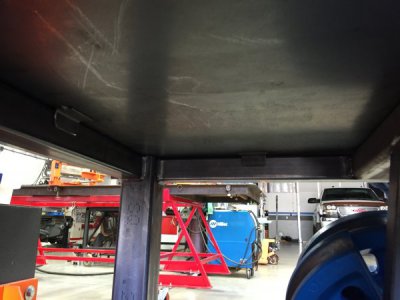
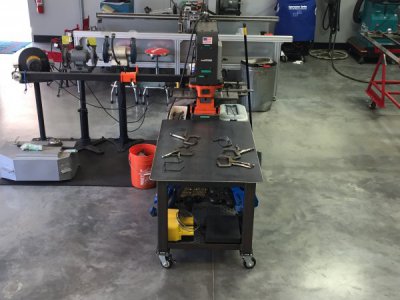
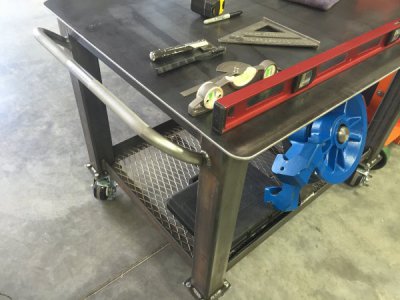
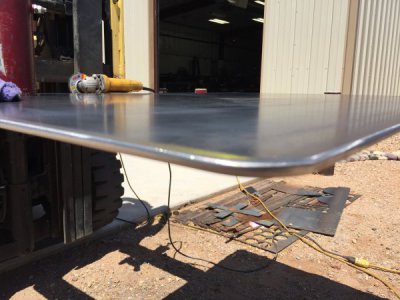
Got some additional time in on the die table. I had a decent piece of left over 1/4" plate so I went to work on the top for the table. Its 32" X 48" and over hangs a bit over 7" on the indexing end of the table, the sides have two inches of over hang and push end has 1" over hanging. I only needed to rip long one 48" side as the rest was sheared and squared. I did spend a bit of time with a 5" flap wheel producing radius all the way around the edge. I test fitted the table loaded and ended up flipping the plate onto its better face. Ran a 9" hand grinder with new wheel flat for a poor mans surface grind. The table will be primed and painted (frame only) the usual industrial grey to match all other shop made equipment. I decided not to secure the top via fasteners. I had a small 20" piece of 1/8" X 1" x 1" angle iron. Cut six 2" long pieces and radius the corners to finish the clips. Laid out the top and tac welded the clips to entrap the inside of the frame for a drop in snug fit. Removing the top will make it super easy to spay the primer/paint and would also allow any future modifications to the table without interference.
IMG_1722.JPG IMG_1757.JPG IMG_1758.JPG IMG_1760.JPG IMG_1756.JPG
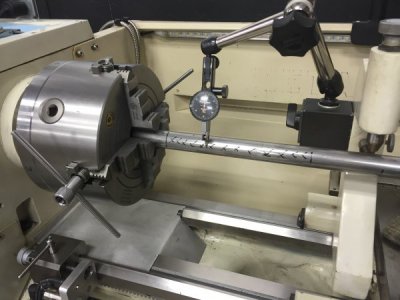
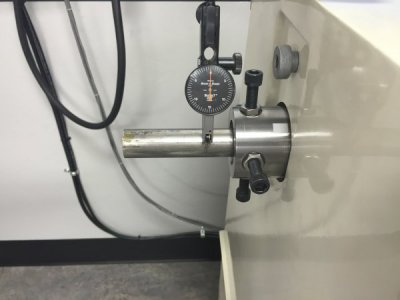
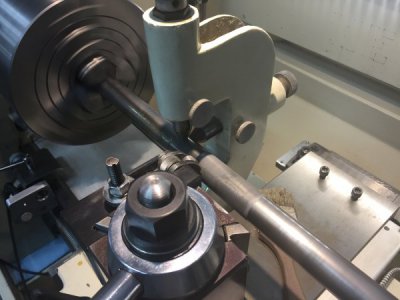
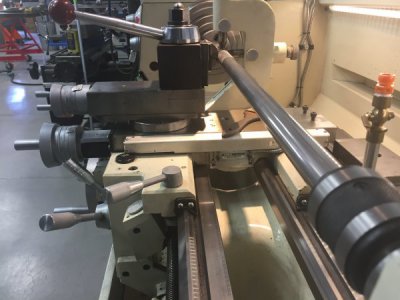
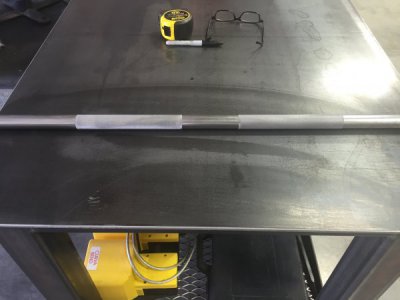
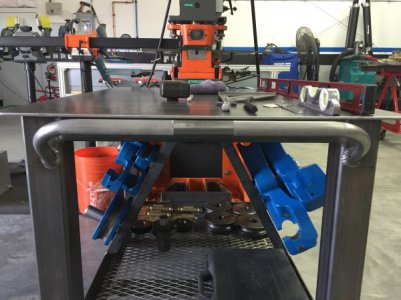
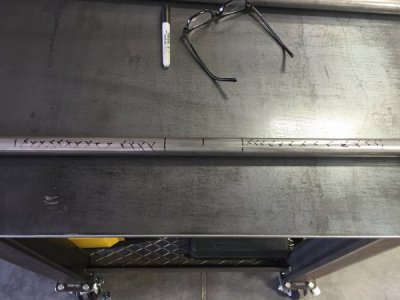
Decided to fab up a push bar out of 12ga. 1" round tubing. Pull a scrap piece that was a little long and laid it out for knurling and two 90º bends. On the lathe, I installed the follow rest and fed the stock in from the spindle spider end as it was jus a bit too long. Dialed in the chuck and spider and set the follow rest up. Placed oil and knurled at 500RPM with .174 of feed. Flipped and repeated. Turned out pretty good, one pass at .042 depth. The proximity carriage stop was used to stop things at the end of pass leaving a nice termination of knurl.
IMG_1761.JPG IMG_1762.JPG IMG_1764.JPG IMG_1765.JPG IMG_1766.JPG IMG_1770.JPG
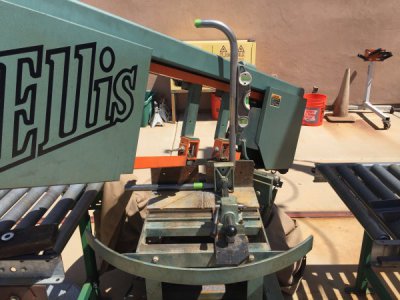
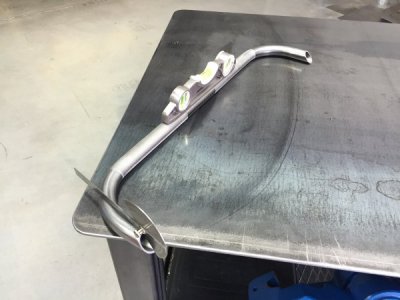
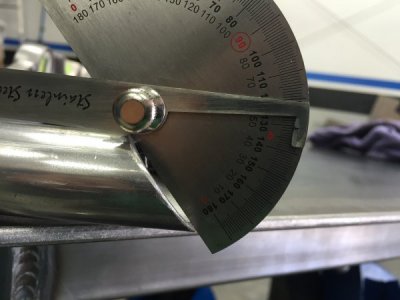
Set up the Ercolina bender and bent two 90º. Laid out for a 40º angle cut on band saw (left /right cut).IMG_1773.JPGIMG_1777.JPGIMG_1779.JPGIMG_1778.JPG
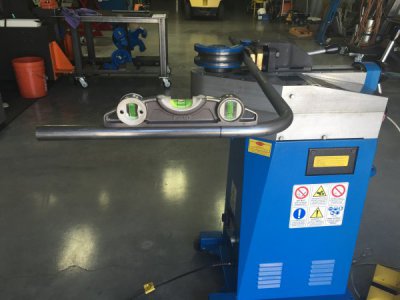
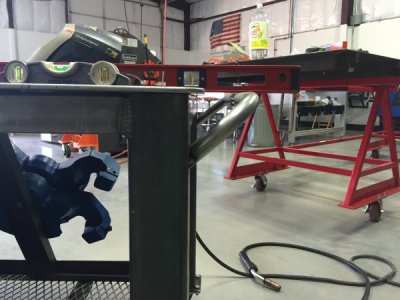
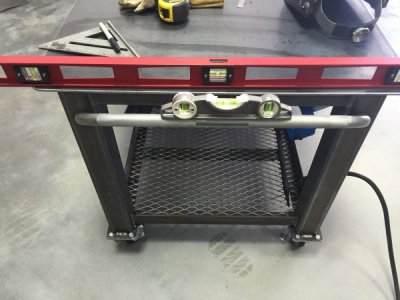
Welded handle. IMG_1782.JPG IMG_1782.JPG So the the top of the bar is even with the top surface incase I use the cart/table to move long heavy pieces around the shop.
Leveled, and welded.IMG_1780.JPG IMG_1781.JPG
Good productive day. Its always fun to build for yourself.
 
Last edited by a moderator:
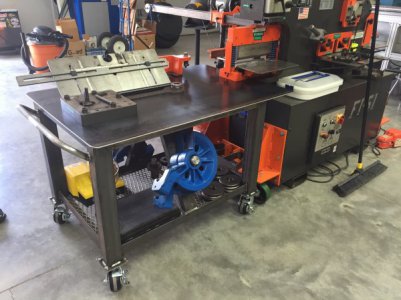
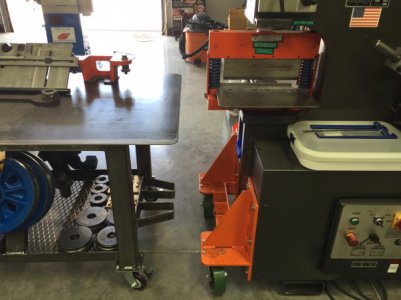
Table in action! Converting from punch to break has never been this easy.
The table indexed to iron worker.
IMG_0220.JPG
Pulled off punch tooling and slid onto table, then slid in the heavy break tooling with little effort.
IMG_0223.JPG
Pulled table away and break remained in position. The table surface is just right and preforms as planned.
IMG_0224.JPG
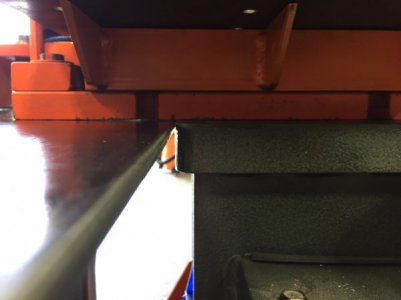
A close up of the mating surfaces.
IMG_0234.JPG
The table rolls very smoothly and maneuvers nicely. Thats it for now, probably be a while before she gets a coat of primer/paint as the wind has been relentless.
Thanks for looking once again.

Turn and burn fellas!
 
Looking good Paco, as usual. You always post great photos and text with enough detail to follow what's going on. :applause 2:

I'm commenting before doing the math, so take it with a grain of salt. The 7" overhang set off my safety alarm. Too much weight there could cause the table top to tilt and dump. My recommendation is to add a quick release device, like one of the types linked, to the tab on the opposite end of the table top. Or, you could extend the 1 x 1, adding a short return under the top frame member to prevent lifting there. Safety is no accident, right?

http://www.vlier.com/product_index/sld/qr_00_index.html
 
Last edited:
Beautiful work, Paco. I used that same method to secure my top to my welding table.
 
Nice job on the table Paco. When you use the break, is that the position it's used? Mike
 
My father tells me that the 3-jaw chuck that I received with his lathe is junk. I took his word for it and didn't argue when he said he would pay for a new one. I ordered a Shars 6" 4-jaw scroll chuck that will be here soon.

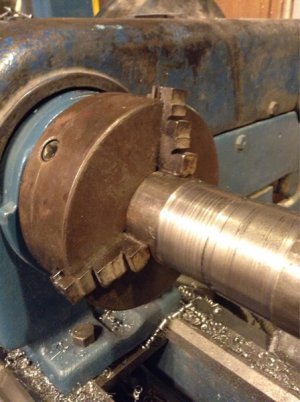
But as I was cleaning up tonight I saw the old one and wondered... It wouldn't turn, that was for sure. But why not? What I could see of the actual scroll appeared fine. So I took it apart. The gear was stuck. It took progressive taps with a punch on the least-critical part of the gear I could access past each jaw to slowly drive it out. The rim was rusted badly, to the point it couldn't move within the case. Fortunately that's not the bearing surface. I gently filed it, and hit the inside of the case with fine emery paper (lubed with old grease). I cleaned it all out, removing as much of the old grease as I could, then re-greased it with some engine assembly lube (graphite grease in a squeeze tube). I carefully re-assembled it and tried tightening down on a piece of round stock, just on the bench. It held fine. Interesting.

So I installed it on the lathe and chucked up a random piece of round steel tubing. I didn't indicate it but I would guess that the runout was around 0.010". Not too bad for a "junk" chuck and random piece of scrap without any prep work. There were two teeth in the gear with obvious wear, and one tooth of the drive gear (can't think of the correct terms here) as well, but with a little more work I think we can make it perfectly serviceable when we need the 3-jaw for hex stock. But the new one will surely be the workhorse.
37426f6920505a890ec04d21ceb7f66f.jpg

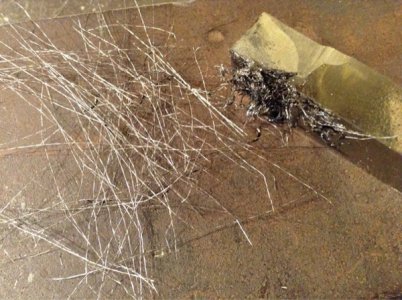
I also made a vertical shear tool for doing close tolerance work for a metal punch & die project for my sister (and, of course, to always have on hand). The swarf below looks better than the tubing above, because I wasn't using power feed (currently has 20 tpi gears installed) and I was using the still-rough 3-jaw without tailstock support because I don't have a center big enough for that tubing. I'm confident it will work very well with a proper setup. I just didn't have time tonight.
e1e5a387aa6f7a52f815b4f2f98567ef.jpg
 
Last edited:
Looking good Paco, as usual. You always post great photos and text with enough detail to follow what's going on. :applause 2:

I'm commenting before doing the math, so take it with a grain of salt. The 7" overhang set off my safety alarm. Too much weight there could cause the table top to tilt and dump. My recommendation is to add a quick release device, like one of the types linked, to the tab on the opposite end of the table top. Or, you could extend the 1 x 1, adding a short return under the top frame member to prevent lifting there. Safety is no accident, right?

http://www.vlier.com/product_index/sld/qr_00_index.html
I can appreciate your concern as the last thing anyone would want is a crushed foot or damaged equipment. The overall length of the break die is just past 16" and the overhang is 7-3/16" so the weight of the die is transferred onto the Iron worker well before the break-over point. Also, keep in mind the dimensions of the plate 32"X48"= 118 pounds +/-.
As always, I welcome all comments and concerns and always strive to learn every day. Thanks for your input sir.

Knurled handle . . . you're just showing off now. :D

Haha, it was a fun setup, besides I needed reason to find the follow rest!:congratulate:

Beautiful work, Paco. I used that same method to secure my top to my welding table.

Hi Franko,
This makes it easier to remove for any kind of changes and quick tear down. BTW, thanks for your encouraging words, I appreciate all feedback good or bad but shoot for the good ones.

Nice job on the table Paco. When you use the break, is that the position it's used? Mike

Hi Mike,

Yes, setting up the die perpendicular to the the front would not allow a longer piece of stock to be broken/bent. The back gauge on the die is my addition and faces towards the back of the machine . The limit switches and controls are on the same side you feed. A foot switch is used for production bending but machine can be operated via joy stick. This particular break die is only rated for 1/4" x 12". One day I plan on a 50-70 ton press build with Enerpac power pack. BTW, your press build is sweet, I was eyeballing it some time back.

Again, I really love working with my hands,head, sharing and learning.
Thank you all for the comments and stay safe.
 
Last edited by a moderator:
Back
Top